
Hey there! Hope you had a great weekend and got to spend Father’s Day with the special men in your life! We had a busy weekend. We brought a 10′ U-Haul up to Massachusetts filled to the brim with a large 46″ square cocktail table, two outdoor dining sets and two outdoor chaises, a leather chair, a small outdoor bar, a queen size captain’s bed and a small pantry cabinet. I wasn’t sure everything would fit, but Fisherman can get an elephant in a phone booth (if he could find one…the phone booth, not the elephant) and my step-son helped who seems to have inherited the packing gene. So Saturday was spent packing and unpacking, but on Sunday I squeezed a few minutes out of the day for some sewing.
My latest obsession is little boxy pouches. They’re so darn cute and they have the added bonus of only needing a tiny amount of fabric so they’re a great way to use up all those fabric remnants. A few weeks ago I showed you how to make an unlined pouch, but if you’re like me and you like having a pop of unexpected color when you open your bag, read on.
I’m not going to show you the entire process, because in both examples I used the same techniques I used for the unlined pouch, so you can check out that post in the links above and below for the step-by-step.
There is no one right way to line a pouch, but if you want fast and easy, you might want to try one of these methods.
Last week I made a cute little pouch and the way I lined it was simply by sewing two pieces of fabric, right sides together, making sure to leave an opening on one side about 2″ long.

Clip the corners as shown, and use something to push out the corners. I used the opposite end of a seam ripper. Turn fabric right side out and press.

You do not need to sew the openings, just press the seam allowance inside making it even with the rest of the fabric. It will all get sewn later. So essentially what you have is a piece of fabric that is self lined. Now go ahead and follow the instructions here and you’re good to go.

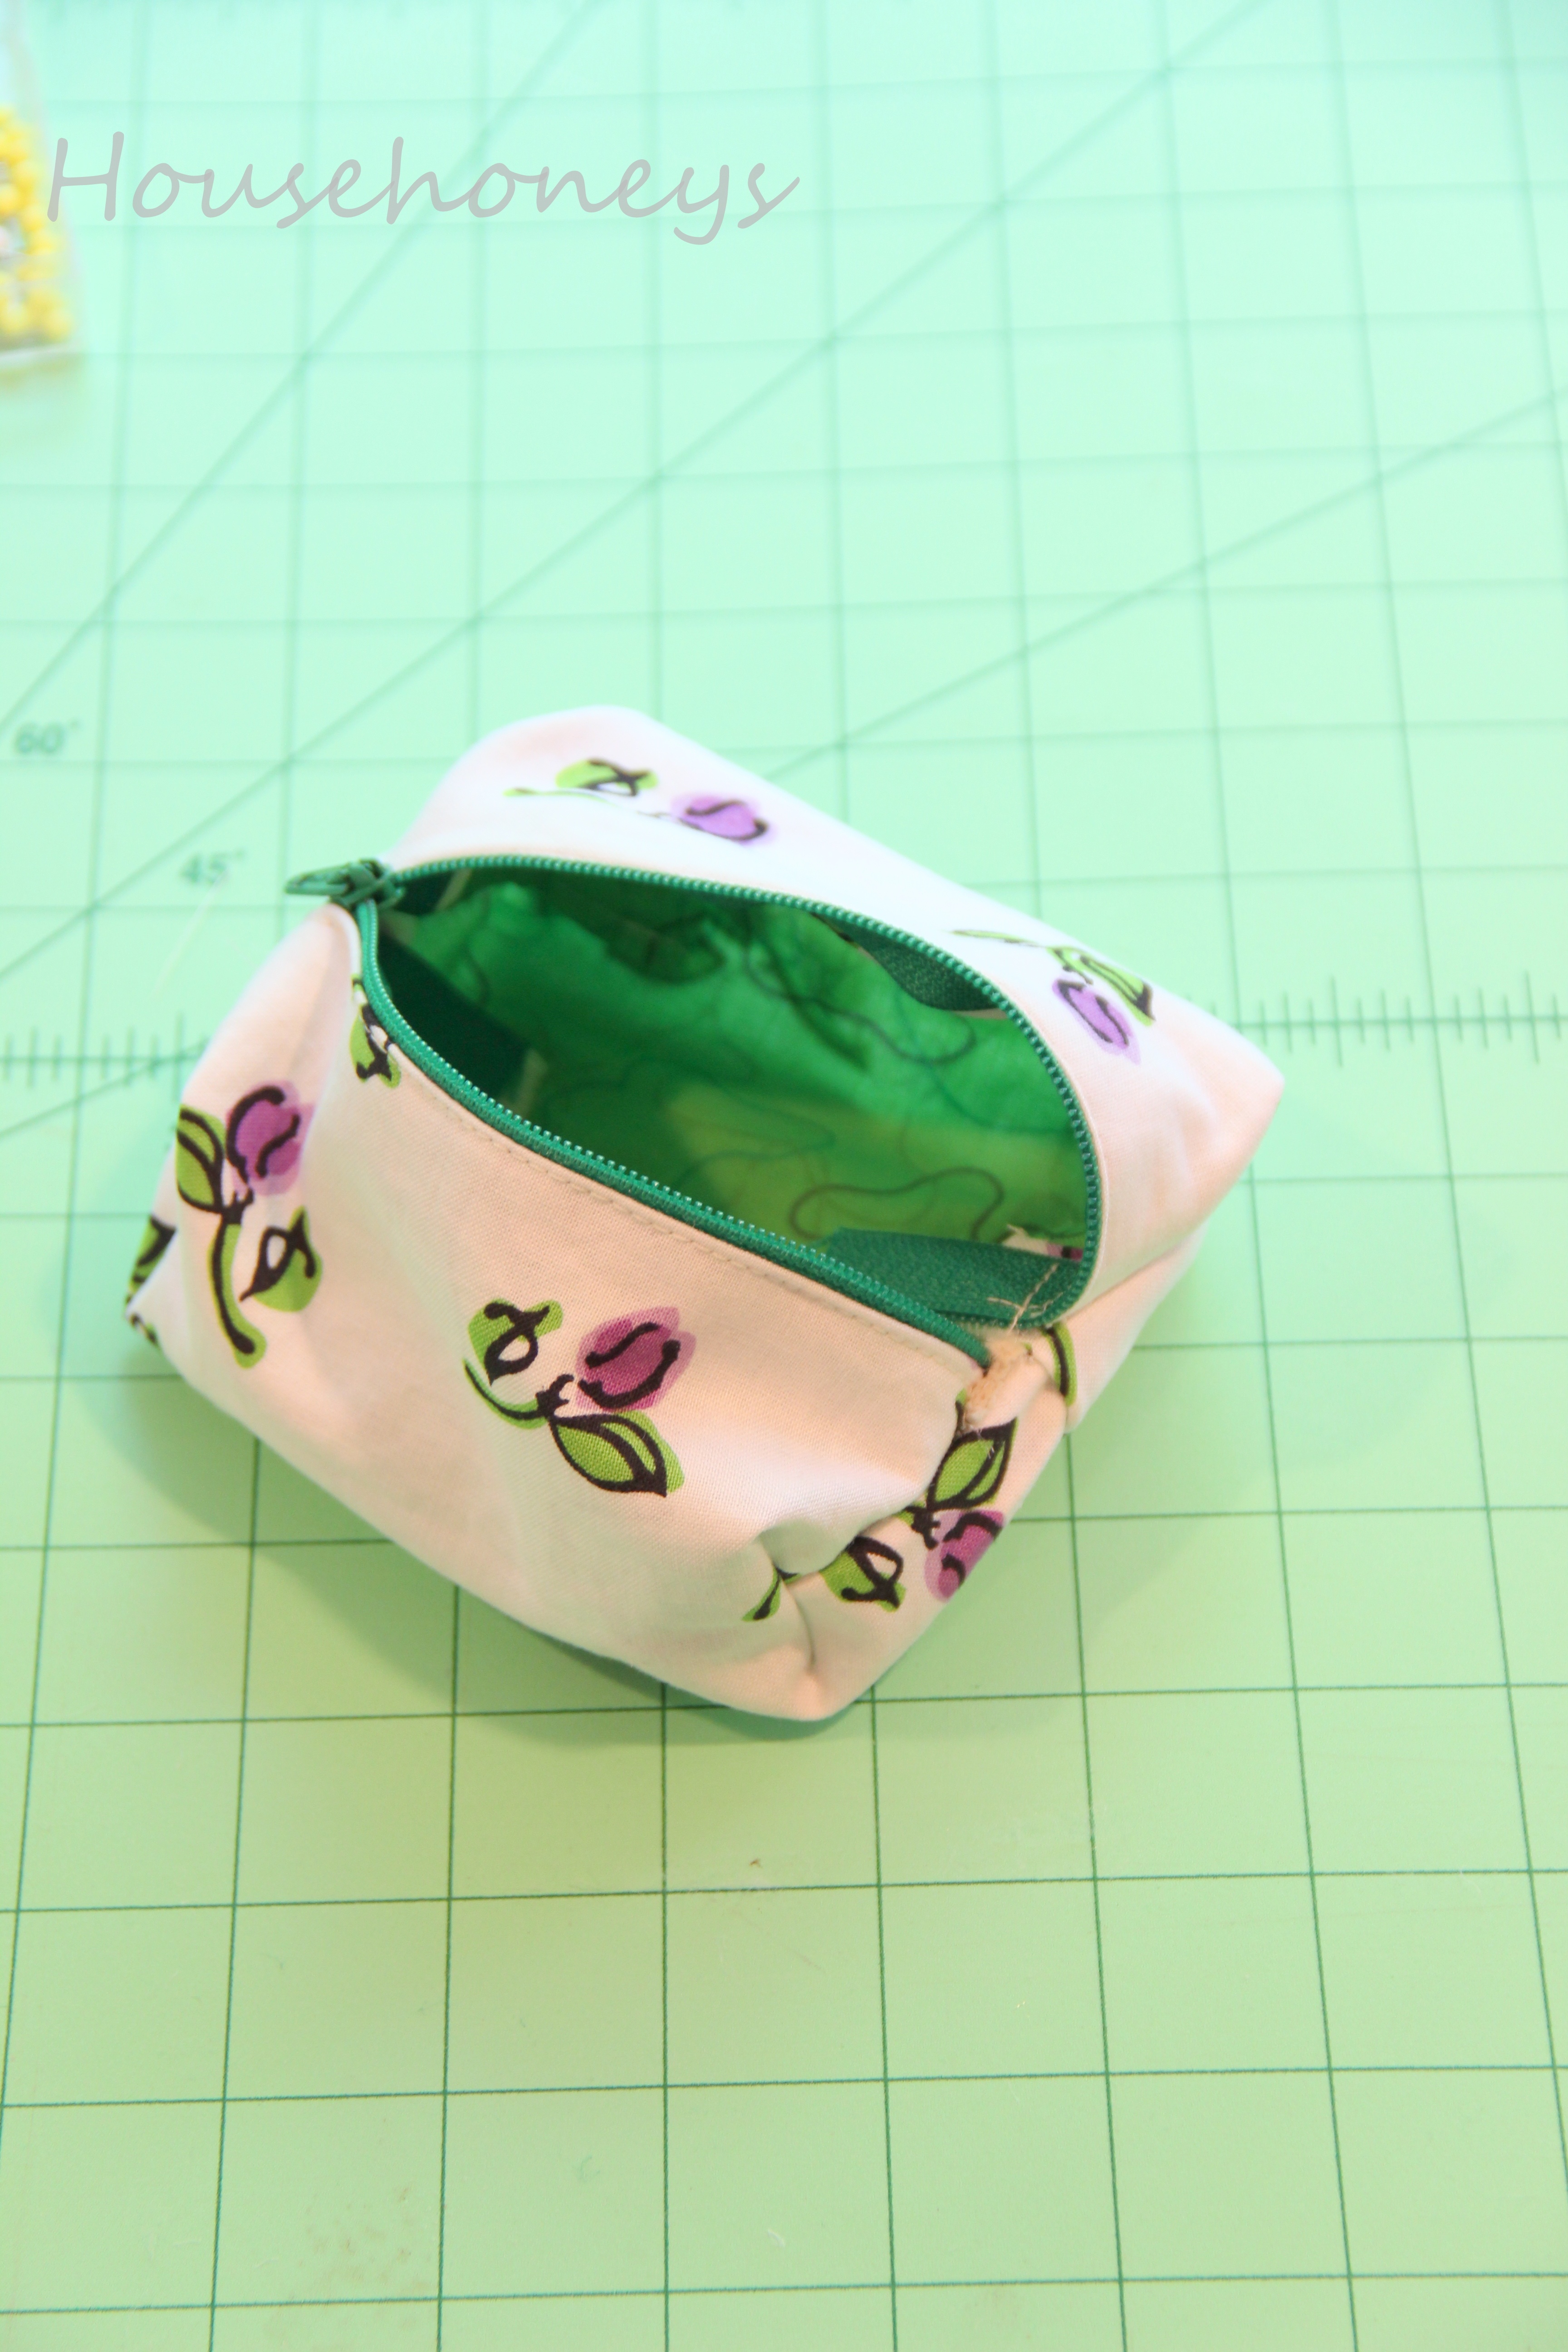
Here’s what it looked like when I was done. This method added about 20-30 minutes to the time it took to make the unlined pouch. The hardest part is making sure all four pieces are the same size, but take the time to get that right or you’ll end up with a lopsided pouch.
This next method I tried today and I think it’s my favorite, but I’m not 100% sure yet because I didn’t have the time to fully complete it. What I did was essentially make another bag using the lining fabric, but instead of installing a zipper in the top I just hemmed the top opening with the sewing machine. Then I fit it inside the pouch and started to hand sew it in place but didn’t have time to finish.
This method was super fast and if you use solid fabric as an added bonus you can turn it inside out and you won’t see any seams on the inside.

I used pink ribbon for the pull tabs on this one. I think this one is my favorite!

There’s another method for lining that involves using fusible fleece and calls for using a Serger. I have one, but it scares the bejeebies out of me. I’m going to have to put my big girl panties on and give it a whirl and report back.


these are DARLING. do you think a beginner could do it? i might have to ask my mother to help me 🙂 glad your trip up to MA went well!
Absolutely Victoria! And you won’t even need your mom or anyone else to help you. It’s all straight sewing, and the hardest part is making sure the fabrics pieces are cut evenly and straight. After that if you follow the instructions you’ll be golden. I promise!