Well, we did it! Some of you might remember we have (well, *I* have) been wanting to update our kitchen island at the cabin. I considered a few options and was shopping around for fabricated stone when I came across AirStone™ on, what else, Pinterest.
Before I show you the big reveal, here are a few pictures from Airstone’s website:
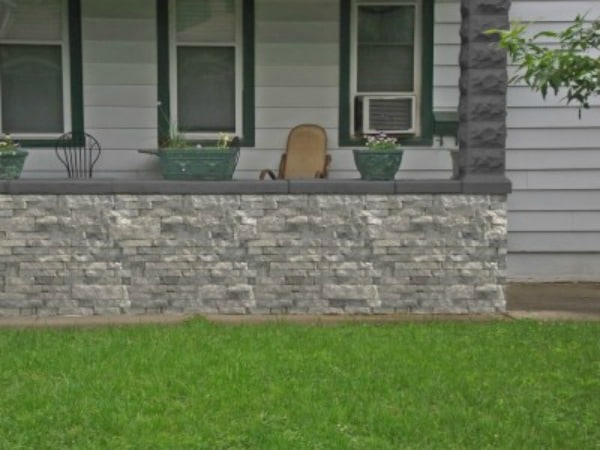
AirStone™ gives this small grill a built in look

Love how it breaks up all the wood in this piece
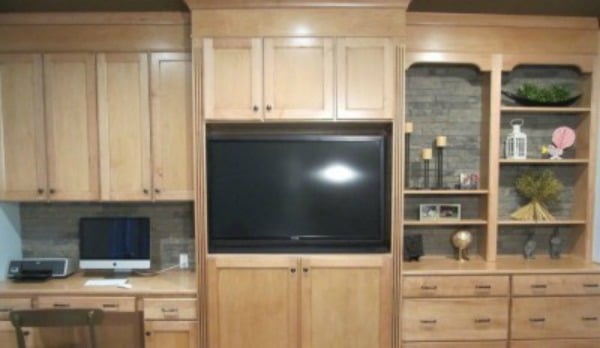
Who would guess this wasn’t real stone?
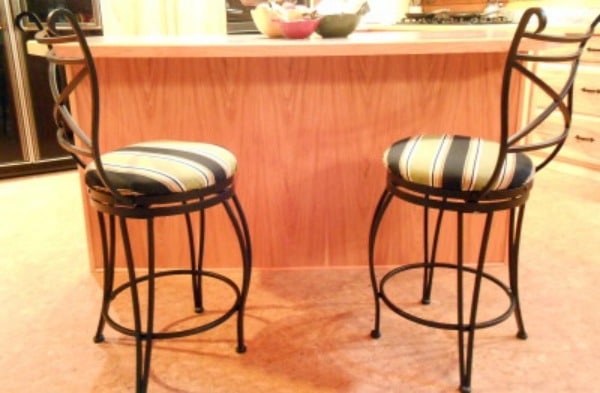
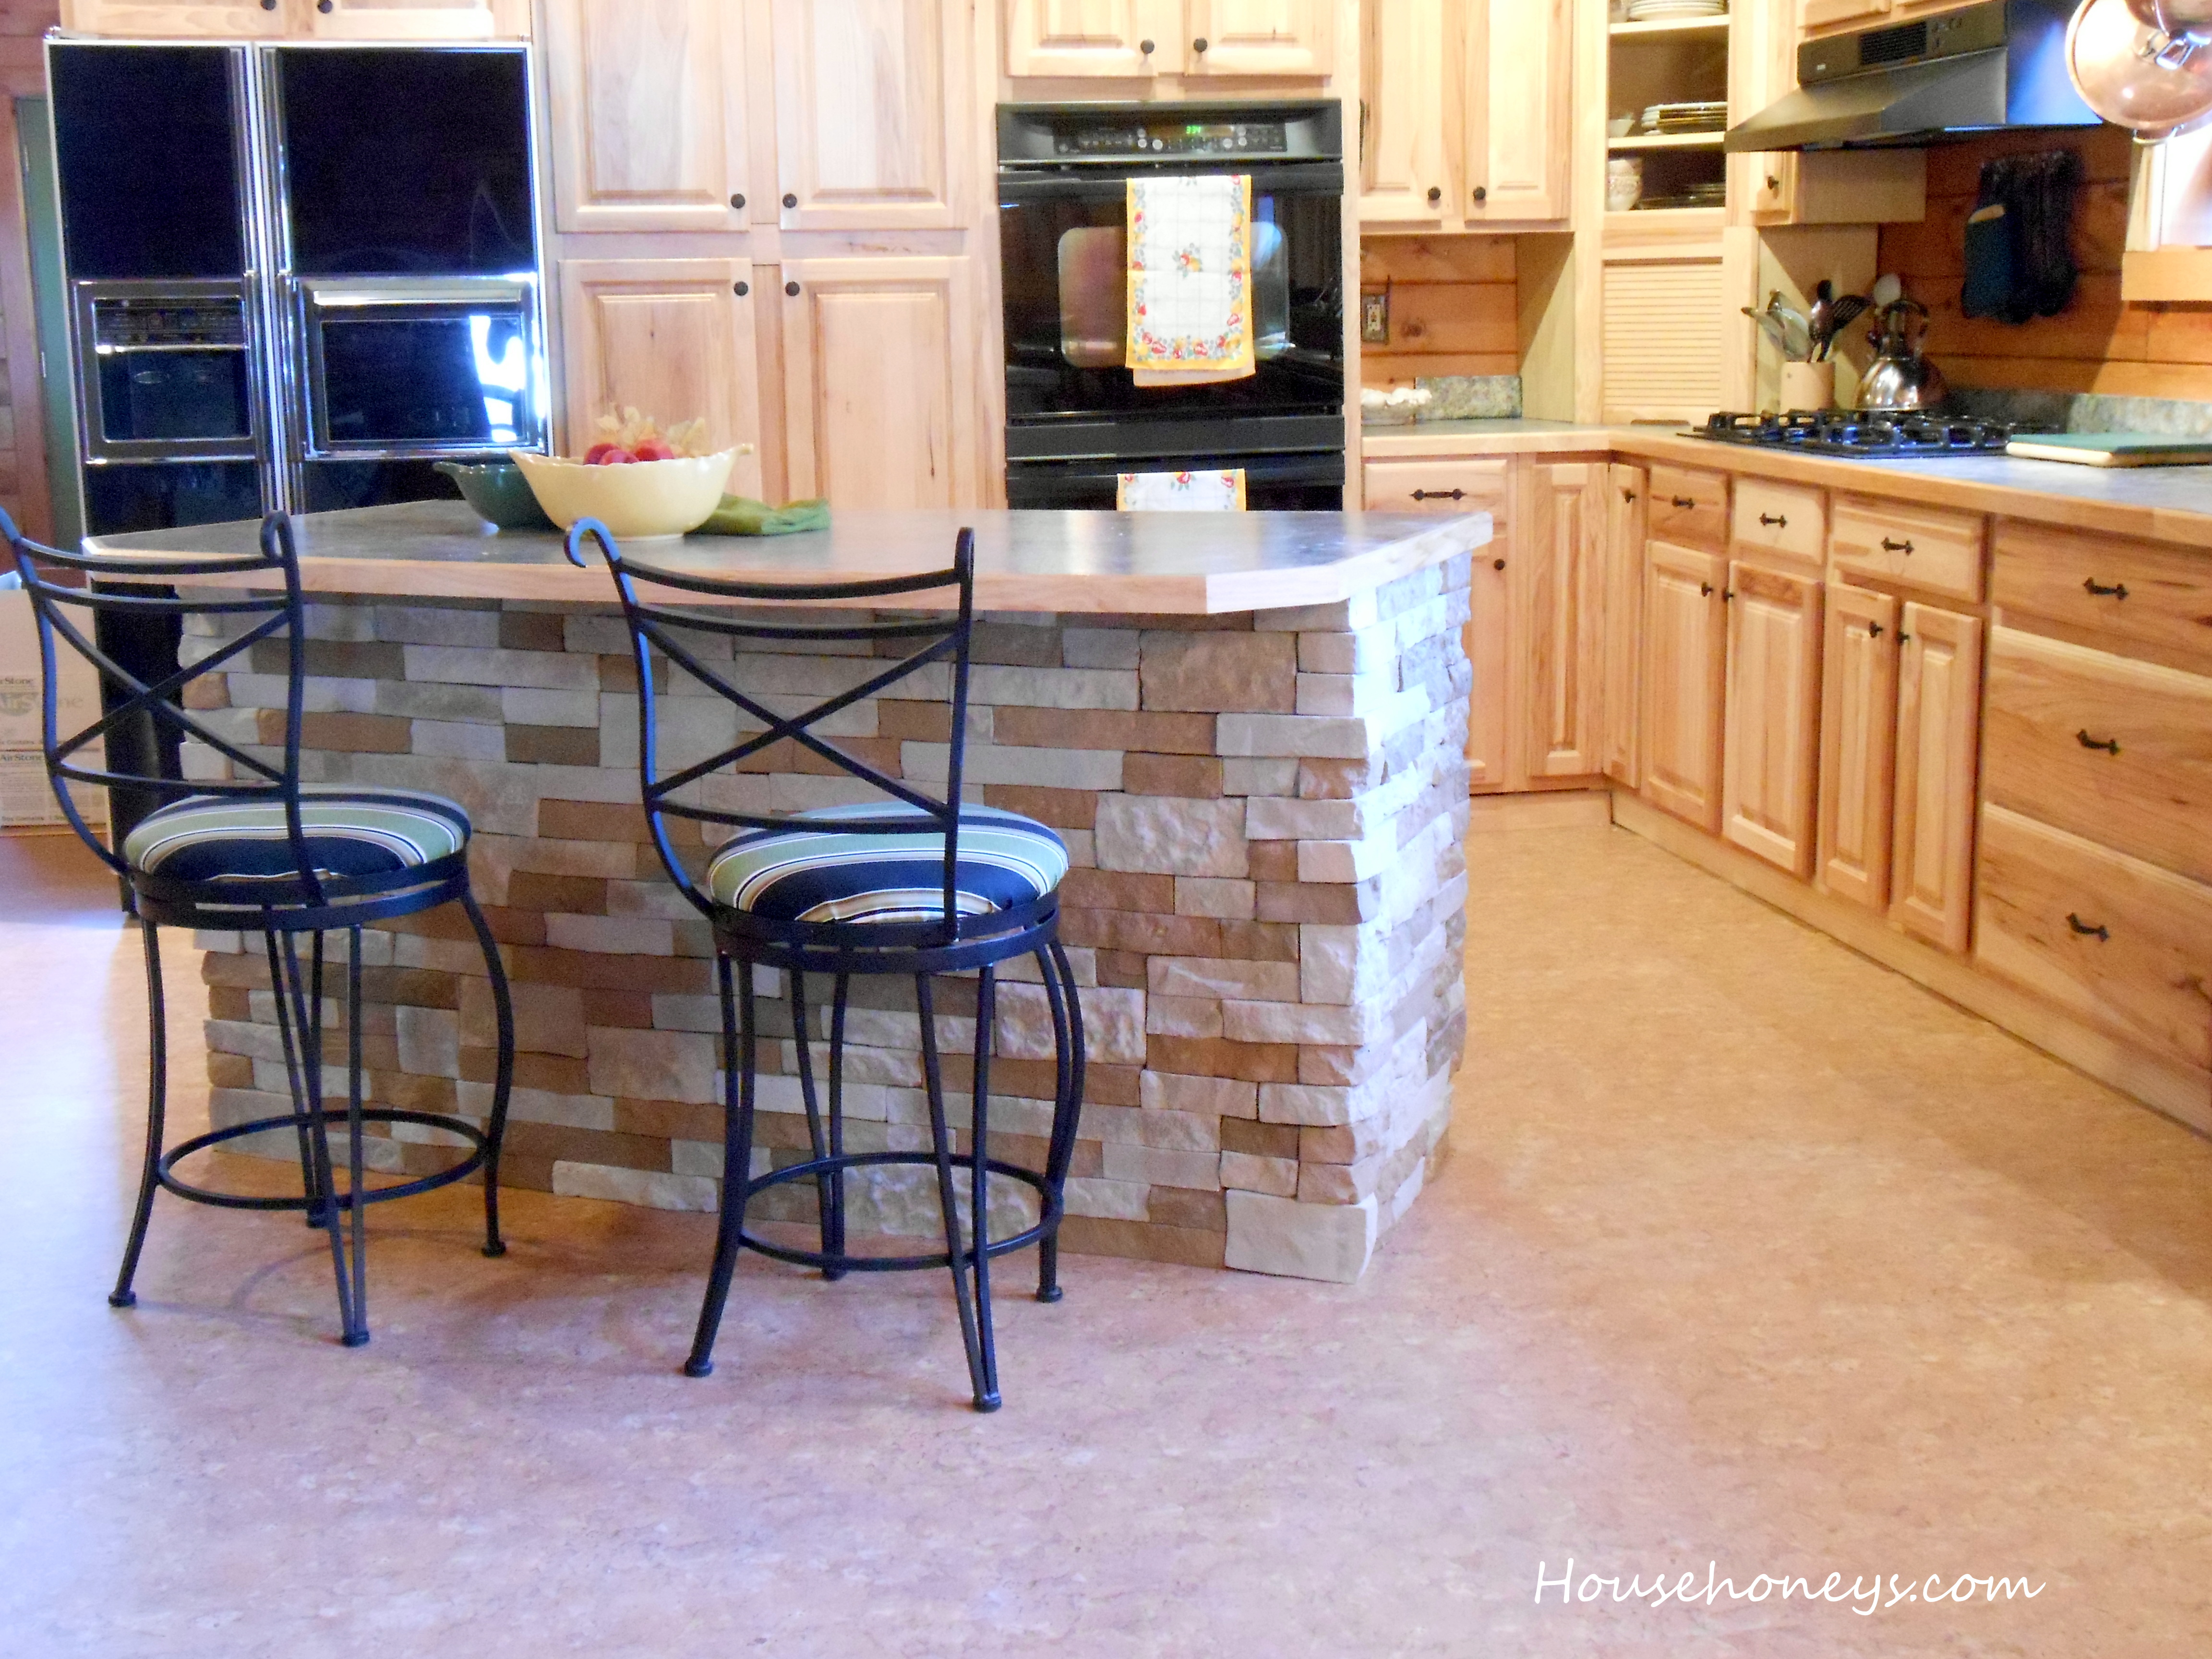
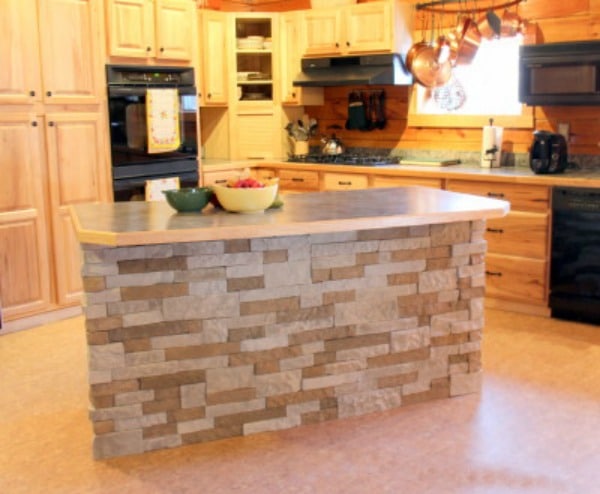
So here’s our boring, blah kitchen island before AirStone™.
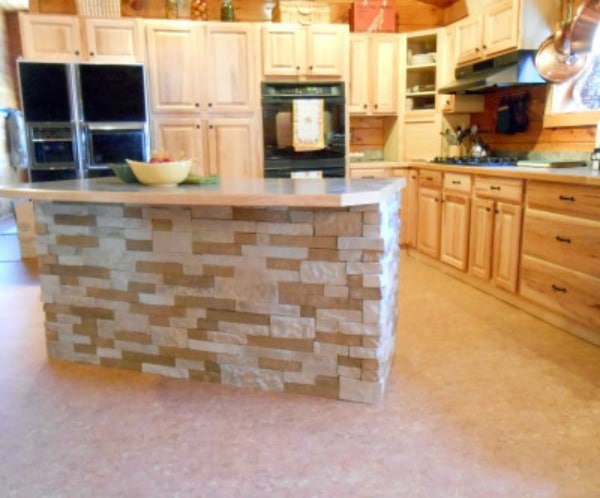
And here she is all prettied up.
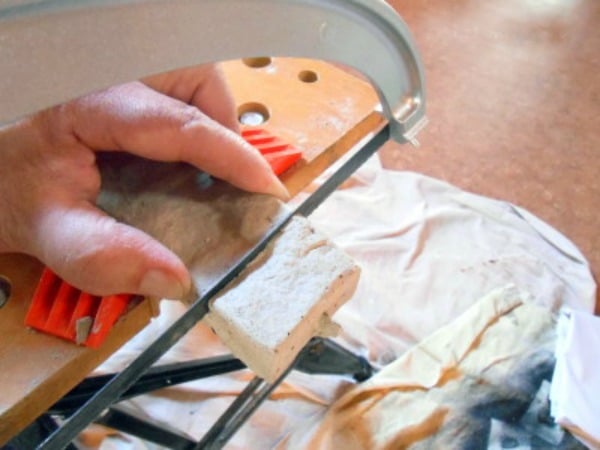
If you’ve never heard of AirStone™, then you’re probably wondering what it is. Basically, it’s a manufactured stone veneer that has about 80% recycled materials. It’s lighter than real stone (waaaaay lighter) and is eco-friendly, which is a huge plus in my book. Installation is super easy. You need a hacksaw, adhesive and caulking gun, or if you use the adhesive that AirStone™ sells, you would just need a putty knife to use with their adhesive. We also opted for a workbench to make cutting easier, but it’s not necessary.
At first, I was uncertain about the limited color choices. They only offer two; Spring Creek, which is primarily grey tones, and Autumn Mountain, which is more in the tan family. We opted for Autumn Mountain. I’m happy with the color, but I painted a small piece of leftover stone to see how it looks and yes, it’s totally paintable! I also checked their FAQ’s and they addressed this and recommend concrete stain. It’s good to know that you can customize the colors.
We started by preparing the space, covering the flooring, and setting up the workbench.
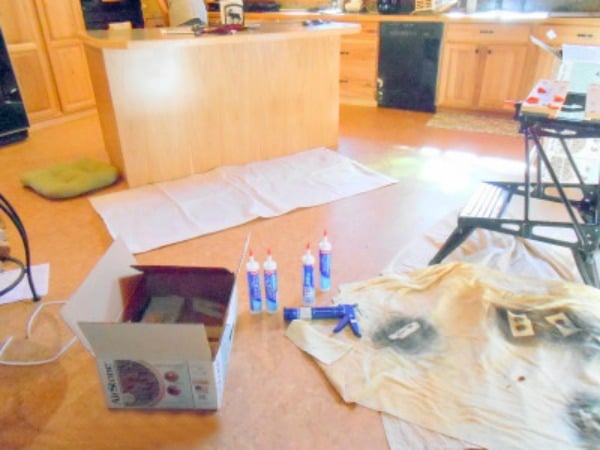
It took us about two hours to get to this point. Not bad considering Fisherman looks at everything for 10 minutes before adhering it. You can do it much faster.
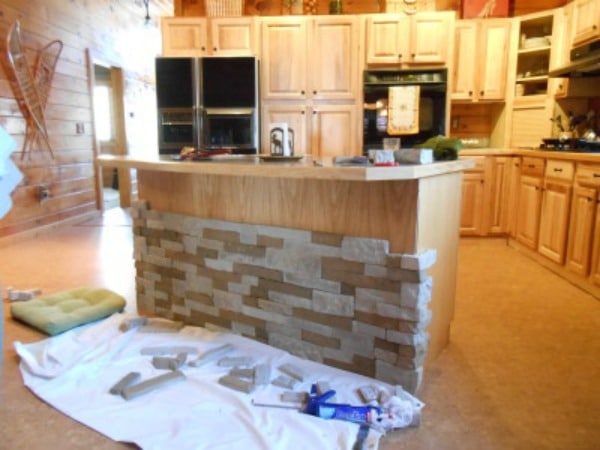
Cutting was pretty easy on the first day. We completed the front only on Saturday, then Sunday did the sides. Day two was harder as the hacksaw blade got dull. My advice is have an extra blade handy.
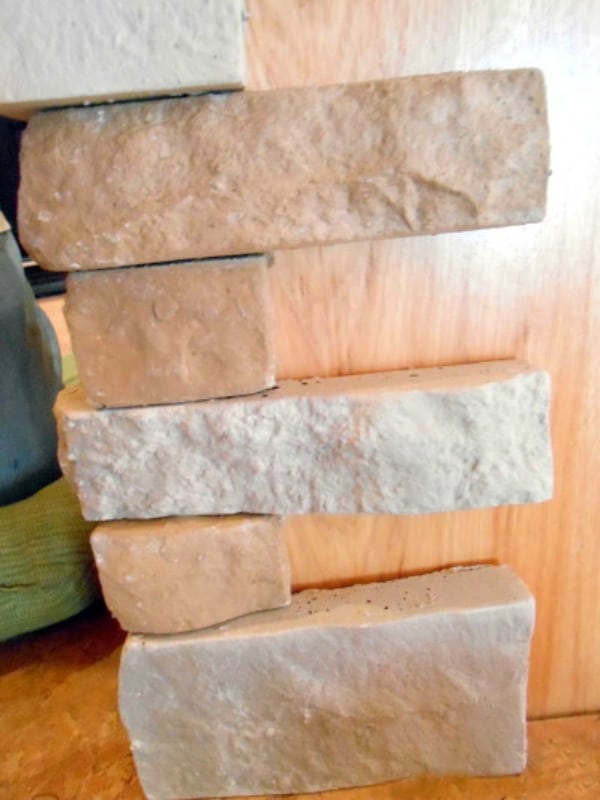
AirStone™ has three different kinds of stone tiles. Corner tiles like you see below, regular field tiles and edge tiles. We needed all three for this project, but for many projects, like a straight wall for instance that might meet walls on both sides, you will only need the field tiles.

Edited: I decided to remove the chair covers we put on a few months ago. I think the old ones look better and not as ‘busy’.
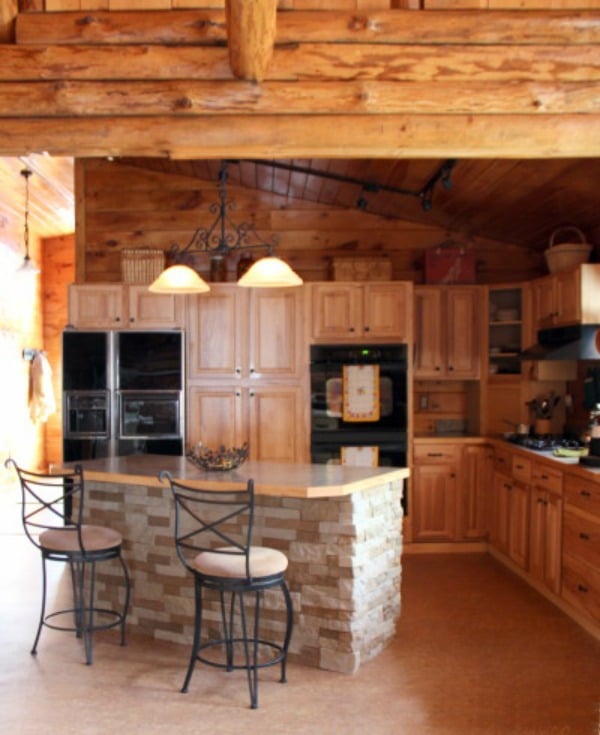
So there you have it, Phase 1 of our kitchen updates. See the cabinet in the corner without a door? We’re going to take out the middle panel and put some glass in there instead and we will probably do that with the set between the fridge and the oven too. Also, we’re planning on putting some molding above the cabinets, moving the microwave to above the stove and a few other decorative details while we’re at it.
What do you think? Would you use this product, and if so, where?
(This is not a sponsored post. I just LOVE this product!).
Partying At
One More Time


Nice place to sit and watch you cook. Are you going to do stain glass? Do you do stain glass? Do you ever sit still?
I don’t think I’m going to do stained glass . For now, I’m going to take the easy way out and just put either plain glass with a film overlay of small leaves or the whitish kind of glass that I can’t think of the name right now ;). I’ve done stained glass. a couple of years ago I made some lamp shades for sconces in our bedroom. Before that, it had been many years but if you look at the ‘before/after’ post, I made the two panels hanging in the basement windows. They’re hard to see in the pics though.
Yeah, I’m afraid I do sit still…witness my bootish Maximus.
Great transfortion and thanks for the info.
Cynthia
Thank you Cynthia! I stopped by your sight last night and saw you haven’t posted in a while. I hope you’re well. Thanks so much for stopping by!
BEAUTIFUL…looks amazing! Great choice…
Blessings,
Cindy
I love how it turned out! That was the perfect choice. You did a great job!! I have a big double cabinet just like yours, but my wood is darker. I really have an itch to paint my cabinets, and seeing your beautiful light color makes me want to do it even more. 🙂
XOXO
Kathy
It looks great! Perfect for your kitchen too, I might add.
hugs,
Cecilia
Doreen, you have a beautiful kitchen! And the textural interest you created with the addition of AirStone was a fabulous idea. You are right….the BBQ looks fantastic!! What a wow!
Beautiful, Doreen!
Doreen,
This is wonderful! I have never heard of AirStone before. You did an amazing job and have got my mind going with all different ideas now for my house.
You will be amazed at how easy it is to work with, and you can use it in many applications such as exterior and interior, backsplashes, fireplaces, etc. It’s fairly affordable too, and it definitely doesn’t look ‘fake’. I hope you give it a try :).
Wow Doreen…Great Job. I have not heard of this product before. Have a great week.
Great review, thanks! I was just looking at AirStone the other day. My wife and I were thinking about putting it around the base of the column on our front porch for a Craftsman-style look. I think we’ll try it!
I saw these in Lowe’s over the weekend and had the exact same thought as you, i.e. to put them on our bar. I was curious, could you share how much everything ended up costing? Looks like about $50 per 8 square feet so seems like a pretty good deal but wasn’t sure about everything else like waste, corner pieces, adhesive, etc.
Hi Rob, There is a certain amount of waste, but that’s inherent in any project. We had enough left over to cover the end of the lower cabinets in our kitchen, and there’s still a bit more left over. All toll, I think it was just under $300 all in. You’re going to need more adhesive than you think, so factor that in. It goes fast!
I highly recommend you do this project. The product is easy to cut, providing your saw is sharp. You might want to have a spare blade at the ready. It will make a huge difference.
Please let me know how it goes if you decide to go forward!
Thanks for stopping by!!
I posted the other night check out the sight I saw!
Cynthia