
I love sewing pillows. Mostly because they’re pretty easy to do, and I don’t like complicated, intimidating projects. I started sewing in high school, so you would think by now I’d be a pro. But there were many years the sewing machine gathered dust, and up until recently, I never had a truly reliable machine so it was always quite frustrating.
Anyone with a sewing machine can sew a pillow. Actually, you don’t even need a sewing machine. You can use fusible web for most projects, but I will admit sewing makes things a bit sturdier. I saw this cute pillow on Pinterest recently, and when my friend Elaine gave me some curtains in a fabric I really liked, I was inspired. So last Saturday, while Fisherman was nursing a pulled shoulder muscle, I spent the afternoon blissfully at work. If you would like to tackle this project, aside from the obvious supplies (thread, scissors, sewing machine) you will need:
- 18 x 18 pillow form* (or cover an existing pillow like I did)
- About 2 yards of fabric
- Buttons
- Ribbon
- Water Soluble Marker
*If you use a pillow with different dimensions, adjust your cutting accordingly. Basically, if your pillow is, say, 16″ x 13″, you would cut a piece of fabric 17″ x 14″. Just remember…an inch larger than your pillow.
Cutting Instructions
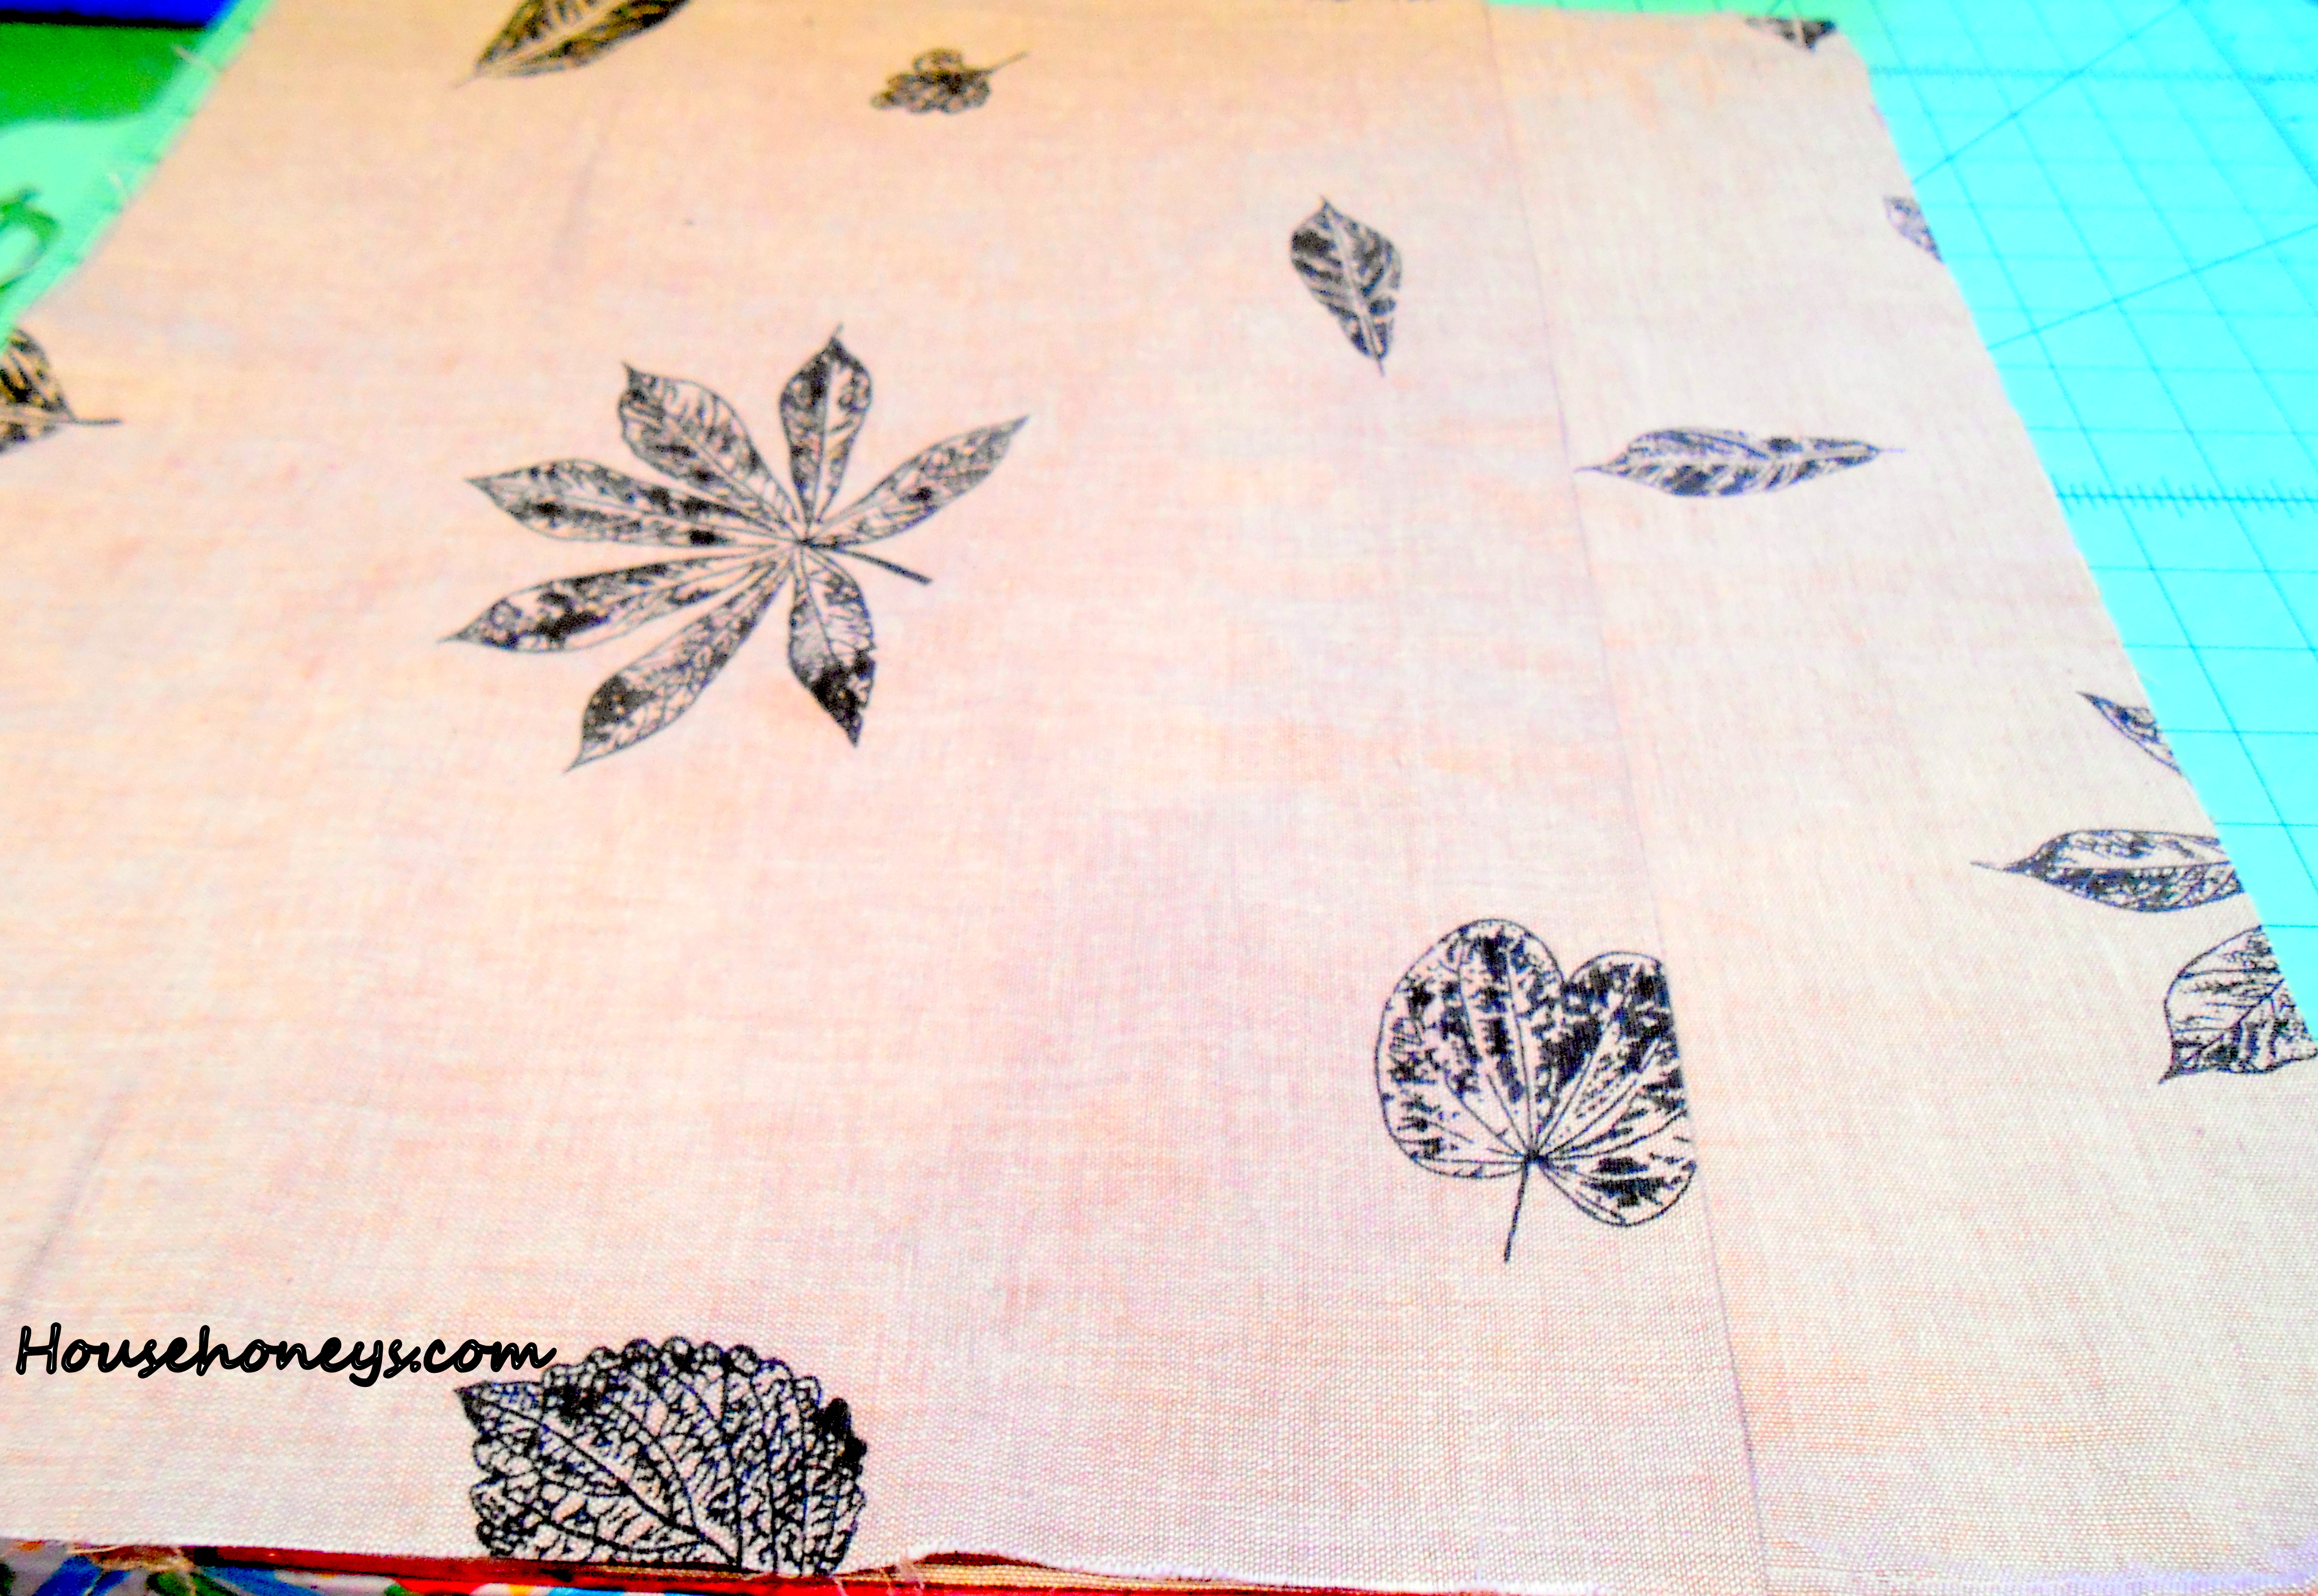
- Cut one 19″ x 19″ panel for the Pillow Front
- Cut two 19″ x 16″ panels for the Pillow Back
- Cut two 6″ x 40″ strips for the Ruffles (this can be approximate depending on how heavy your fabric is and how ‘ruffly’ you want it. Lighter weight fabrics can be cut longer…up to 51″ or so. As a general rule of thumb, fabric for the ruffles should be twice the length of your pillow.)
- Two 17″ lengths of ribbon (or two pieces of ribbon one inch longer than your pillow width).
Sewing Instructions
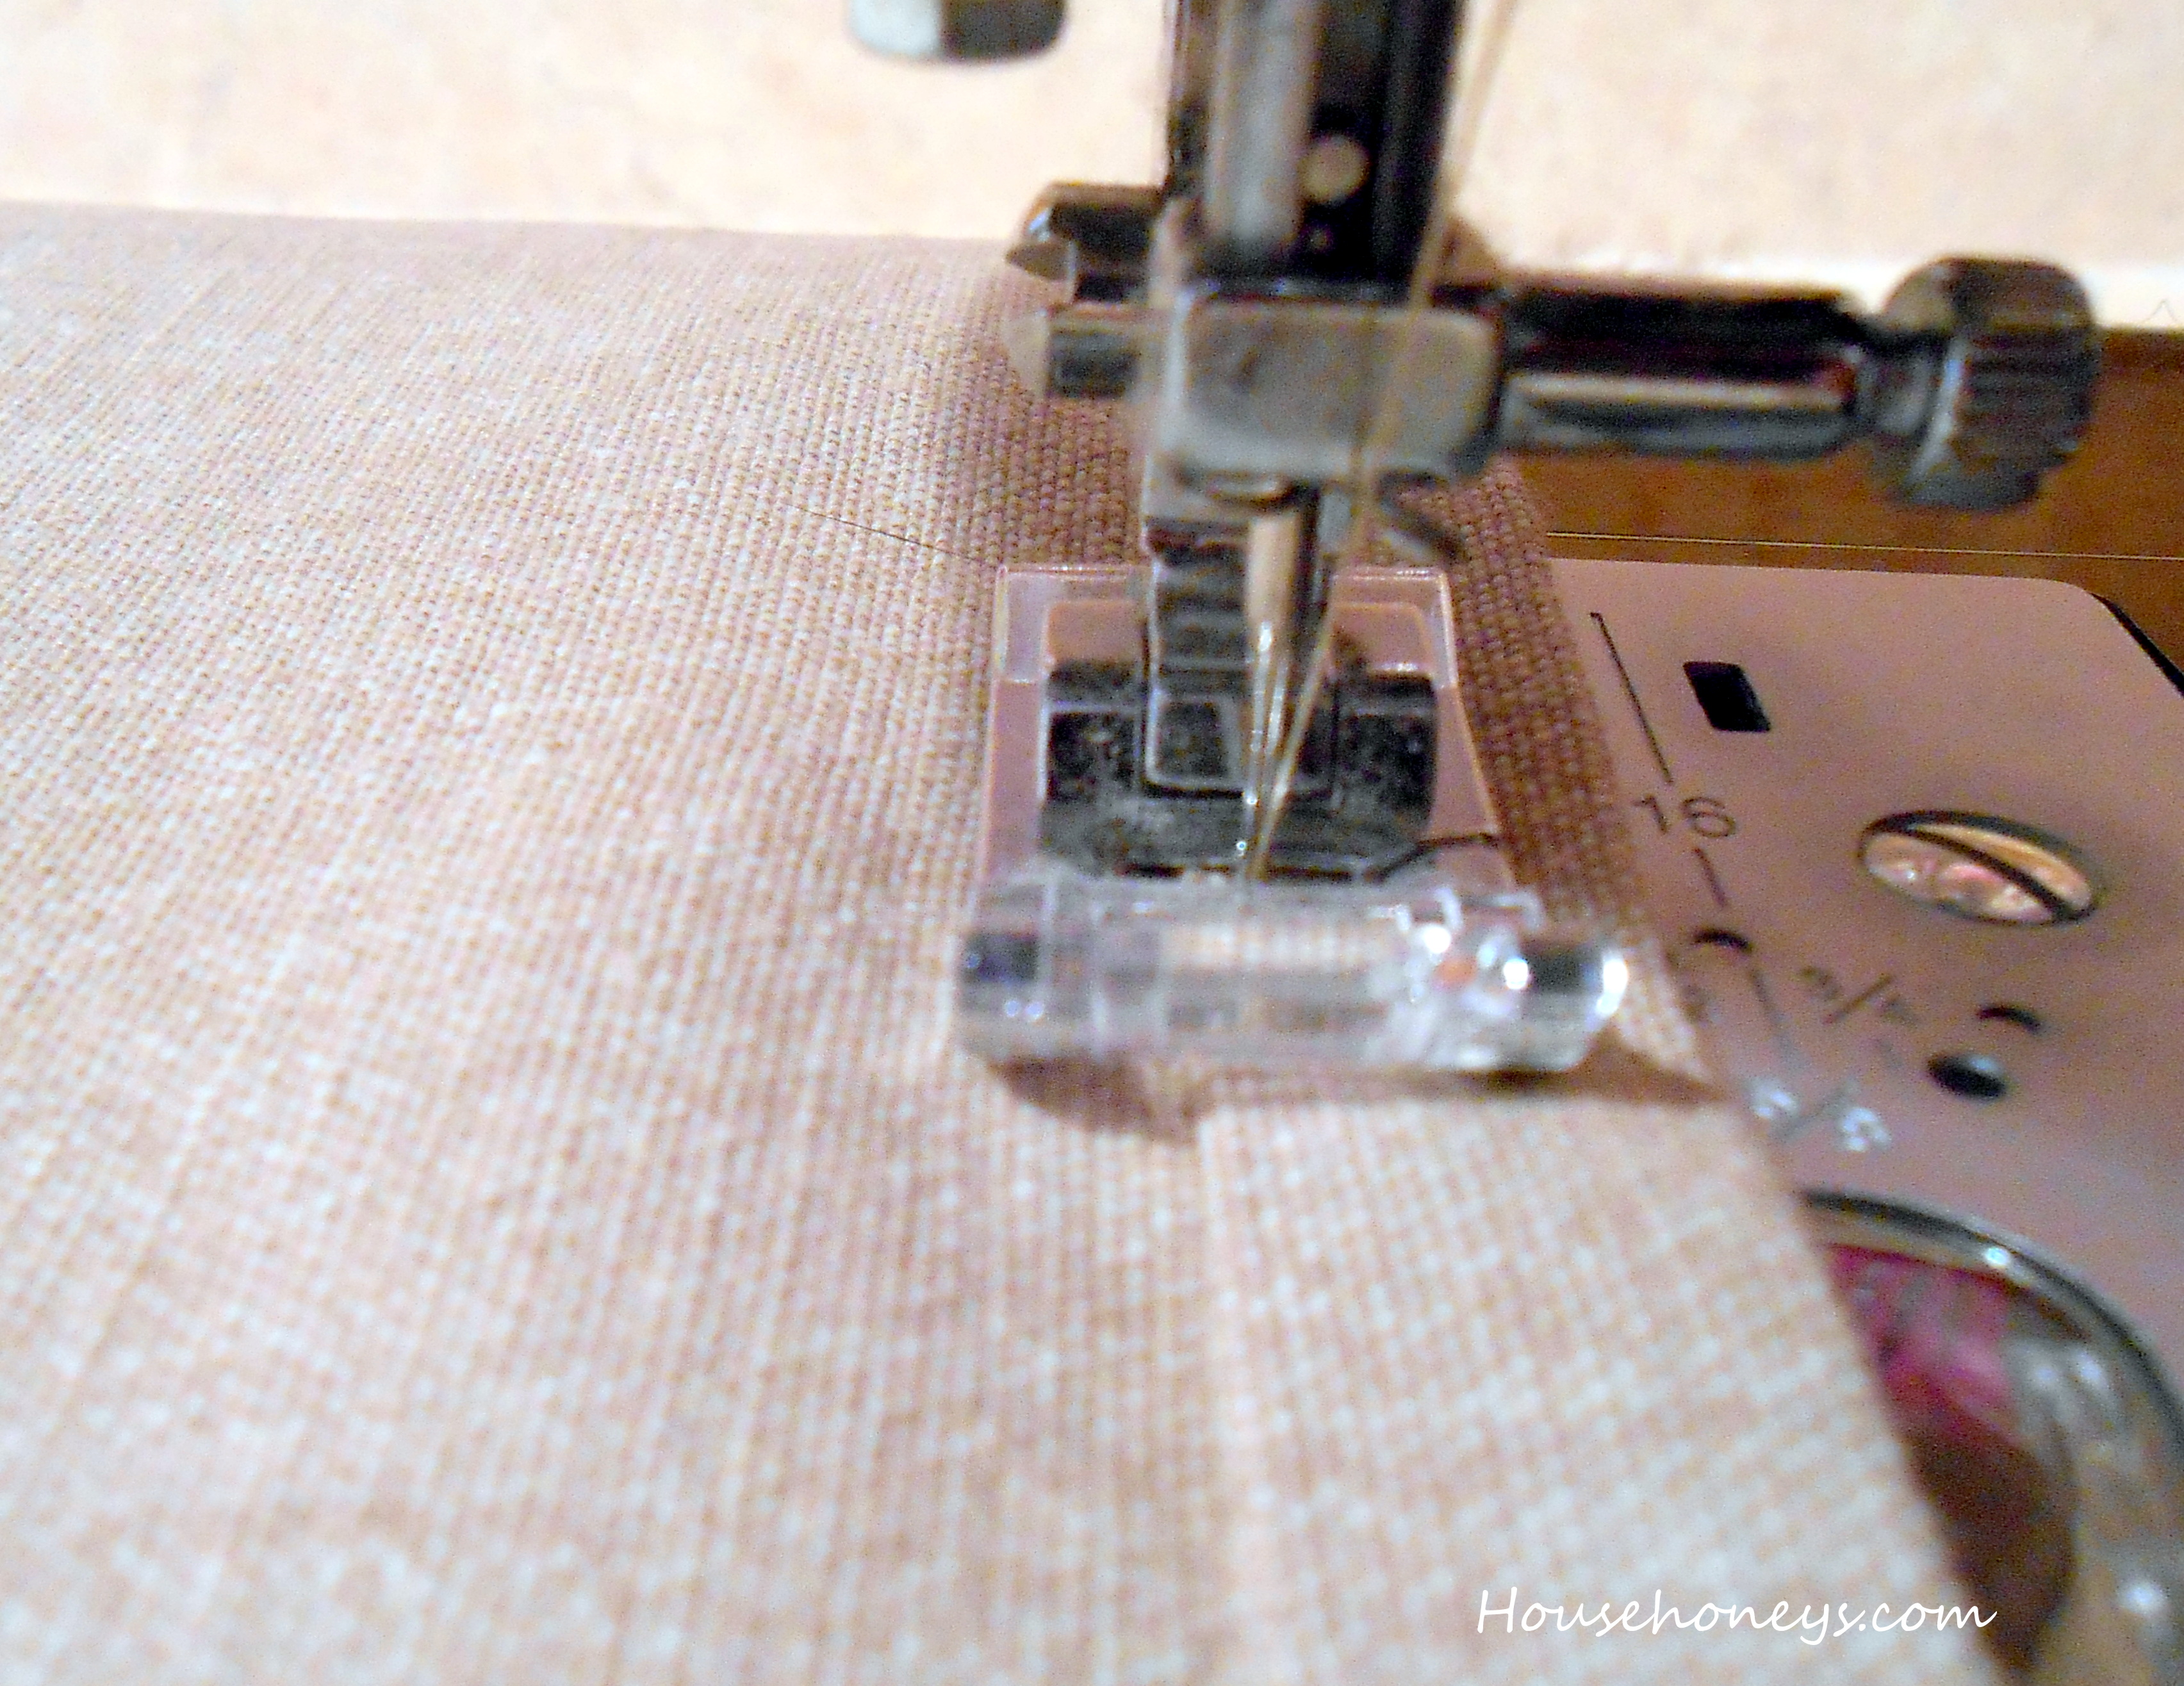
Your first step is to hem both of the long ruffled strips along one of the long sides. If you happen to have a 3/8″ Bias Press Bar, use it. If not, eyeball it and measure as you go along. You can also make one by using card stock. Fold in 3/8″ of an inch, press, and fold again. Stitch as shown above then press. Do the same with the short ends. I got lucky and didn’t have to do this step because these were curtains and the ends were already done.
Now you’re going to ‘ruffle’ the strips. There are several ways to do this…you could use a ruffler attachment, you could use dental floss and zig-zag over it, or you can do it the way I learned back in the day.
Mark the center of each of the two ruffles strips along the unfinished edge with a water soluble marker. Using your machines longest stitch (mine is only 4.8 but they typically go to about 6) sew a row of stitching about 1/4″ from the edge and then sew another row of stitching about 1/4″ from the row you just stitched. Make sure you leave a tail of thread at least 2-3″ long.
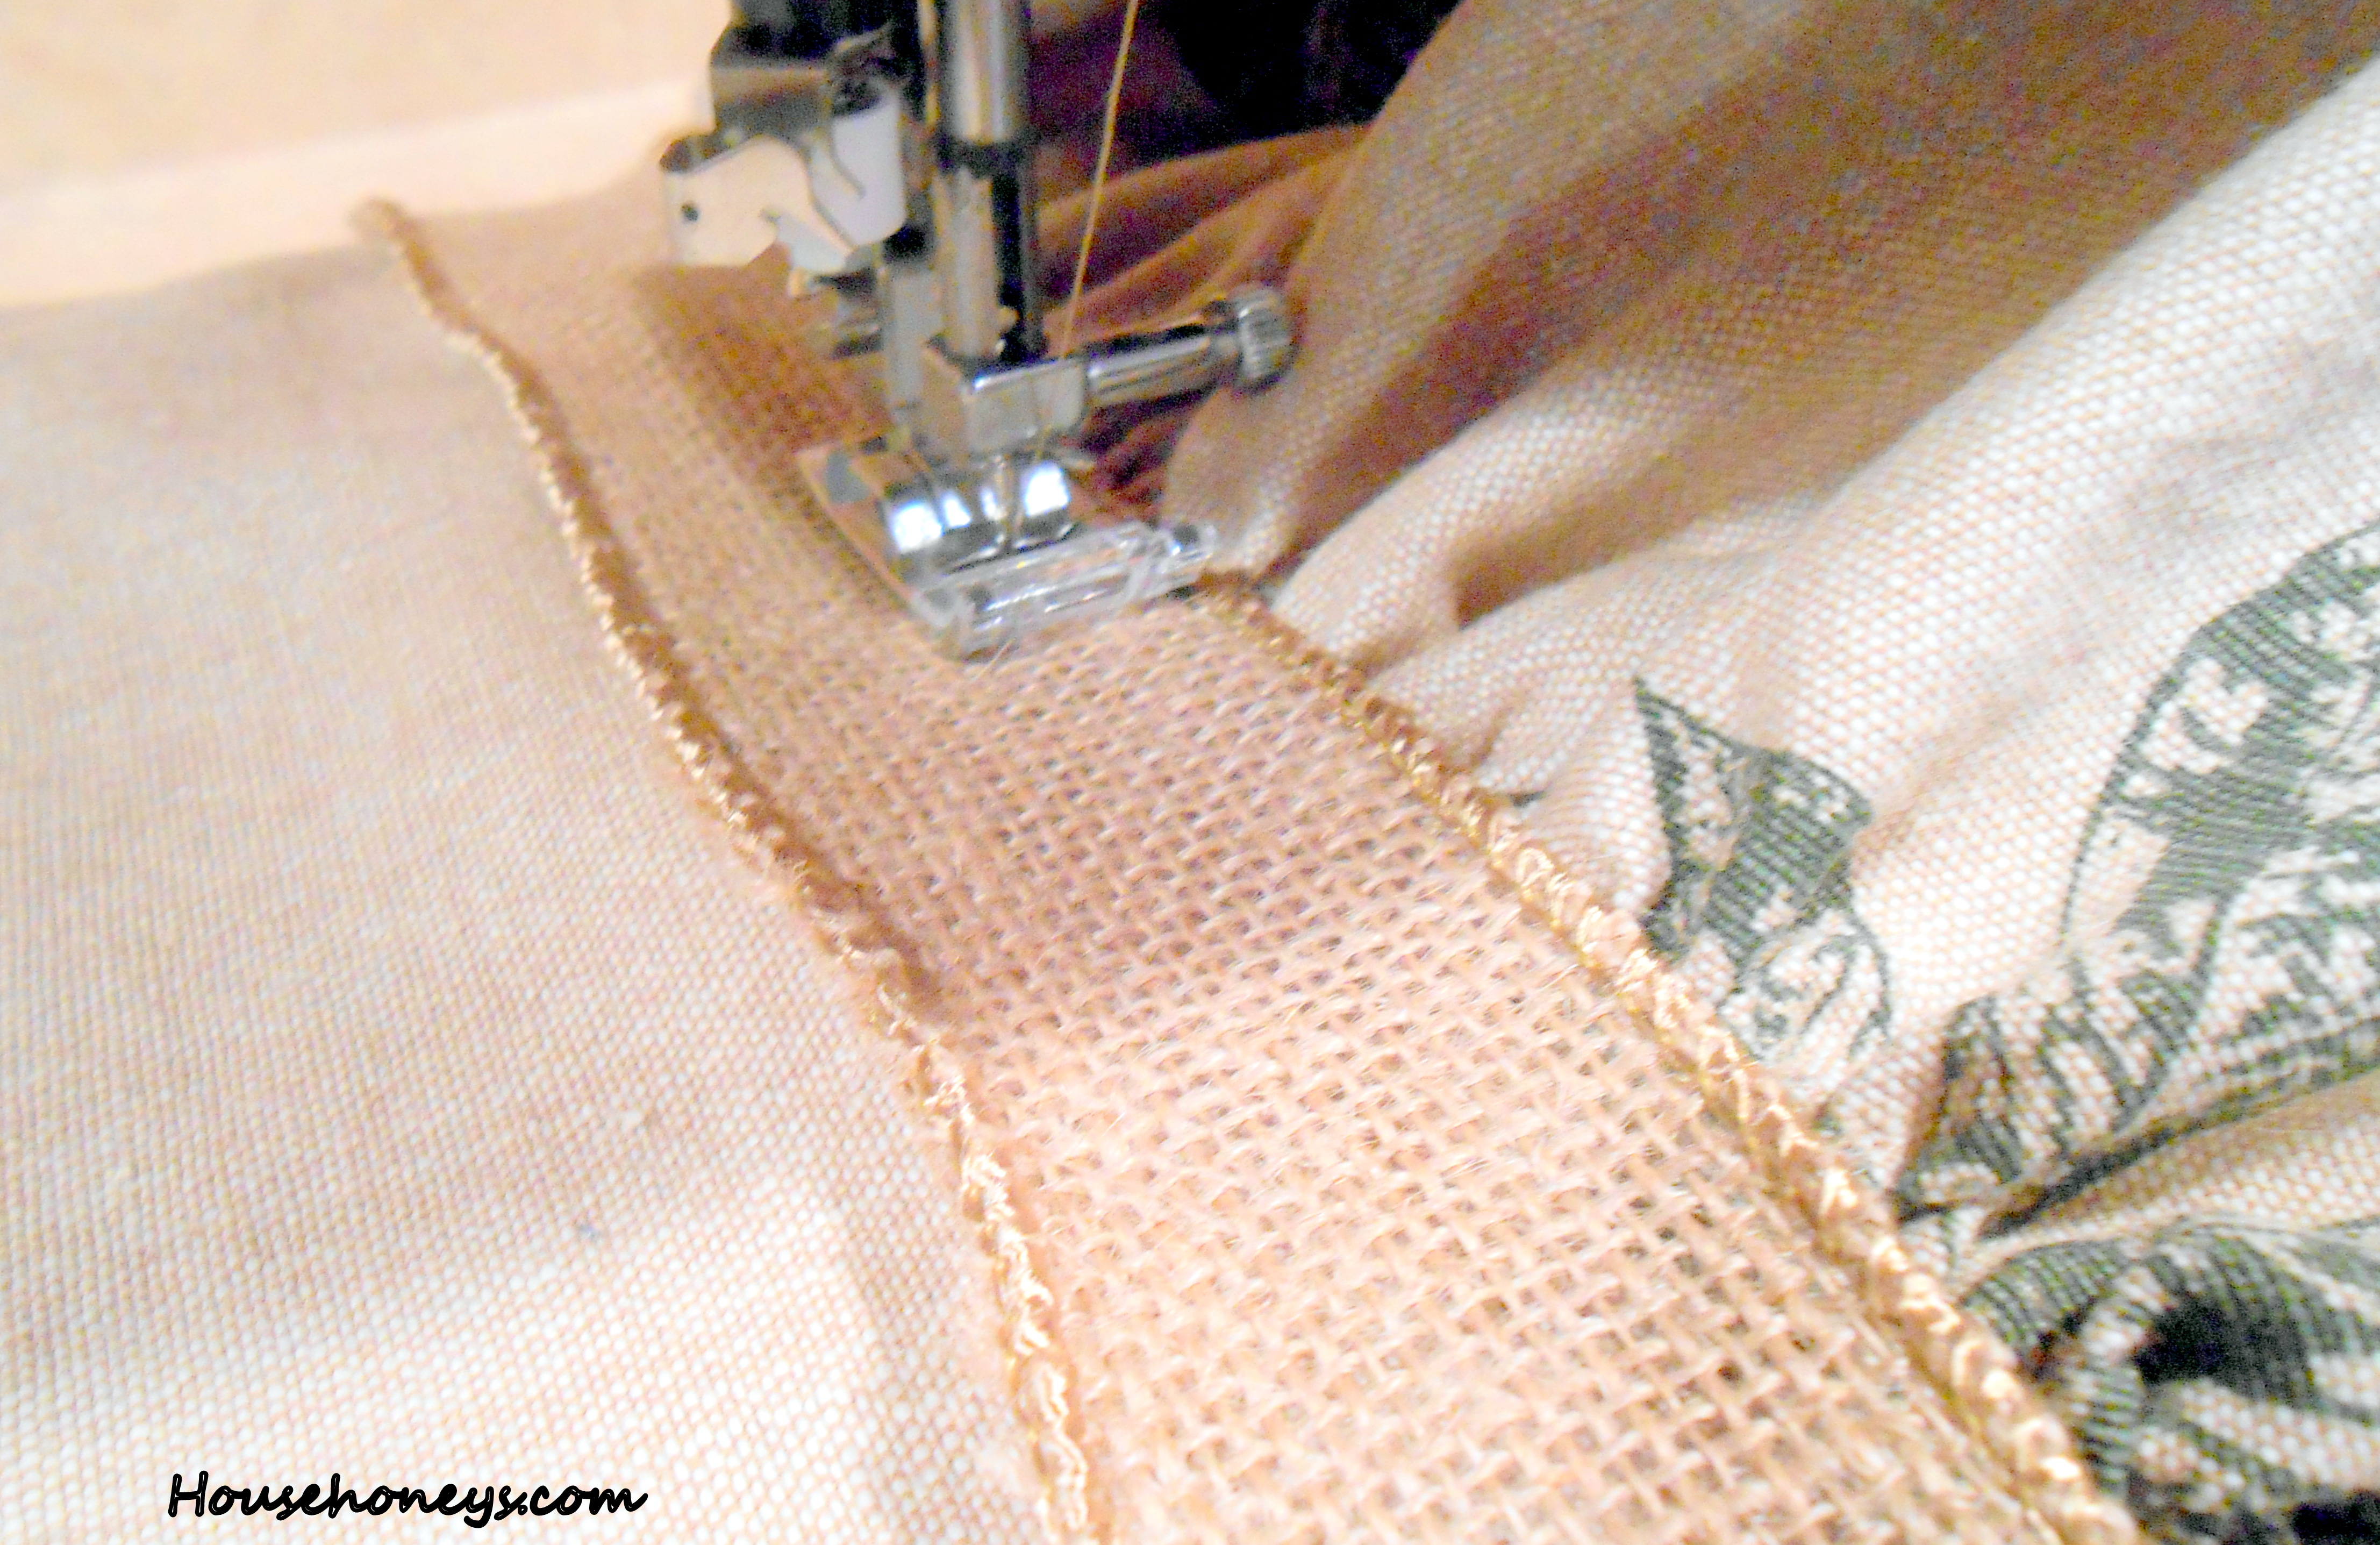
Hold the two back threads and pull the fabric gently to gather it to the center mark. Do the other side as well. Adjust gathers so they’re evenly distributed and the strip width equals the width of your pillow. Using the water soluble marker again, measure up 6″ from the bottom edge of your fabric for the pillow front and mark, then measure up from there 2 1/2″ and mark. Pin one of the ruffled pieces to the first marked line, starting and ending 5/8″ away from the Pillow Front edges. Using a 3/8″ seam allowance, stitch the ruffle onto the Pillow Front.

Take your ribbon and place over raw edge of ruffle and stitch in place. Add the second ruffle to the next marked line the same way. Add the second ribbon to cover the raw edge.
Decide on button placements and stitch buttons in place. You will notice there is another thin brown ribbon in the following picture. I just happened to have this piece of ribbon and thought it looked nice with the buttons so I added it in. This is NOT a necessary step for you to follow.

For the Pillow Back, hem one 19″ edge on each of the panels. Again, your measurements may vary due to the pillow size. The edges that need the hemming are the ‘top to bottom’ hem that will be the envelope.
With right sides up, place the two Pillow Back panels to a measurement of 19″x19″. The finished hem edges should overlap to create an envelope back.
Important! Pin the ruffles away from the edges to prevent them from getting sewn into the seams during this next step.
Pin the Pillow Front to the Pillow Back and stitch together using a 1/2″ seam allowance. If desired, cut the corner seams diagonally with sharp scissors.

Turn Pillow Cover right side out and place pillow form inside.
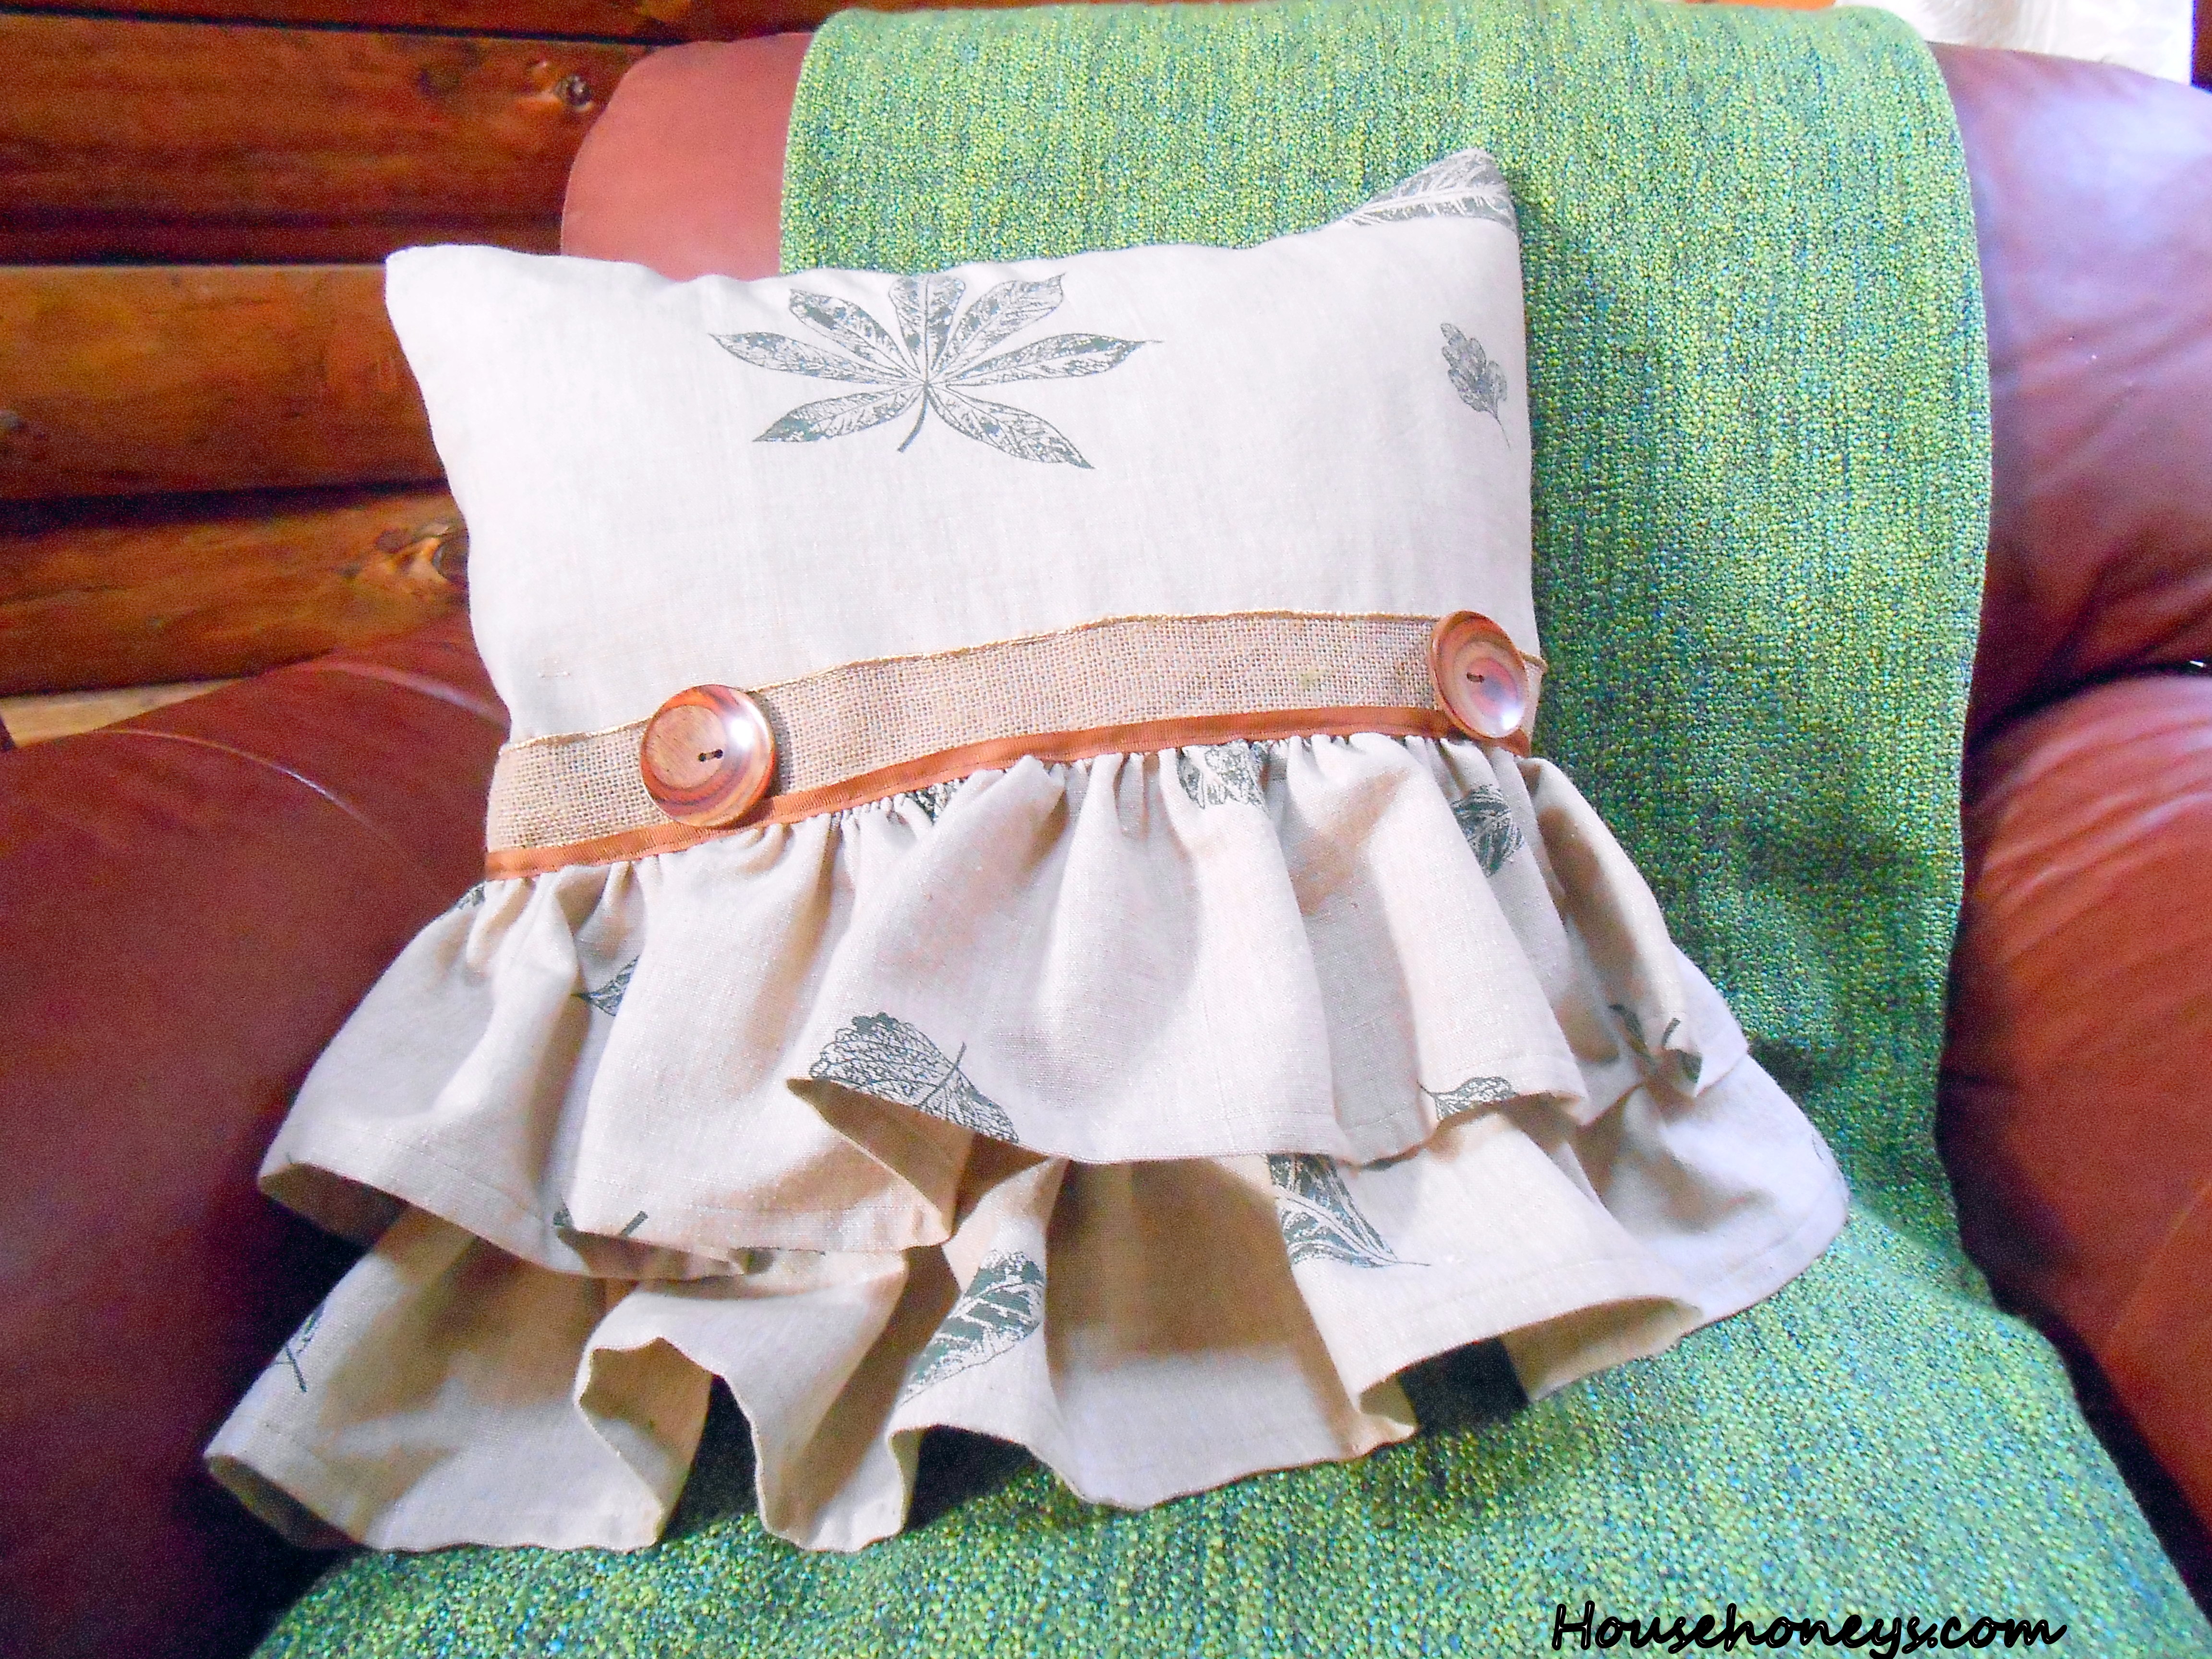
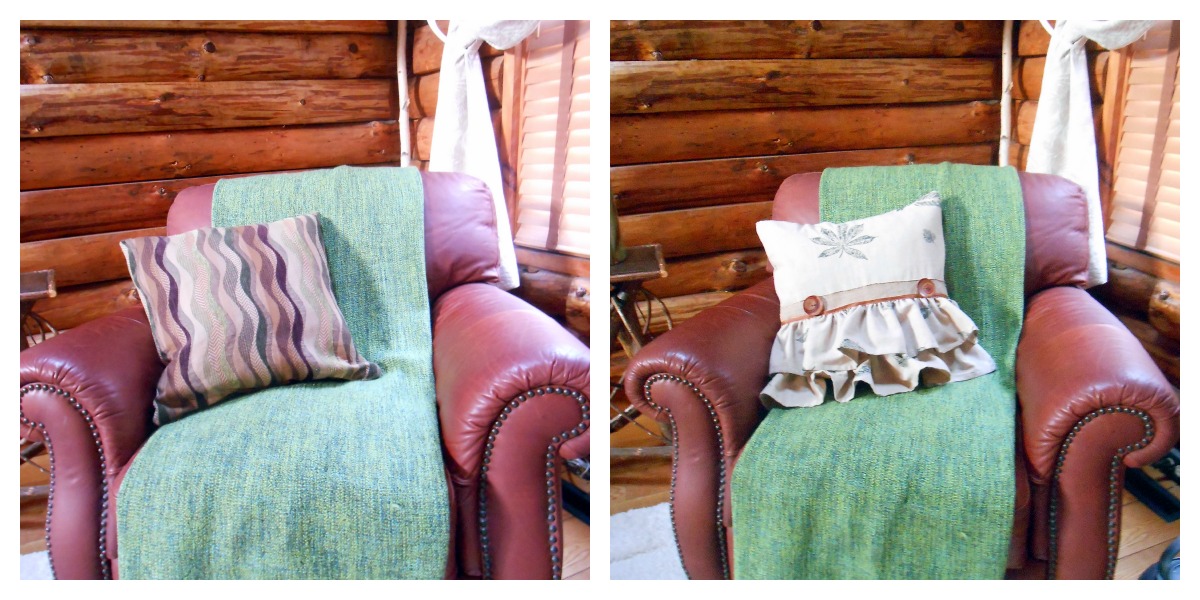
Fisherman said it looks like all that’s needed is a doll’s head on top. He’s just ticked because I got rid of his singing fish. I think it’s adorable. The original pillow was purchased just a few months ago at Home Goods. In the store, it looked like it would work in the space, but it turned out to be too dull. Basically, this finished pillow cost me practically nothing. I already had the buttons and ribbons, and the fabric was a freebie. Thank you Elaine! And I have enough fabric to make another pillow too! Here’s a ‘before/after’.
I hope I’ve inspired you to give this a try. It’s a fun project and a great way to learn some new techniques.
Partying At:


That’s so cute. Love the transformation.
Liz
Very nice. I make ruffled pillows also. I love yours and would love to have you link this tutorial to What To Do Weekends also. Thanks, Linda
http://www.craftsalamode.com/2013/02/what-to-do-weekends-5.html
Doreen, your pillow is awesome!!! I love it. You did such a fabulous job. I need to make me one. I am featuring you at the Pick of the Bunch!! I am off for a week, and so excited. I need it to get caught up. Have an awesome weekend, and thank you so much for sharing at A Bouquet of Talent.
XOXO
Kathy
Thanks so much Kathy! Send me the fabric you want and I’ll make it for you!