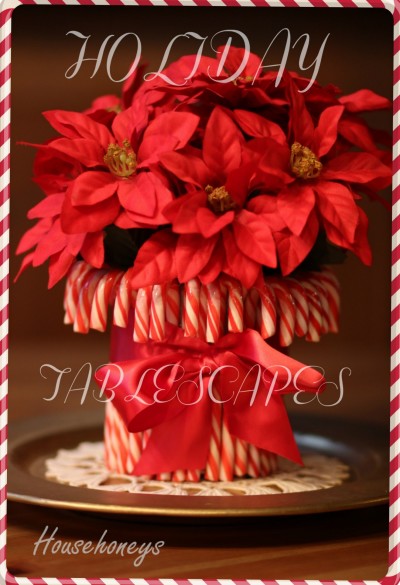
A while back I came across a cute little centerpiece on Pinterest that I was determined to make so when I was asked to make something small and easily movable for the clubhouse tables it came to mind.
(I would give credit where credit is due but the link led to a questionable site. I’ll just leave it at that.)
![]()
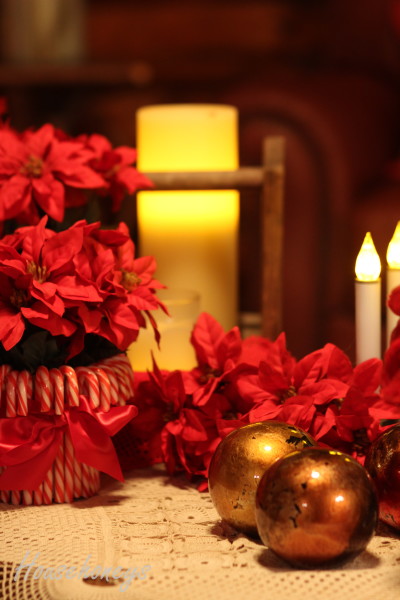
This is so simple to make with one exception. It took forever to take off the plastic that covers each individual candy cane, and in the process I broke several making it necessary to purchase some more. By the time I got to the second one, I decided to leave the plastic on, which I should have done in the first place because it really doesn’t make it look any different.
So if you decide to do this, all you’ll need is a glue gun, a container of choice and candy canes. Just make sure the canes are slightly bigger than the container. Make a line of glue down the side of the container and put the candy cane on, continue until the entire container is covered. If you don’t take off the annoying plastic, this process will take around 10 minutes. If you do take it off, you’ll have it finished by Christmas 2014. 😉

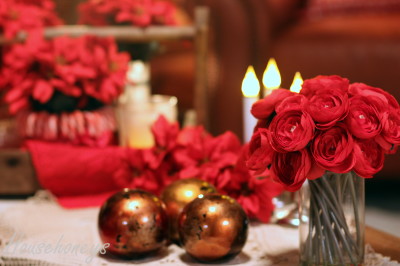
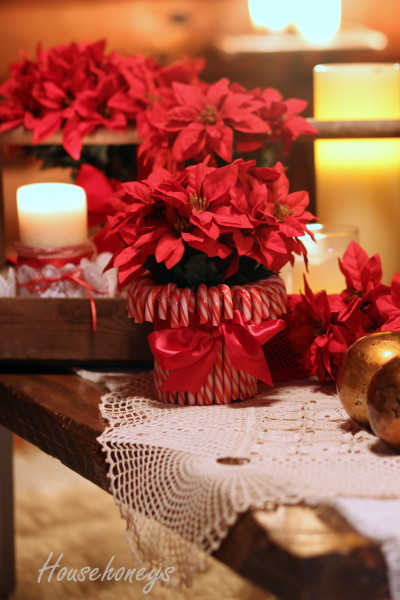
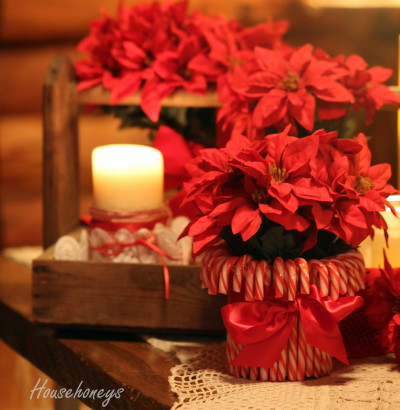
I purchased these orbs at Pier I at the end of the summer and they’ve found their way into just about every tablescape I’ve made since then. They’ve super versatile, but not nearly as versatile as the wooden tray I picked up at an antique store for a song.
![]()
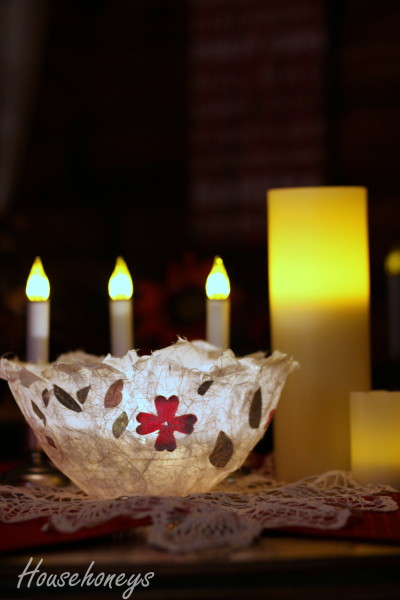
I made this Mod Podge bowl a few months ago, and it was so much fun and easy to do I made two more! I love how the light filters through it, don’t you? For the ‘how-to’, go here.
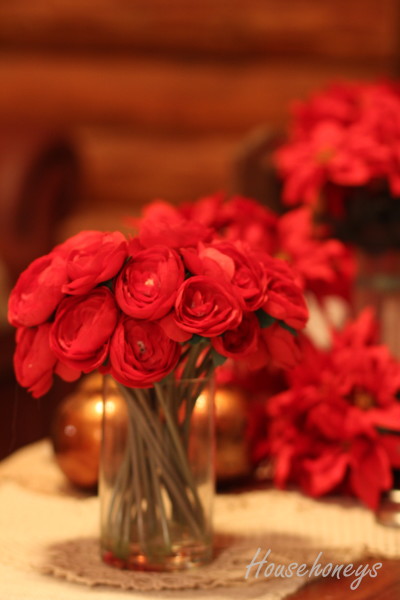
Although white, silver and gold are my favorite colors for holiday decorating, reds look great when wood is the primary backdrop, don’t you think?
Sharing At


Candy canes and the red and white somehow always ends up being the most striking combination for Christmas. I love your candy cane centerpiece. So glad you discovered the secret to “keep it wrapped/ unwrap” option. I would end up eating all the candy canes before I finished making it (for next Christmas) 😉
It looks so cute. The candy canes reminds me of childhood, while the two colour scheme makes it look so chic!
I love how these look! It’s good to know the plastic can stay on. They turned out beautifully, Doreen!
Very pretty! Love the candy cane vase!
Love all the reds, the doilies are charming and the candy cane vase is SWEET!! How absolutely adorable your Christmas tablescape is, and yes, the warm colour of wood and the natural element of it, certainly highlight the passionate depth of red!
Lovely!
xo
Poppy
There’s a story about those doilies Poppy. We own a cleaning business, and one of our customers gave her team a car load of stuff, much of it brand new….cloths, makeup, housewares, you name it. They didn’t want everything so we ended up with several tablecloths, a bag of markers, more ribbon than I can count, wrappings galore, a cookie press, and about a dozen doilies of various sizes. Christmas c,ame early!
Hi Doreen! Those candy cane vases are so adorable. I’m going to try to make a couple. Thank you!
Another way to make them would be to put a rubber band around the container then one by one place the candy canes behind it. When you’re done, cover the band with a ribbon. Easy peasy and no glue needed!
Wow! That’s even better! Thanks Doreen. xx
Ha! You realized halfway through to leave the plastic wrappers on…I would have had the same head-smack moment. I always make more work for myself than is necessary!! I love what you’ve done…I’m looking forward to next Christmas…I should be able to do some serious decorating by then. I’ll definitely be getting me some candy canes…and leaving them in the wrapper. 🙂
-andi