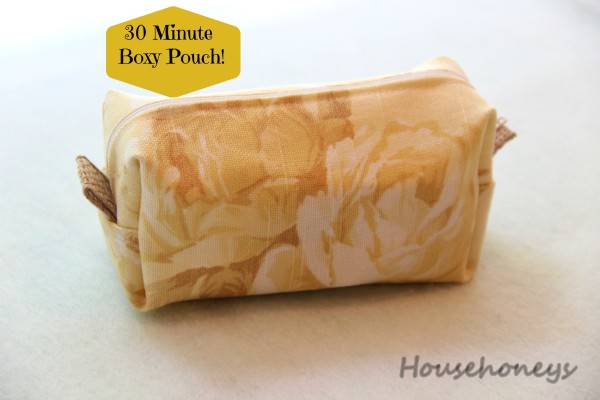
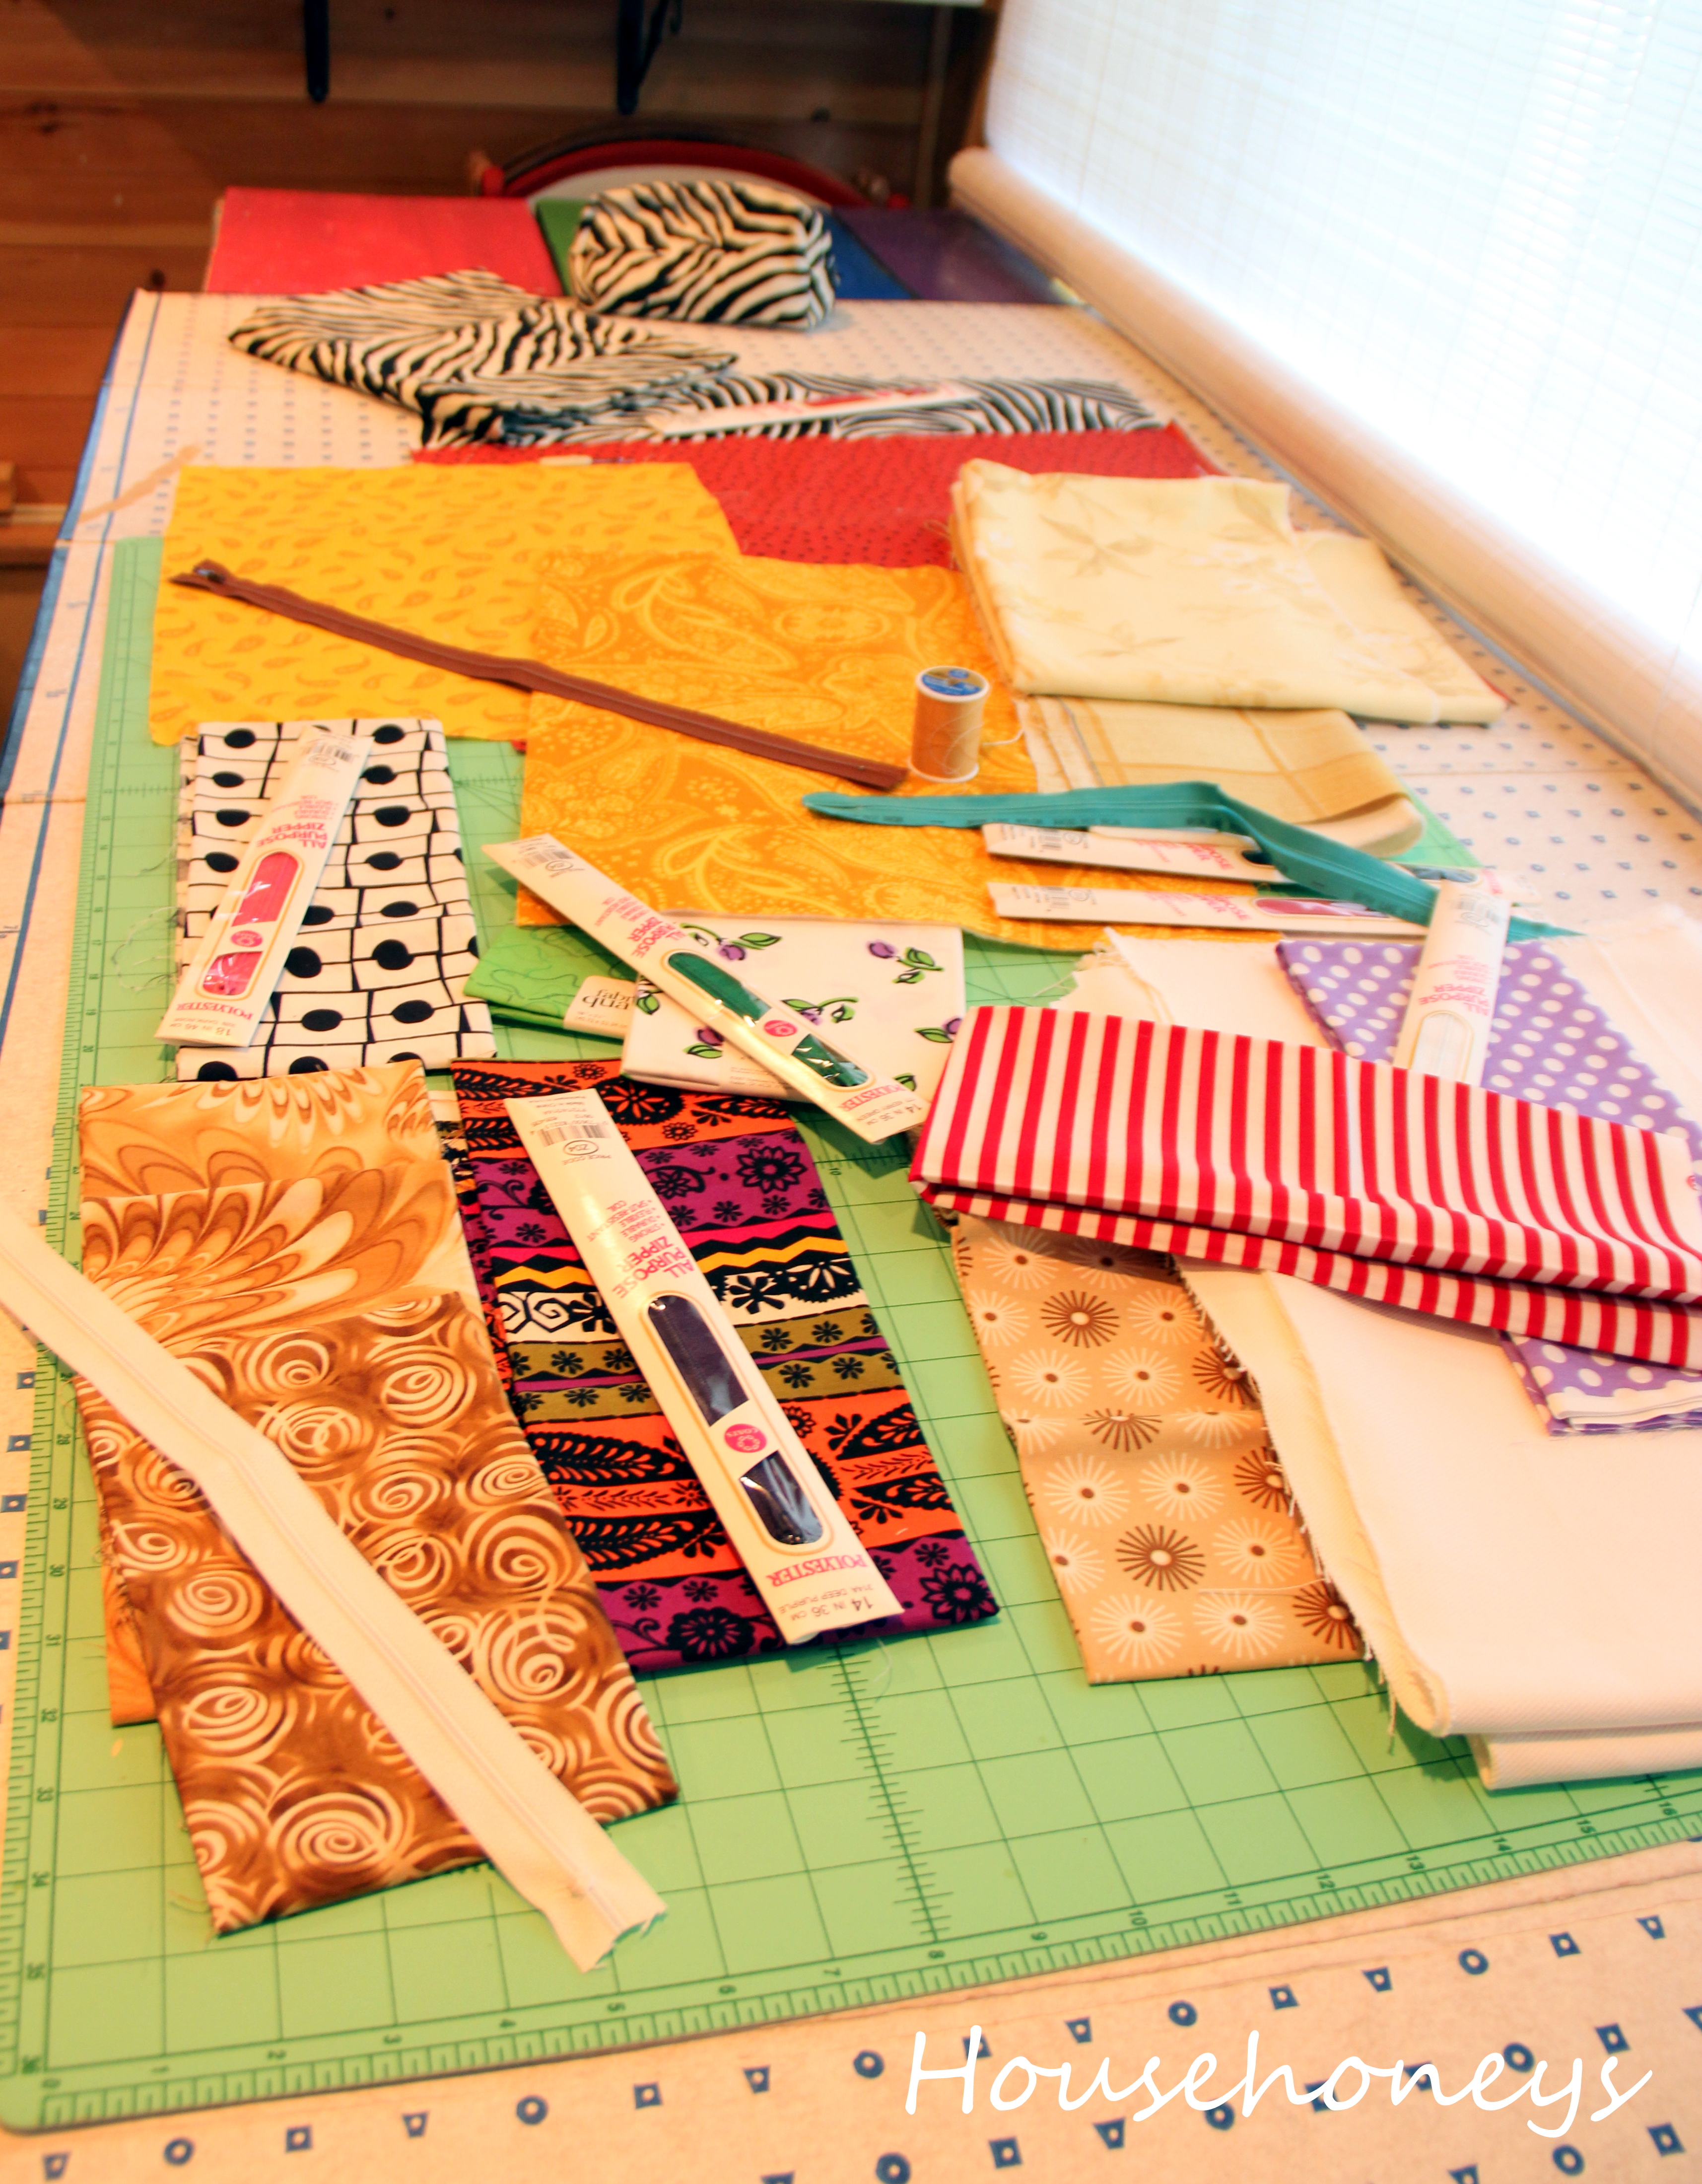
Hey there everyone! I hope your holiday weekend was a good one. Ours was good, but rainy. It pretty much rained the entire weekend except Monday, so I made the most of it and spent some time sewing some boxed cosmetic bags. I really wanted to make use of some of the fat quarters and fabric scraps I had so I figured cosmetic pouches were a good idea.
Even though I’ve been sewing for years, like so many of you I’ve always been afraid to install zippers. Actually, terrified is a more apt description.
BUT NO MORE!
Nope. I tamed that beast once and for all. I finally figured out a way to do it that is so easy and almost fool proof and I can’t believe I hadn’t thought of it before. I’m even more surprised I’ve never come across any tutorials using this method.
The hardest part of installing a zipper is not being able to see the coils as you sew. You kinda have to feel your way along and it’s really difficult to get super close to the coils which is what you want for a nice clean finish. If you’re sewing an item that is unlined, this is the way to go. If it’s lined, I think you’ll have to use the tried and true method unless someone out there knows an easier way. If so, do share!
Ready to get started?
1. Cut your fabric into two rectangles around 9×6″. The 9″ will be the top/bottom. On one long end of each piece, turn under 1/2″ and iron. This fold is where you will sew your zipper.
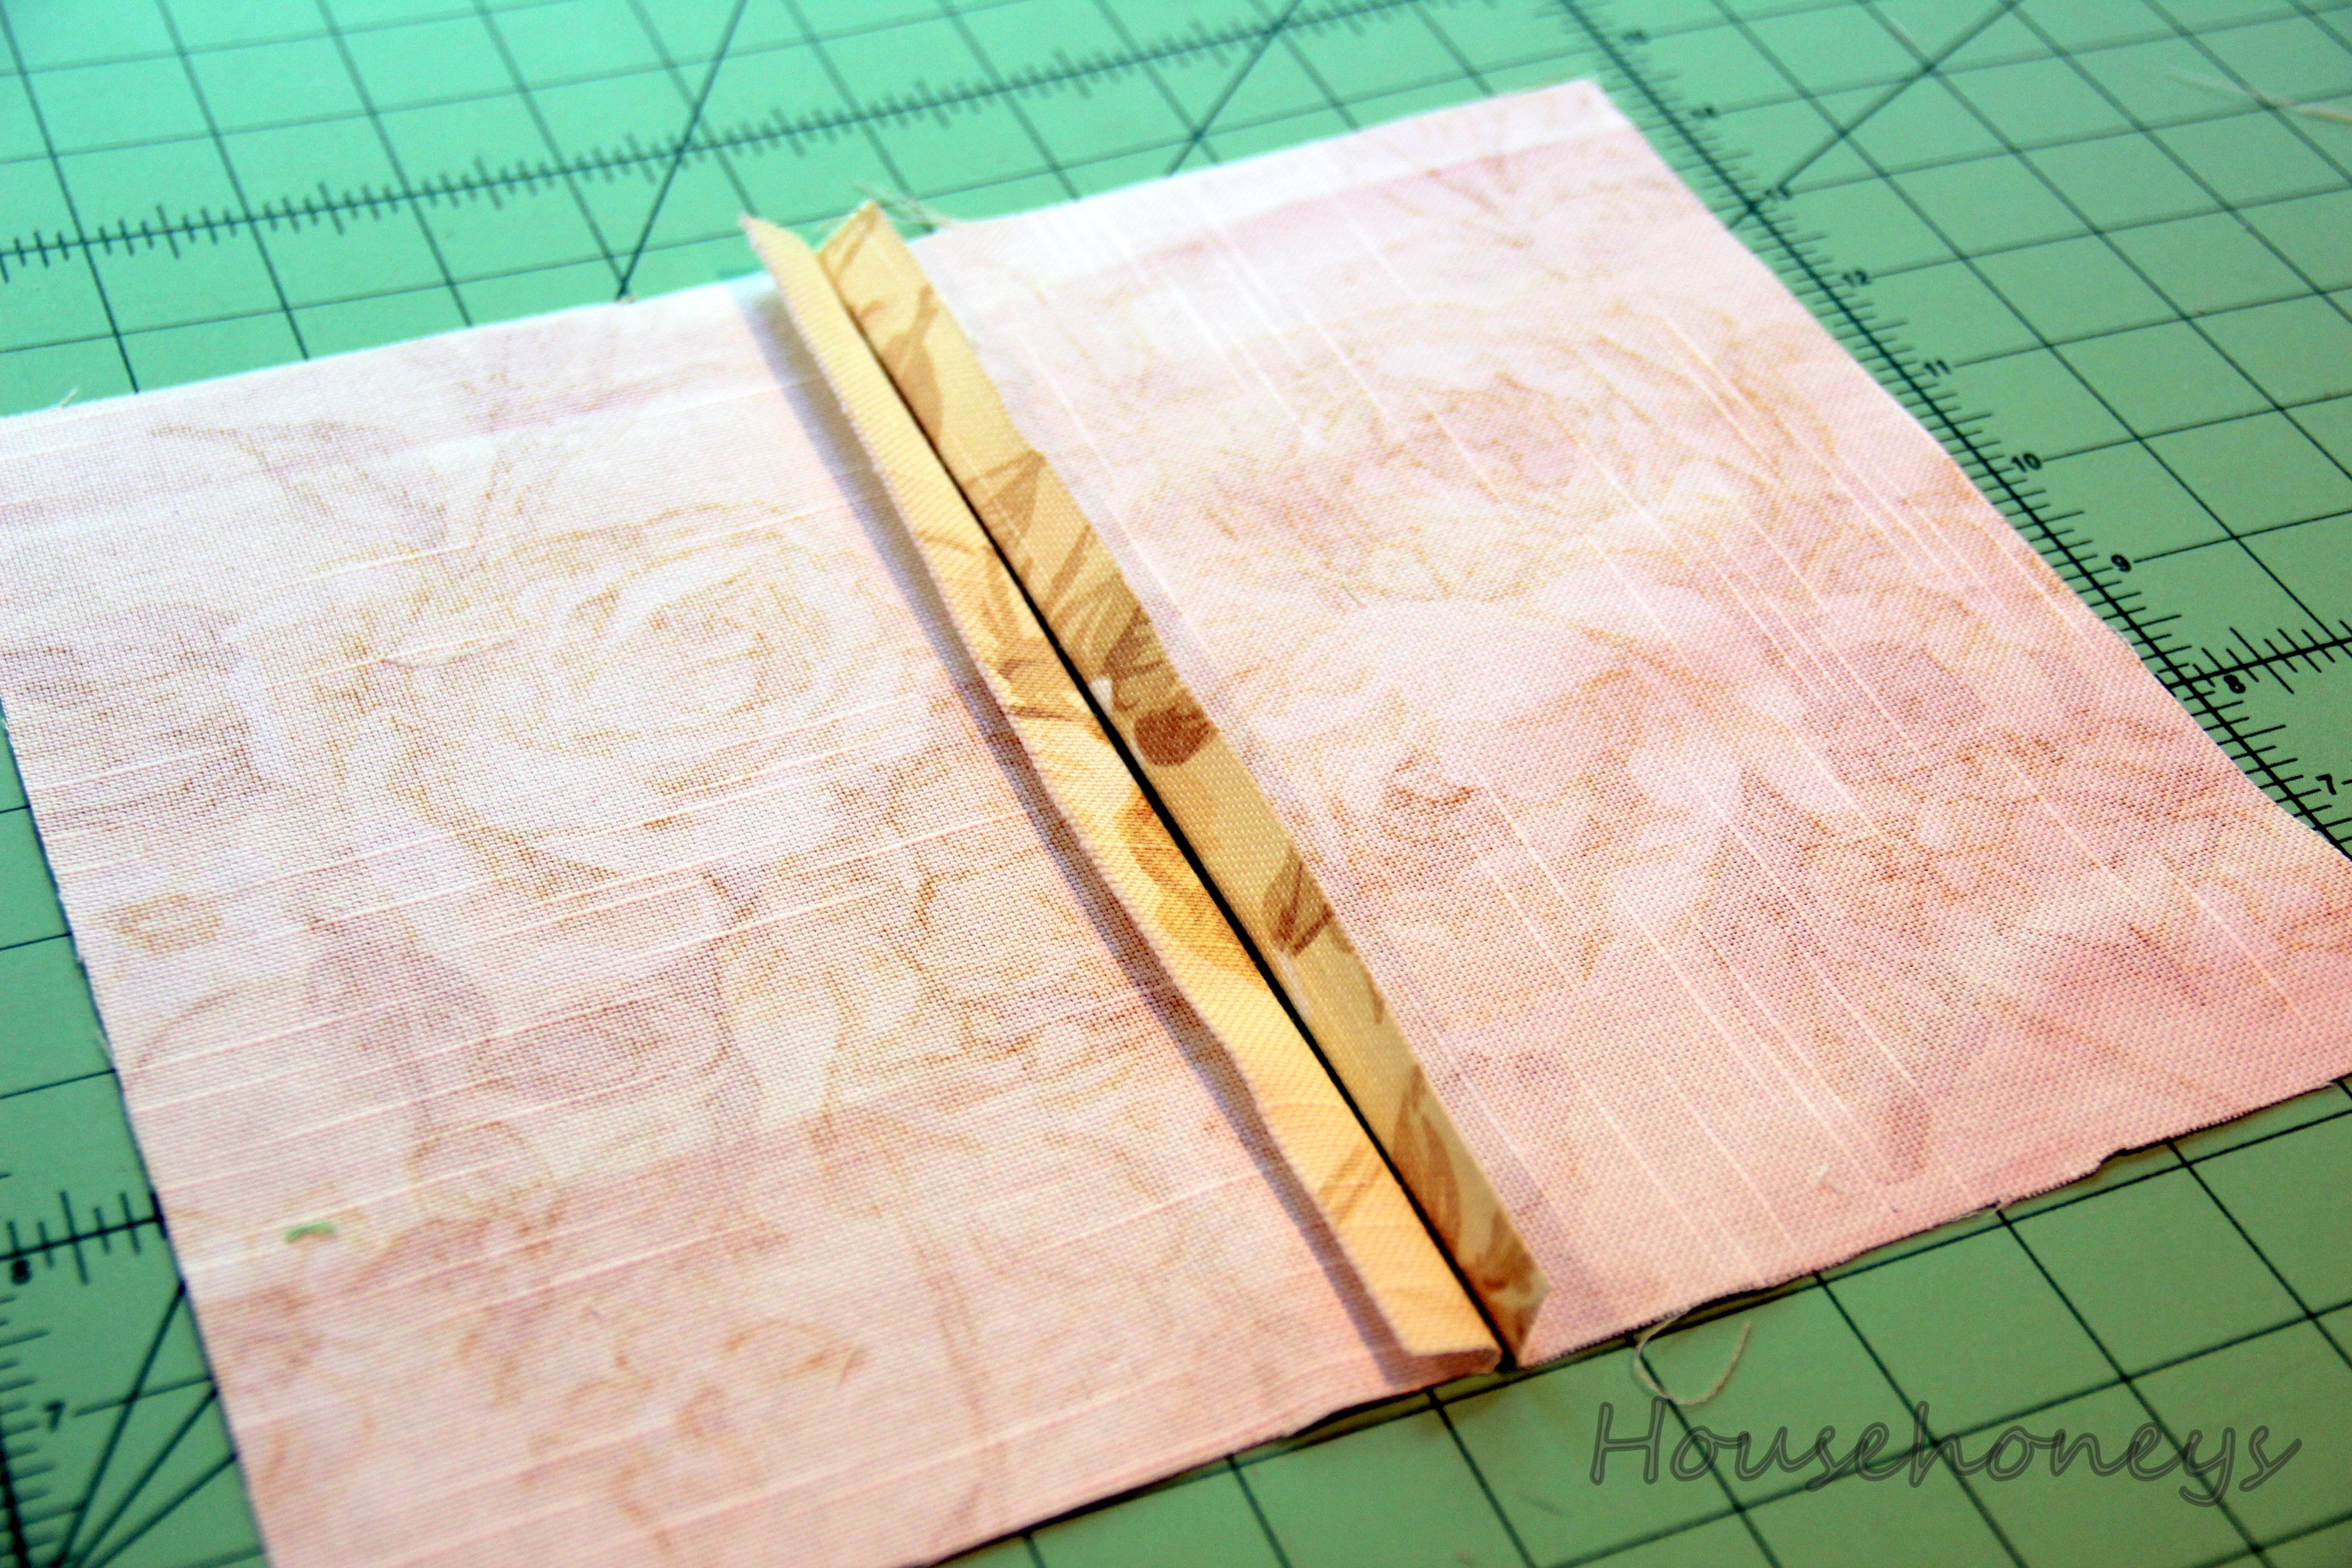
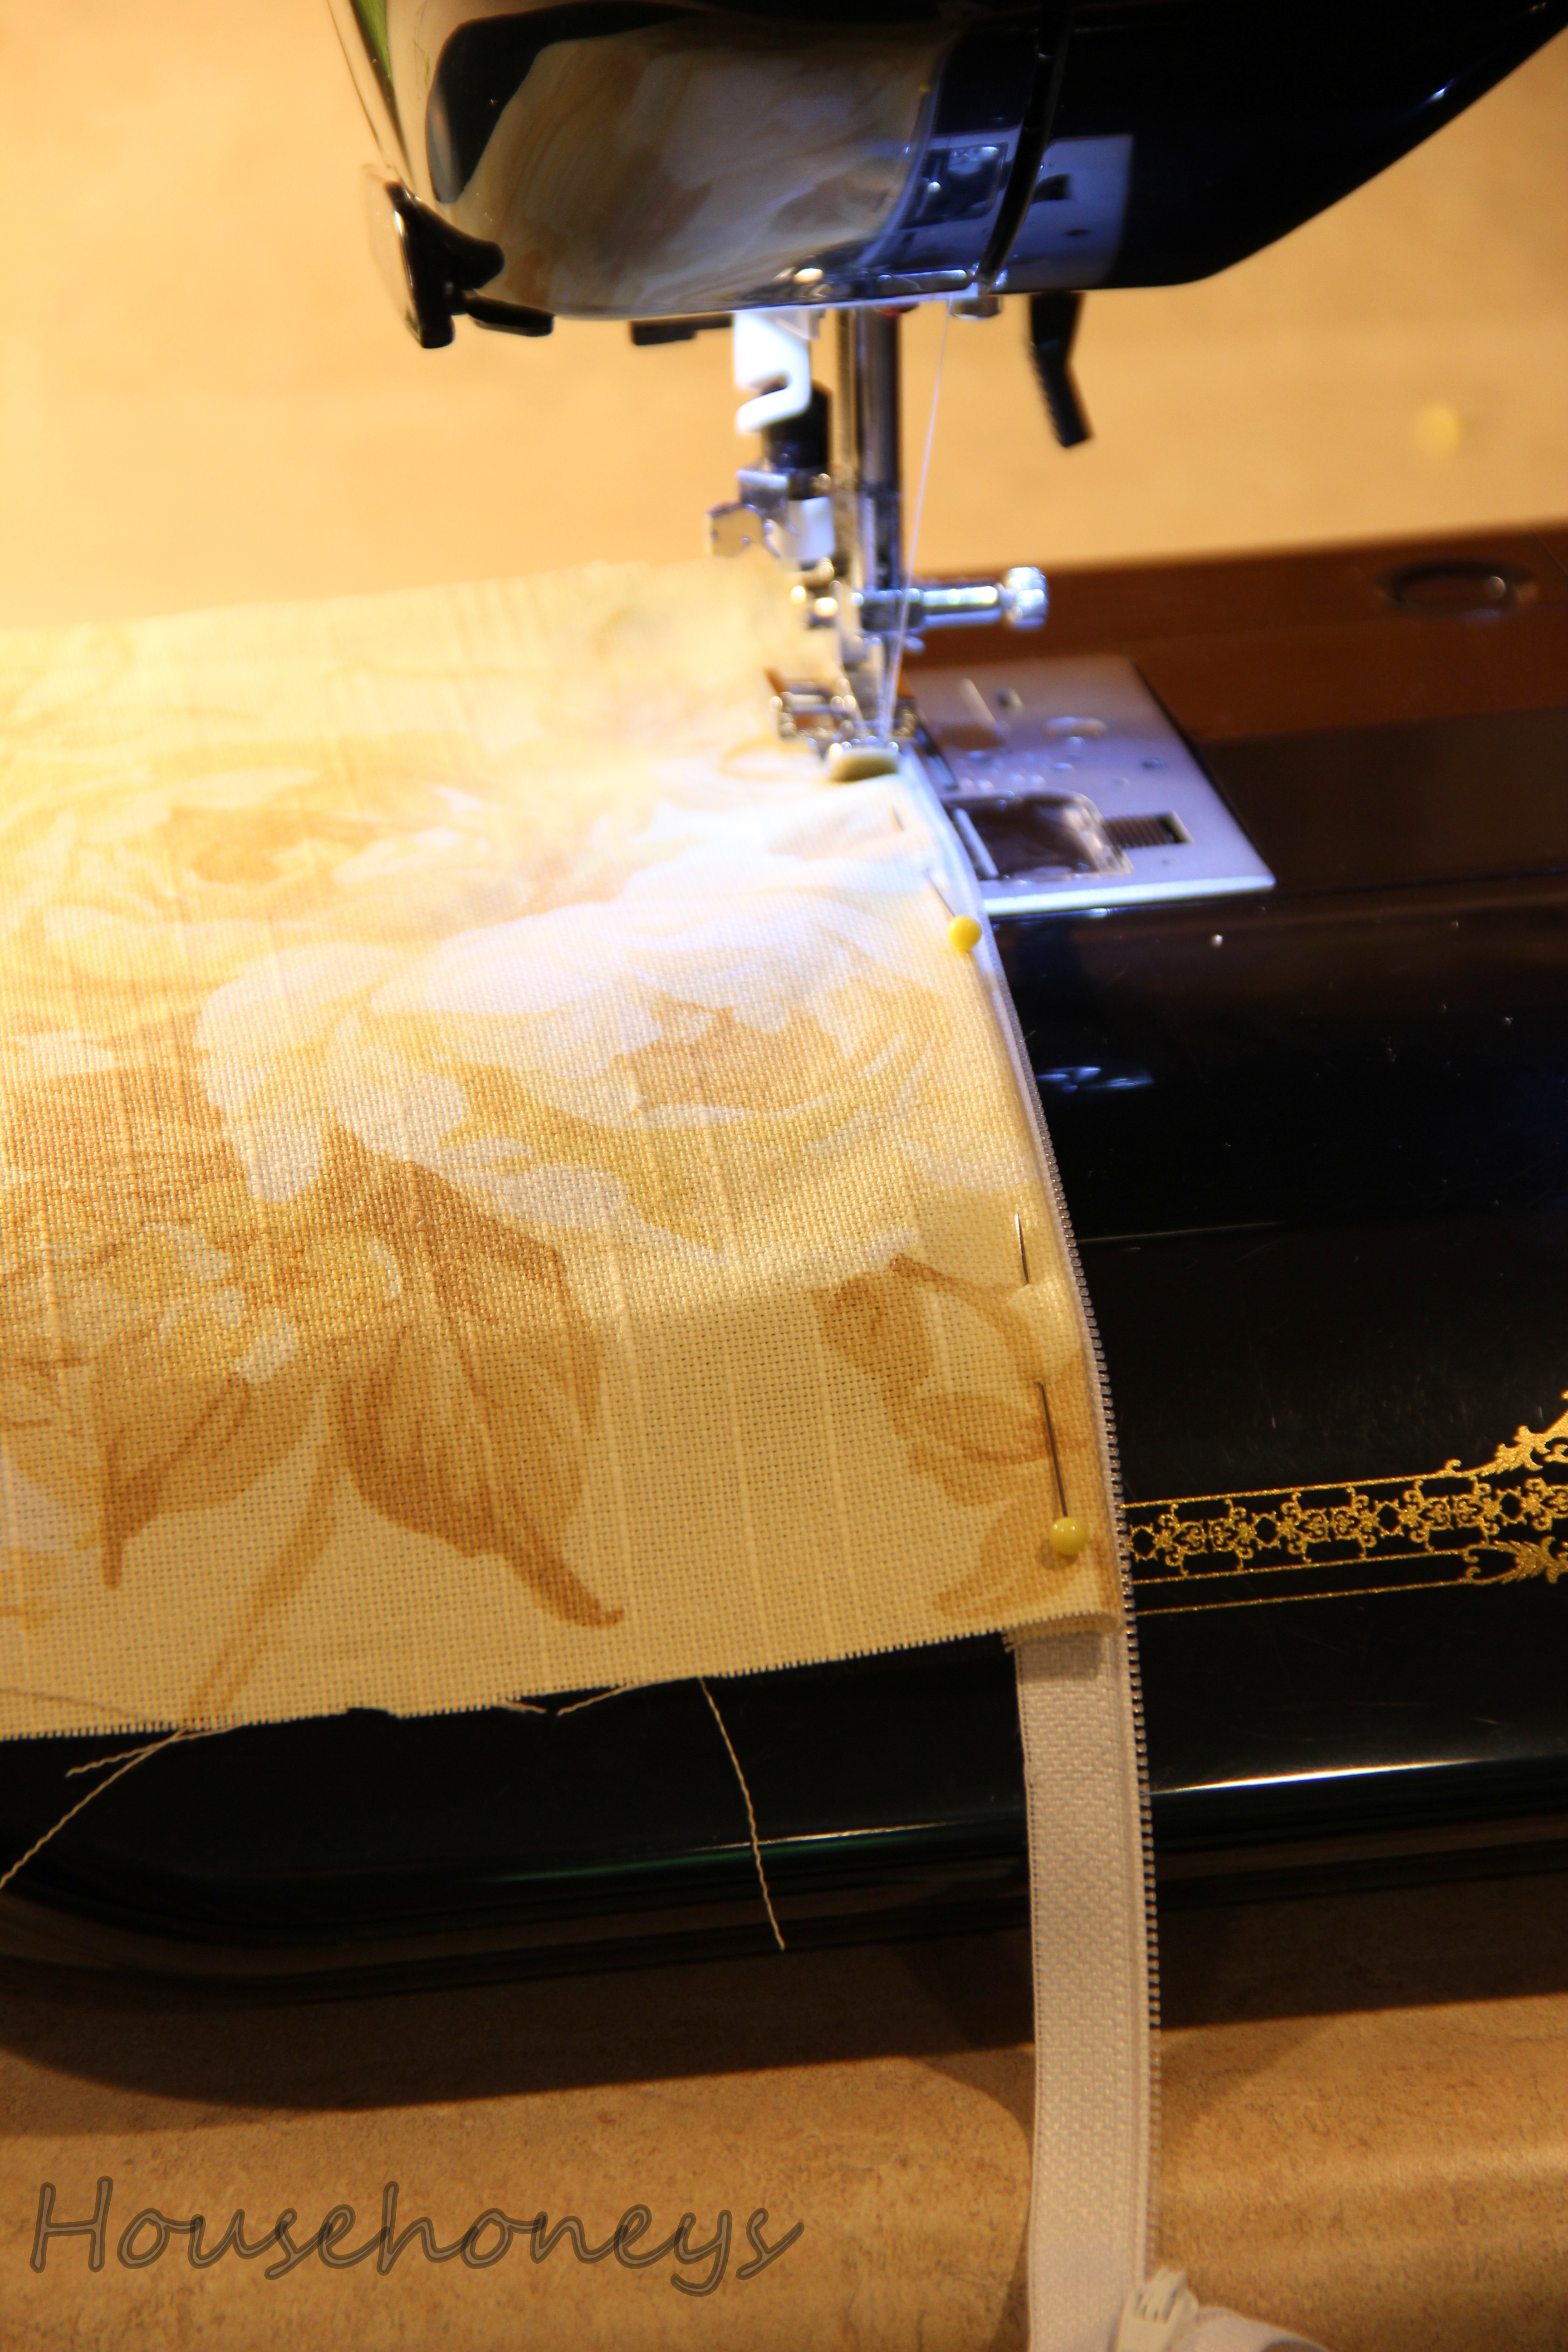
2. Position the zipper as shown below. Notice the zipper pull is facing up. Pin so just the coils are sticking out ever so slightly. I like to use zippers that are bigger than the finished product. It’s a lot easier to work with and you can cut off the excess in a bit.
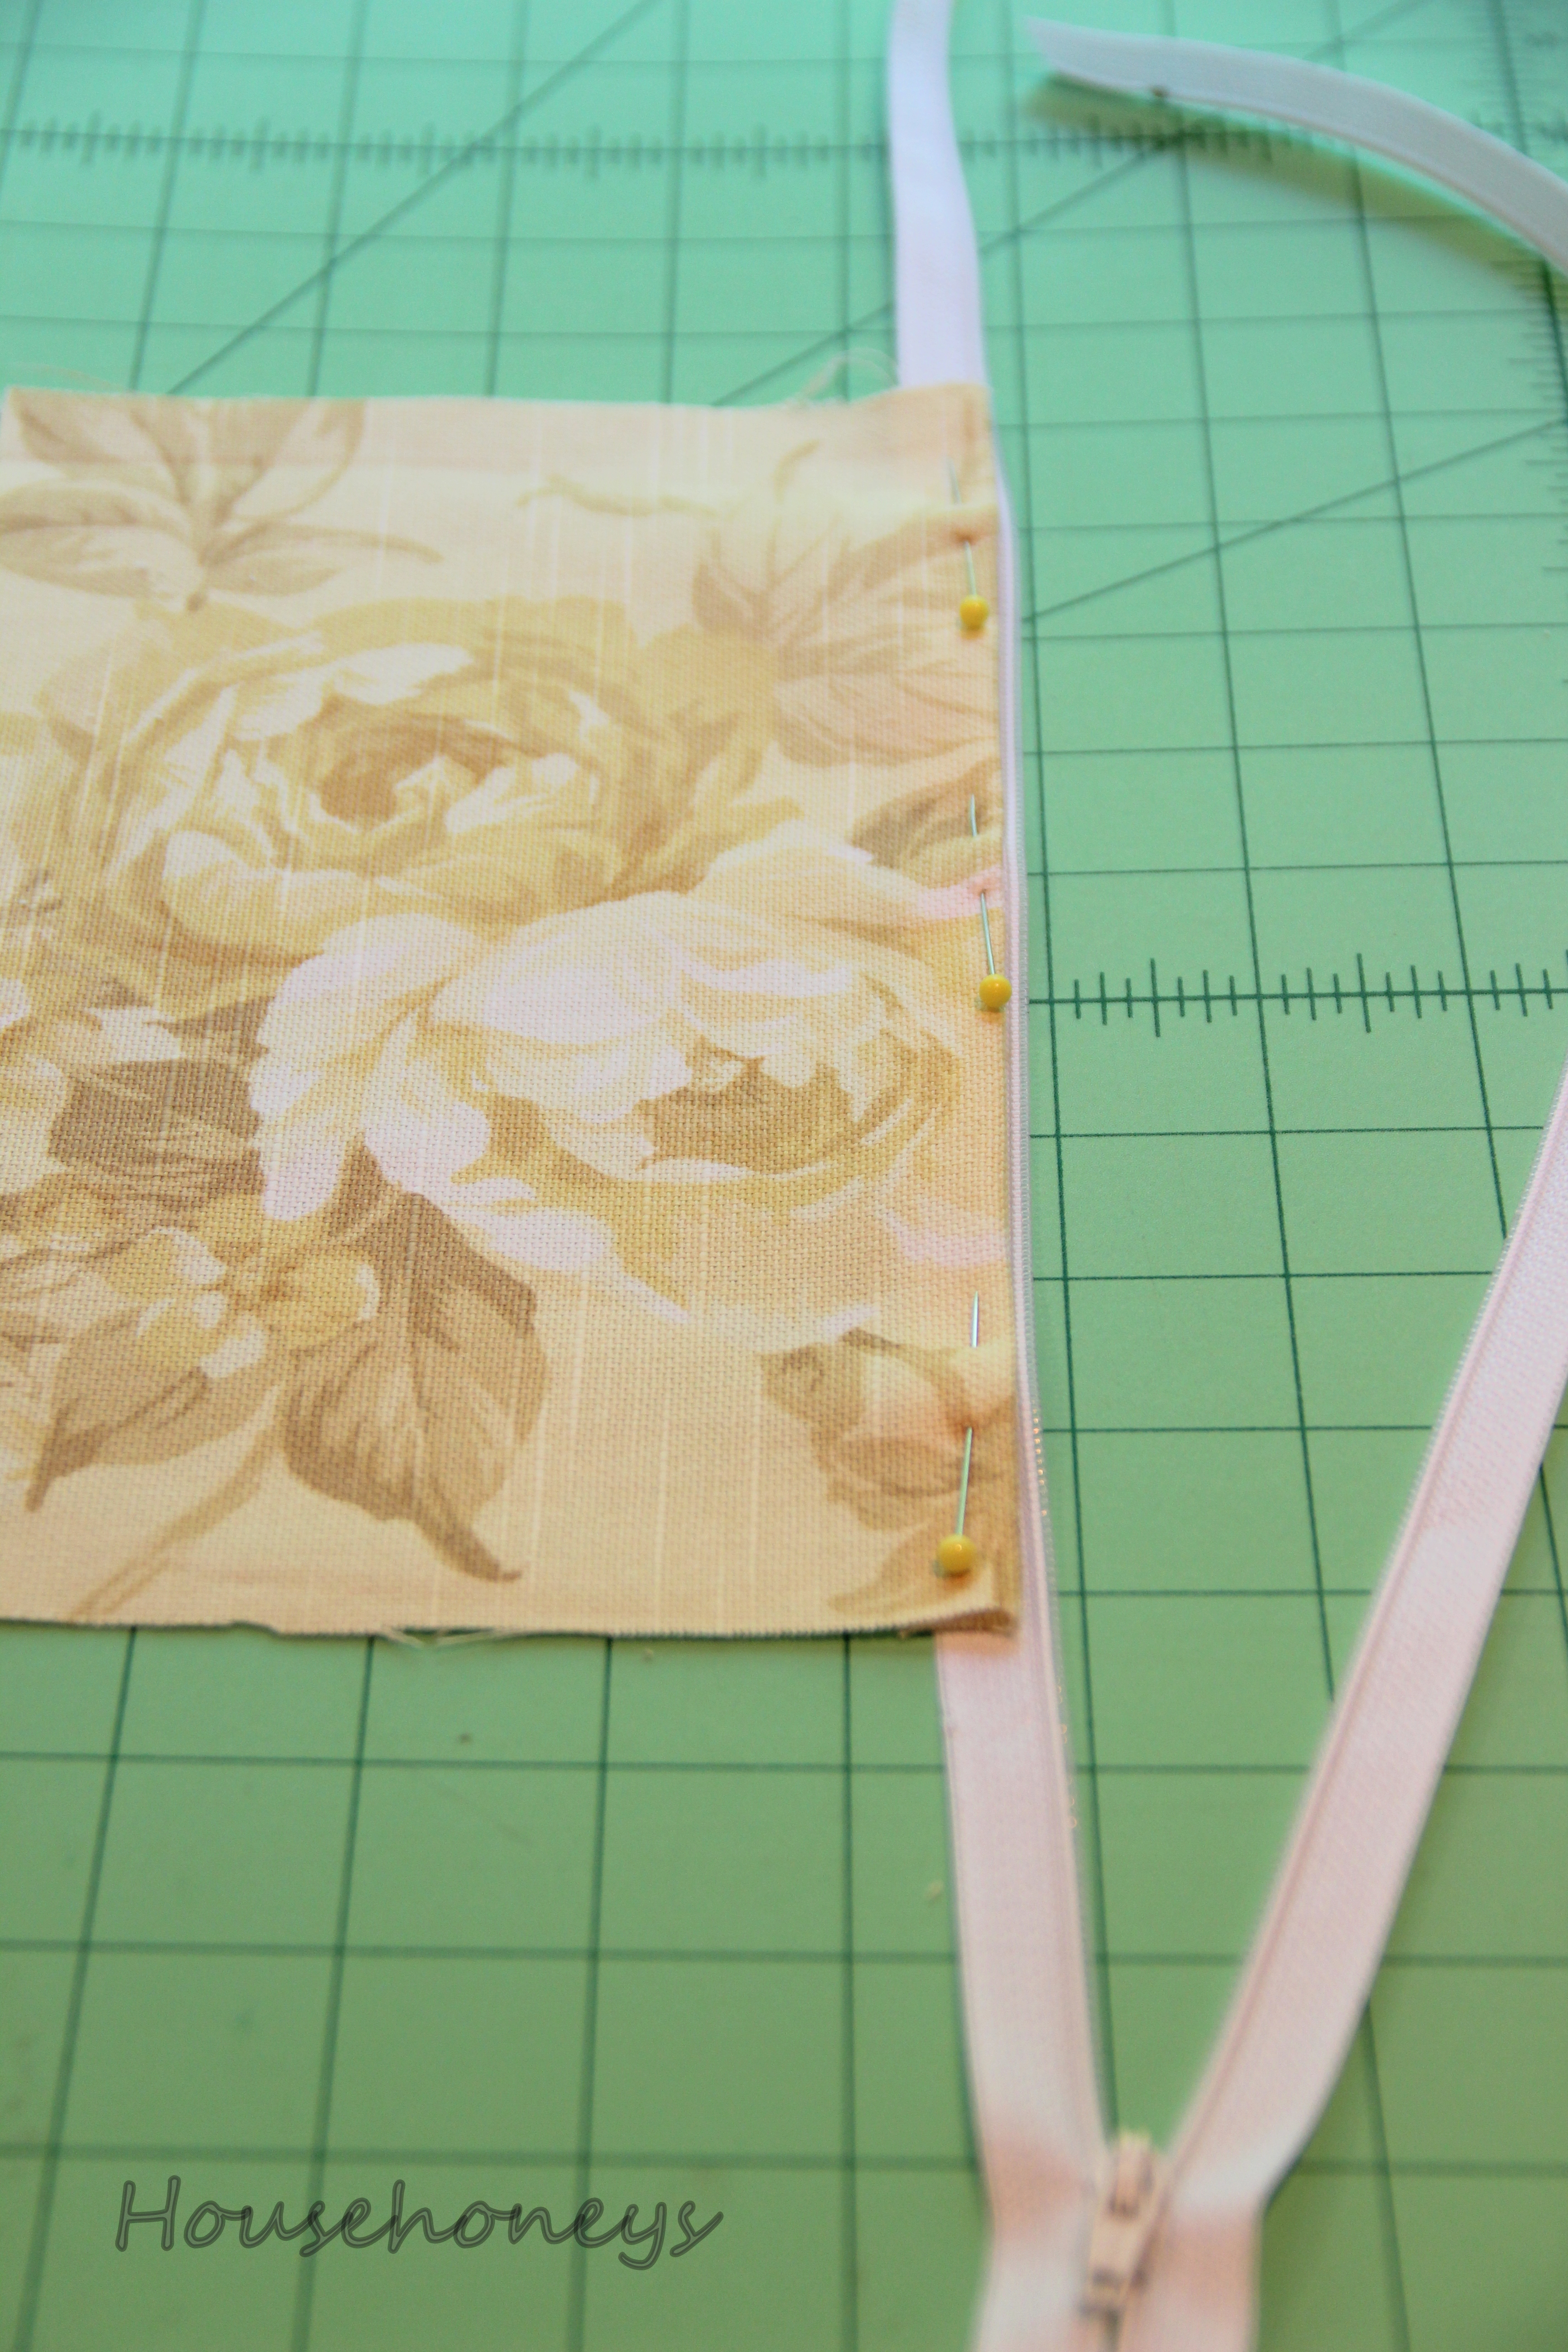
3. If you’re nervous about this next step, set your thread length to at least 3 or higher (basting stitch). This way, if you mess up you can easily rip it out. So go ahead and baste it and if you’re happy sew it again using a regular stitch. Sew very slowly and make sure you remove the pins before the needle gets too close.
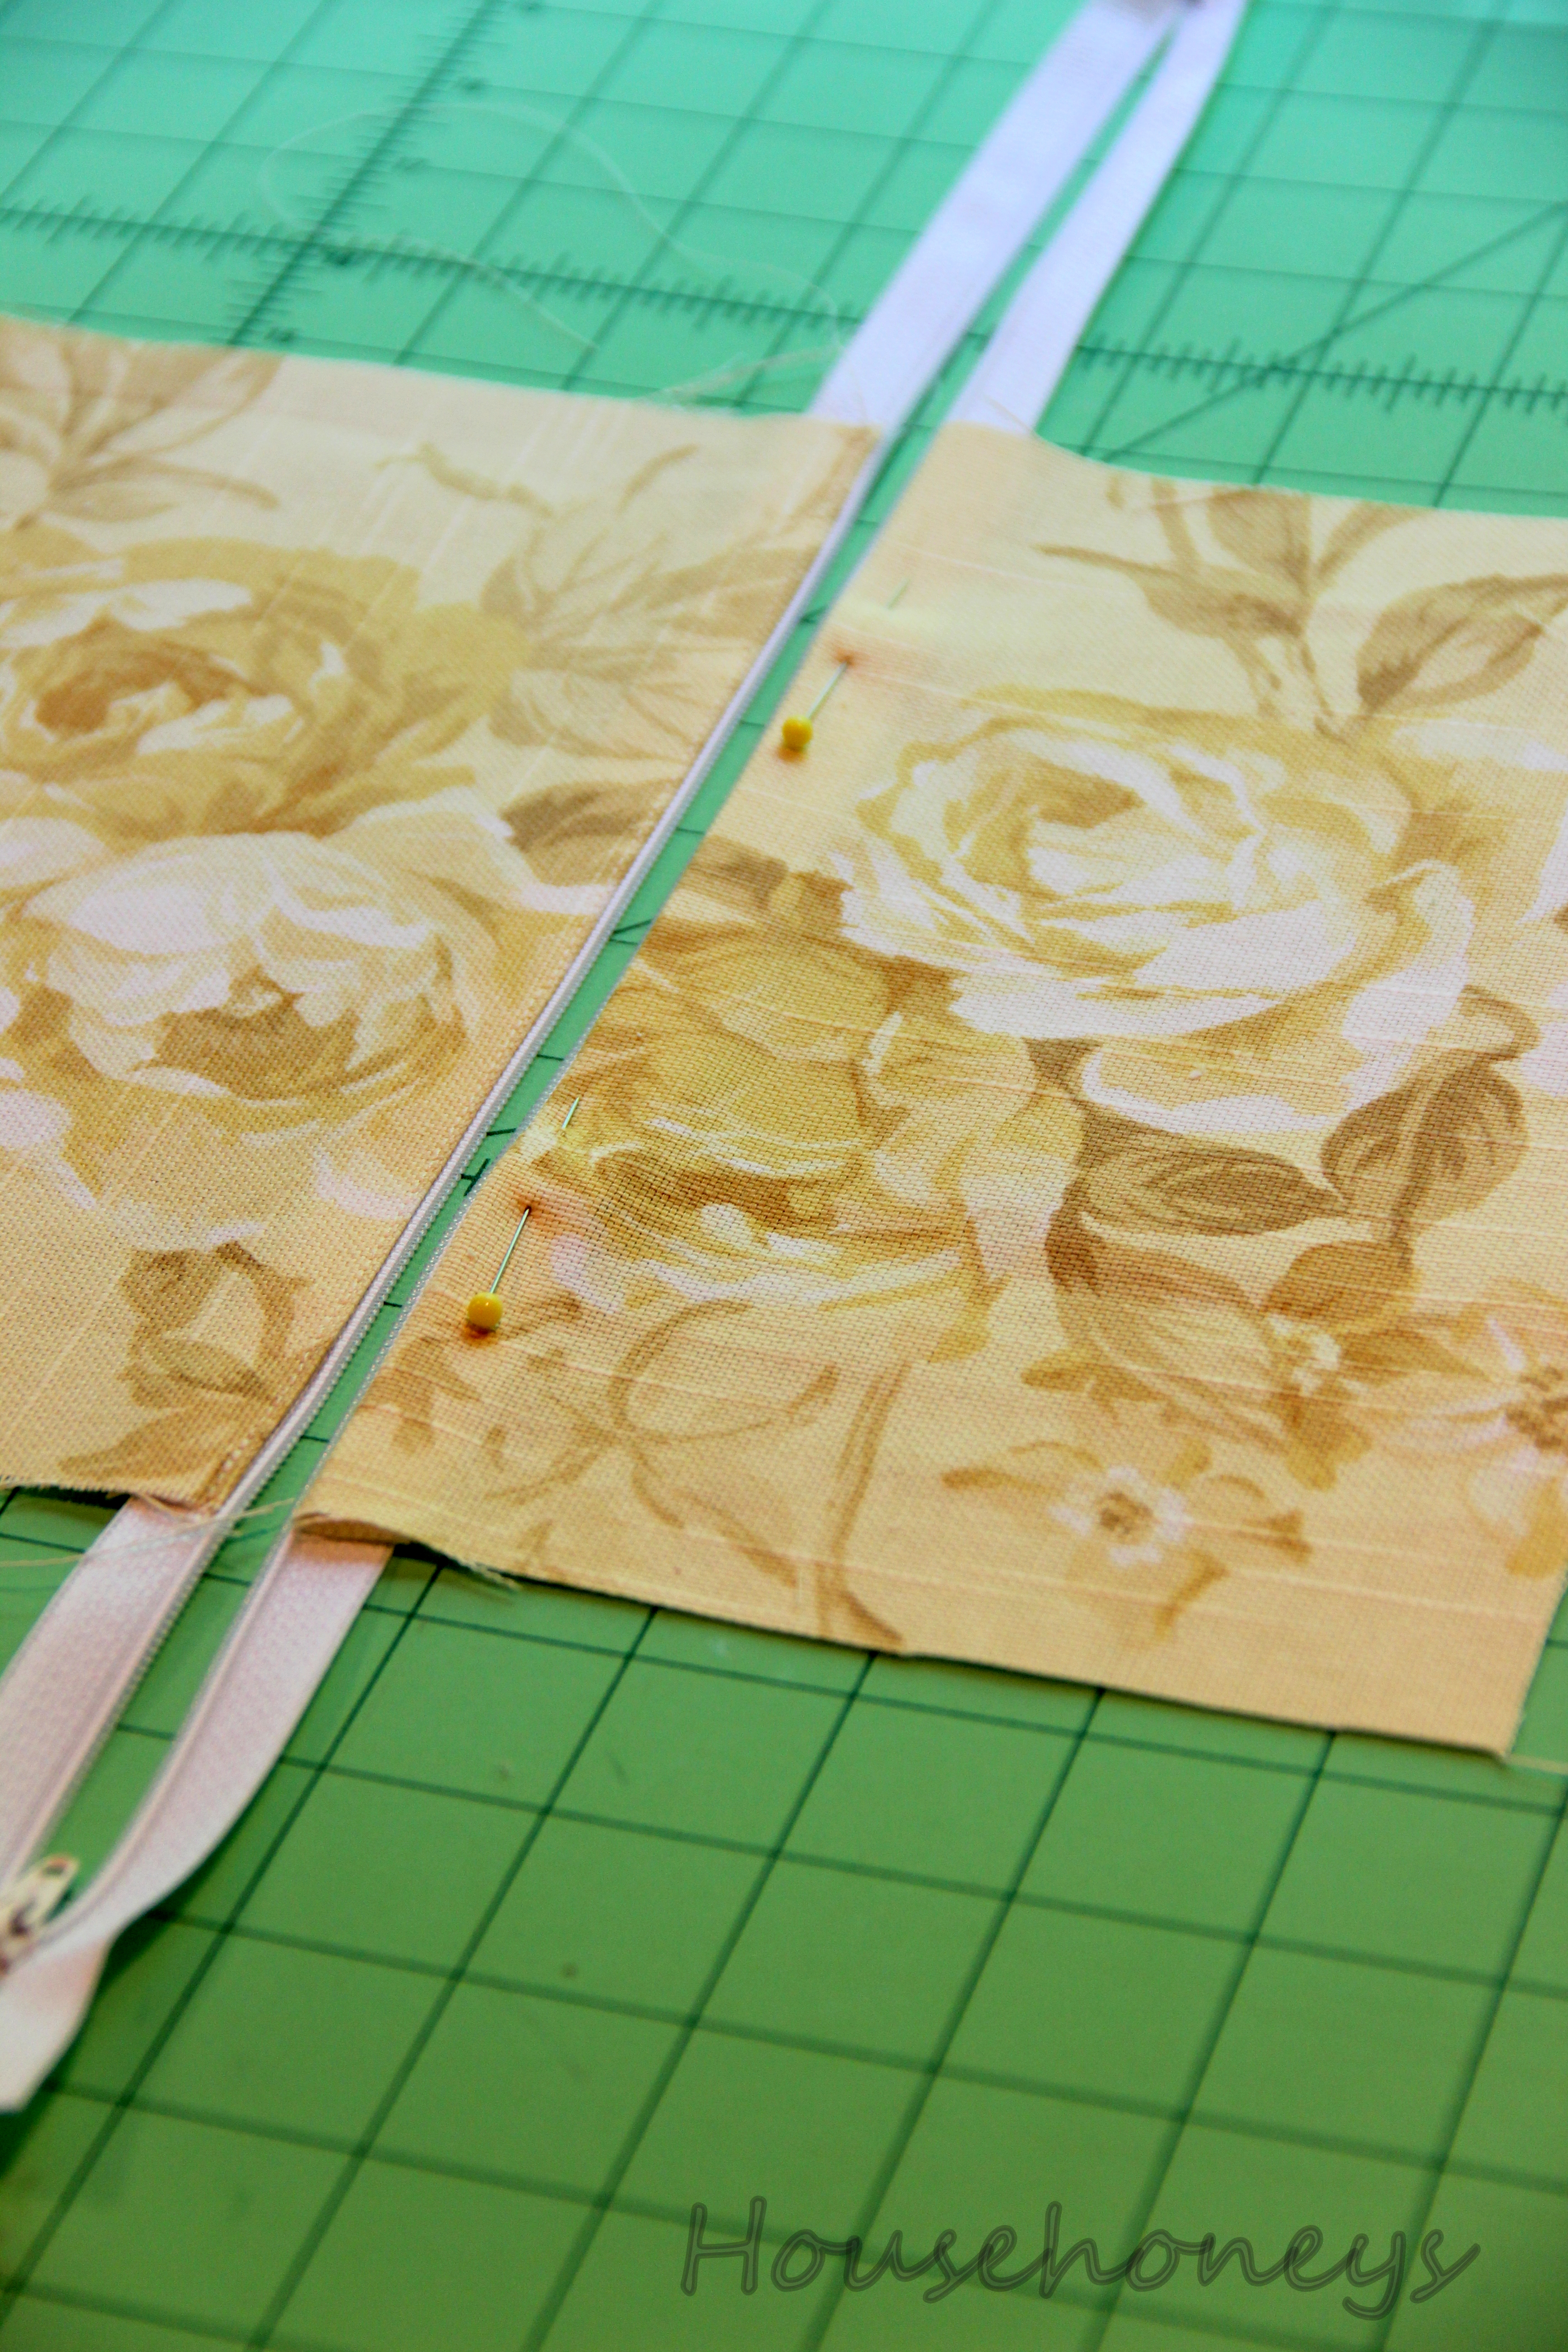
4. Sew the other side, making sure the fabric halves line up.
6. Fold the fabric right sides together as shown and sew along the bottom edge. If you want, iron this seam open.

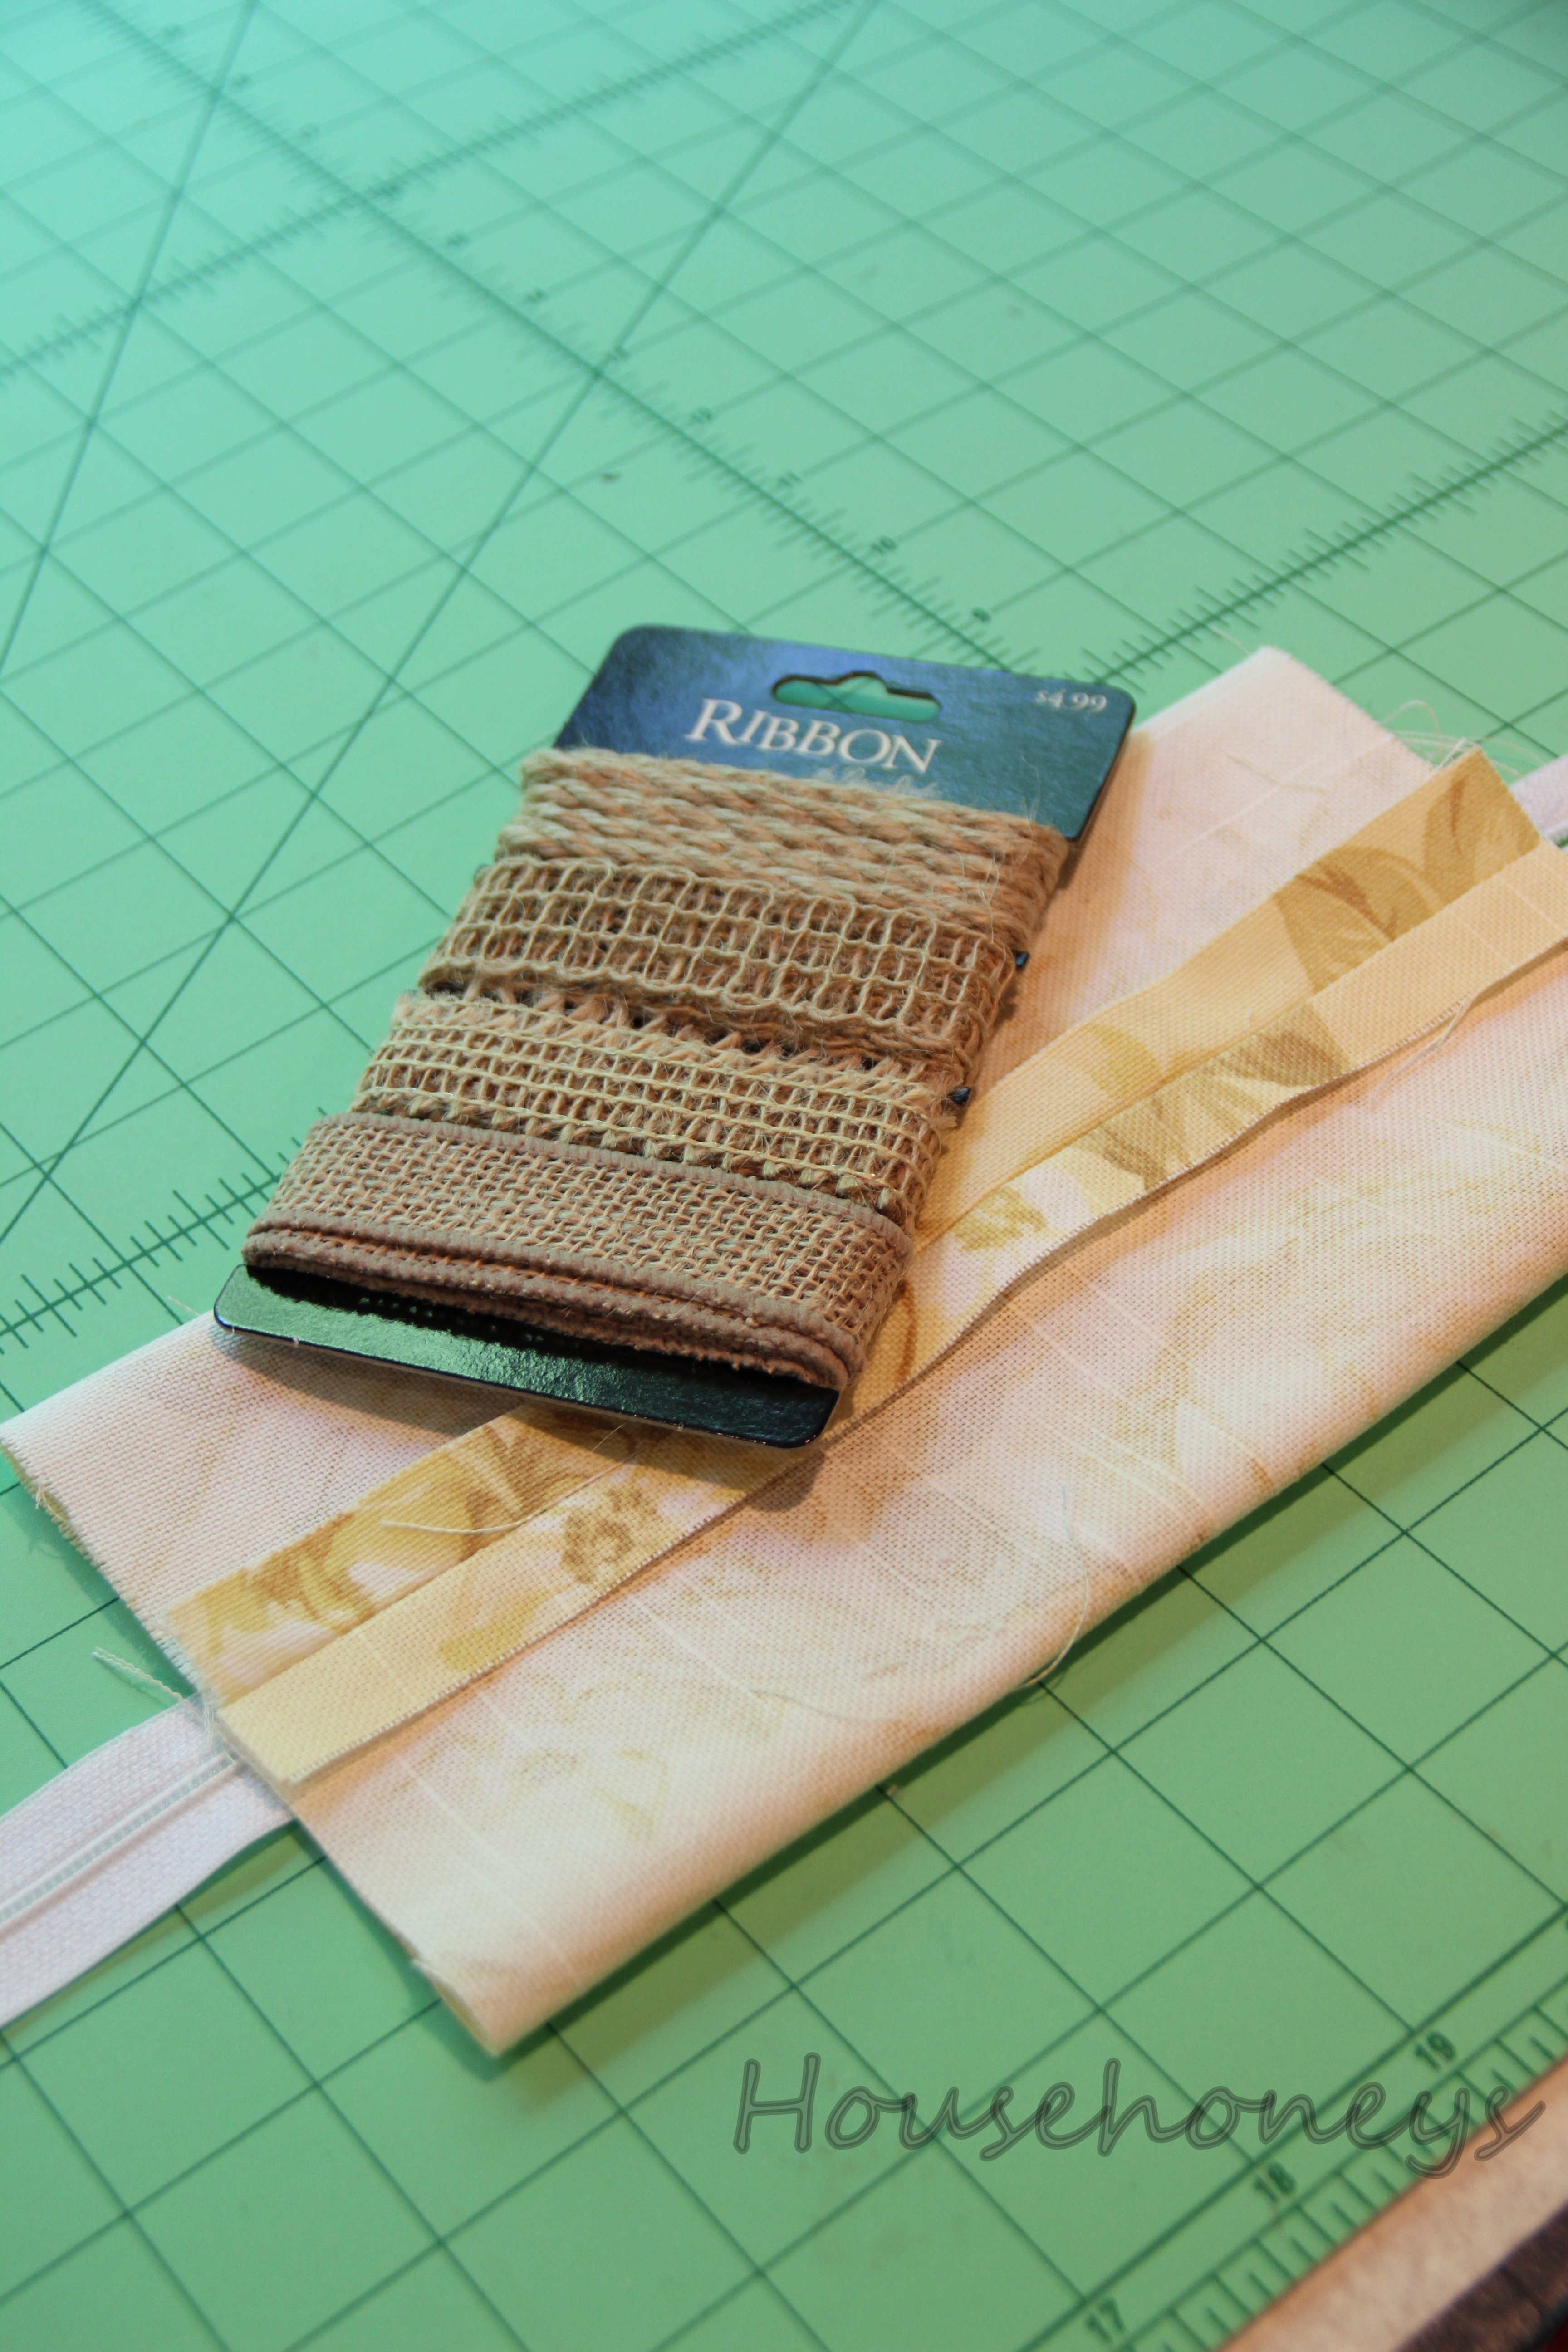
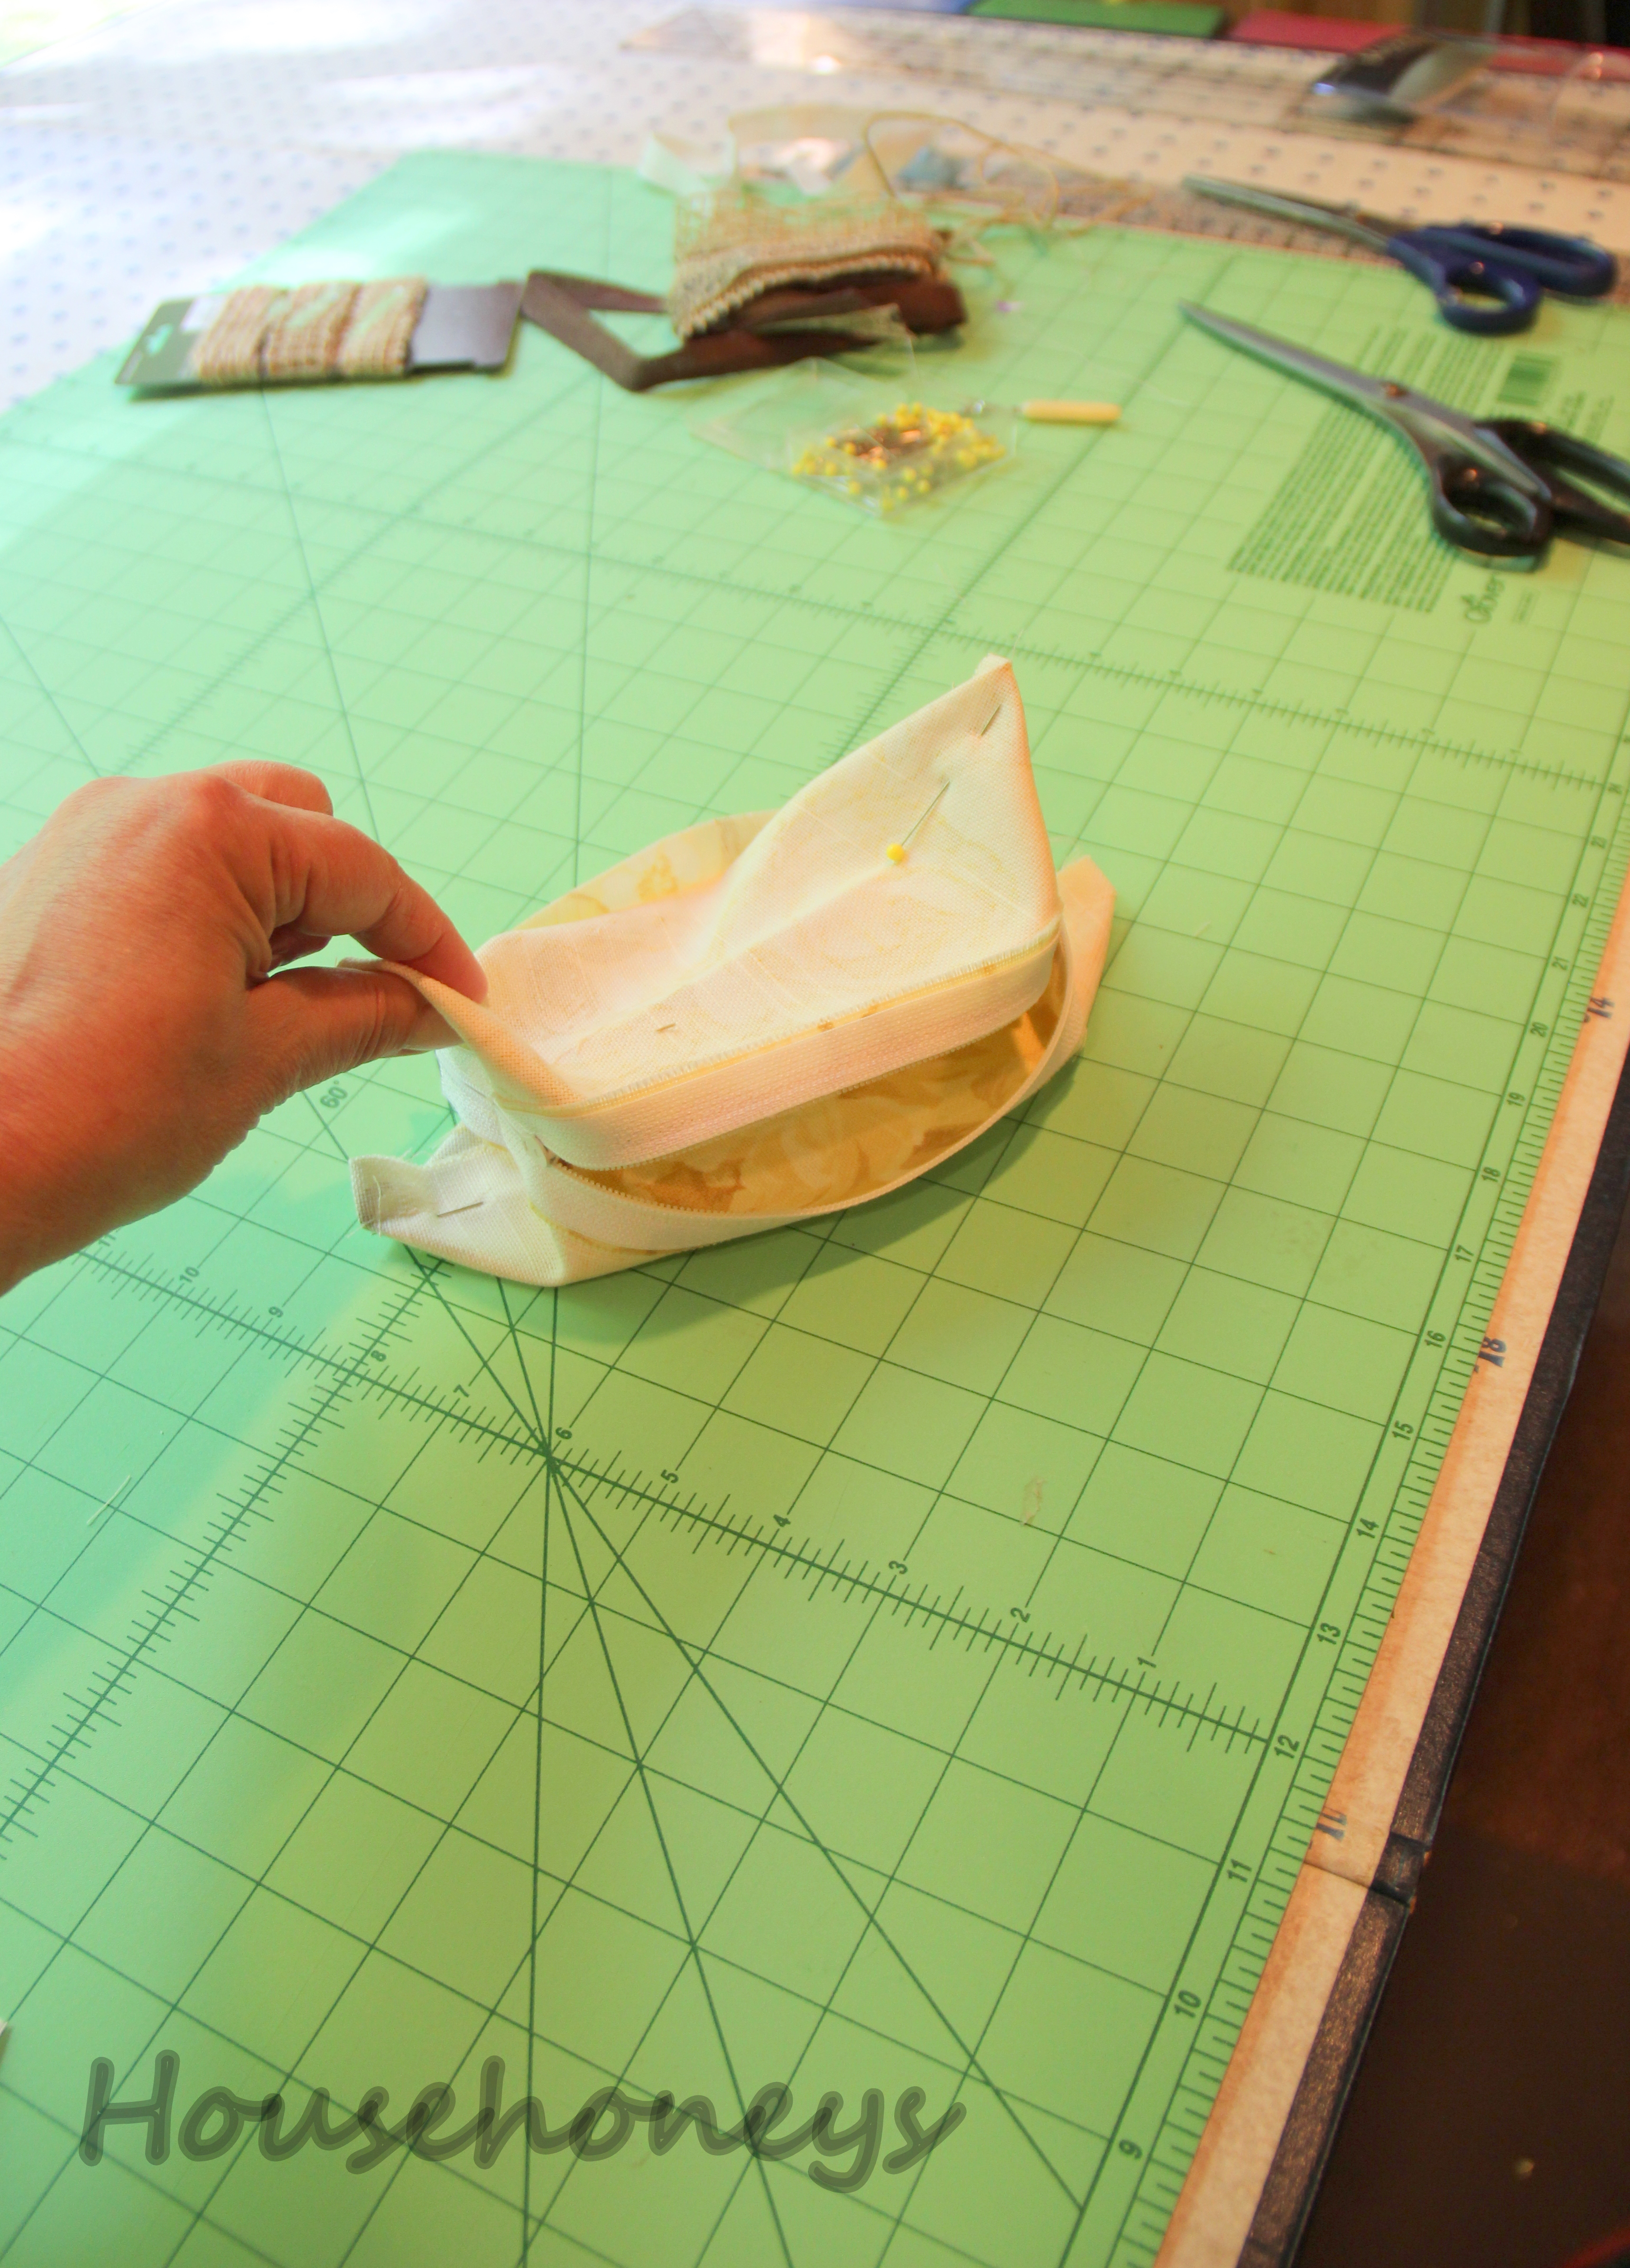
7. This next step is optional but recommended. If you want to sew zipper tab pulls, now is your chance. Since I always like to do things the easy way, I decided to use ribbon instead of making my own. Just following this advice will save you a lot of time. Rearrange the fabric so that the bottom seam is directly on top of the zipper as shown.
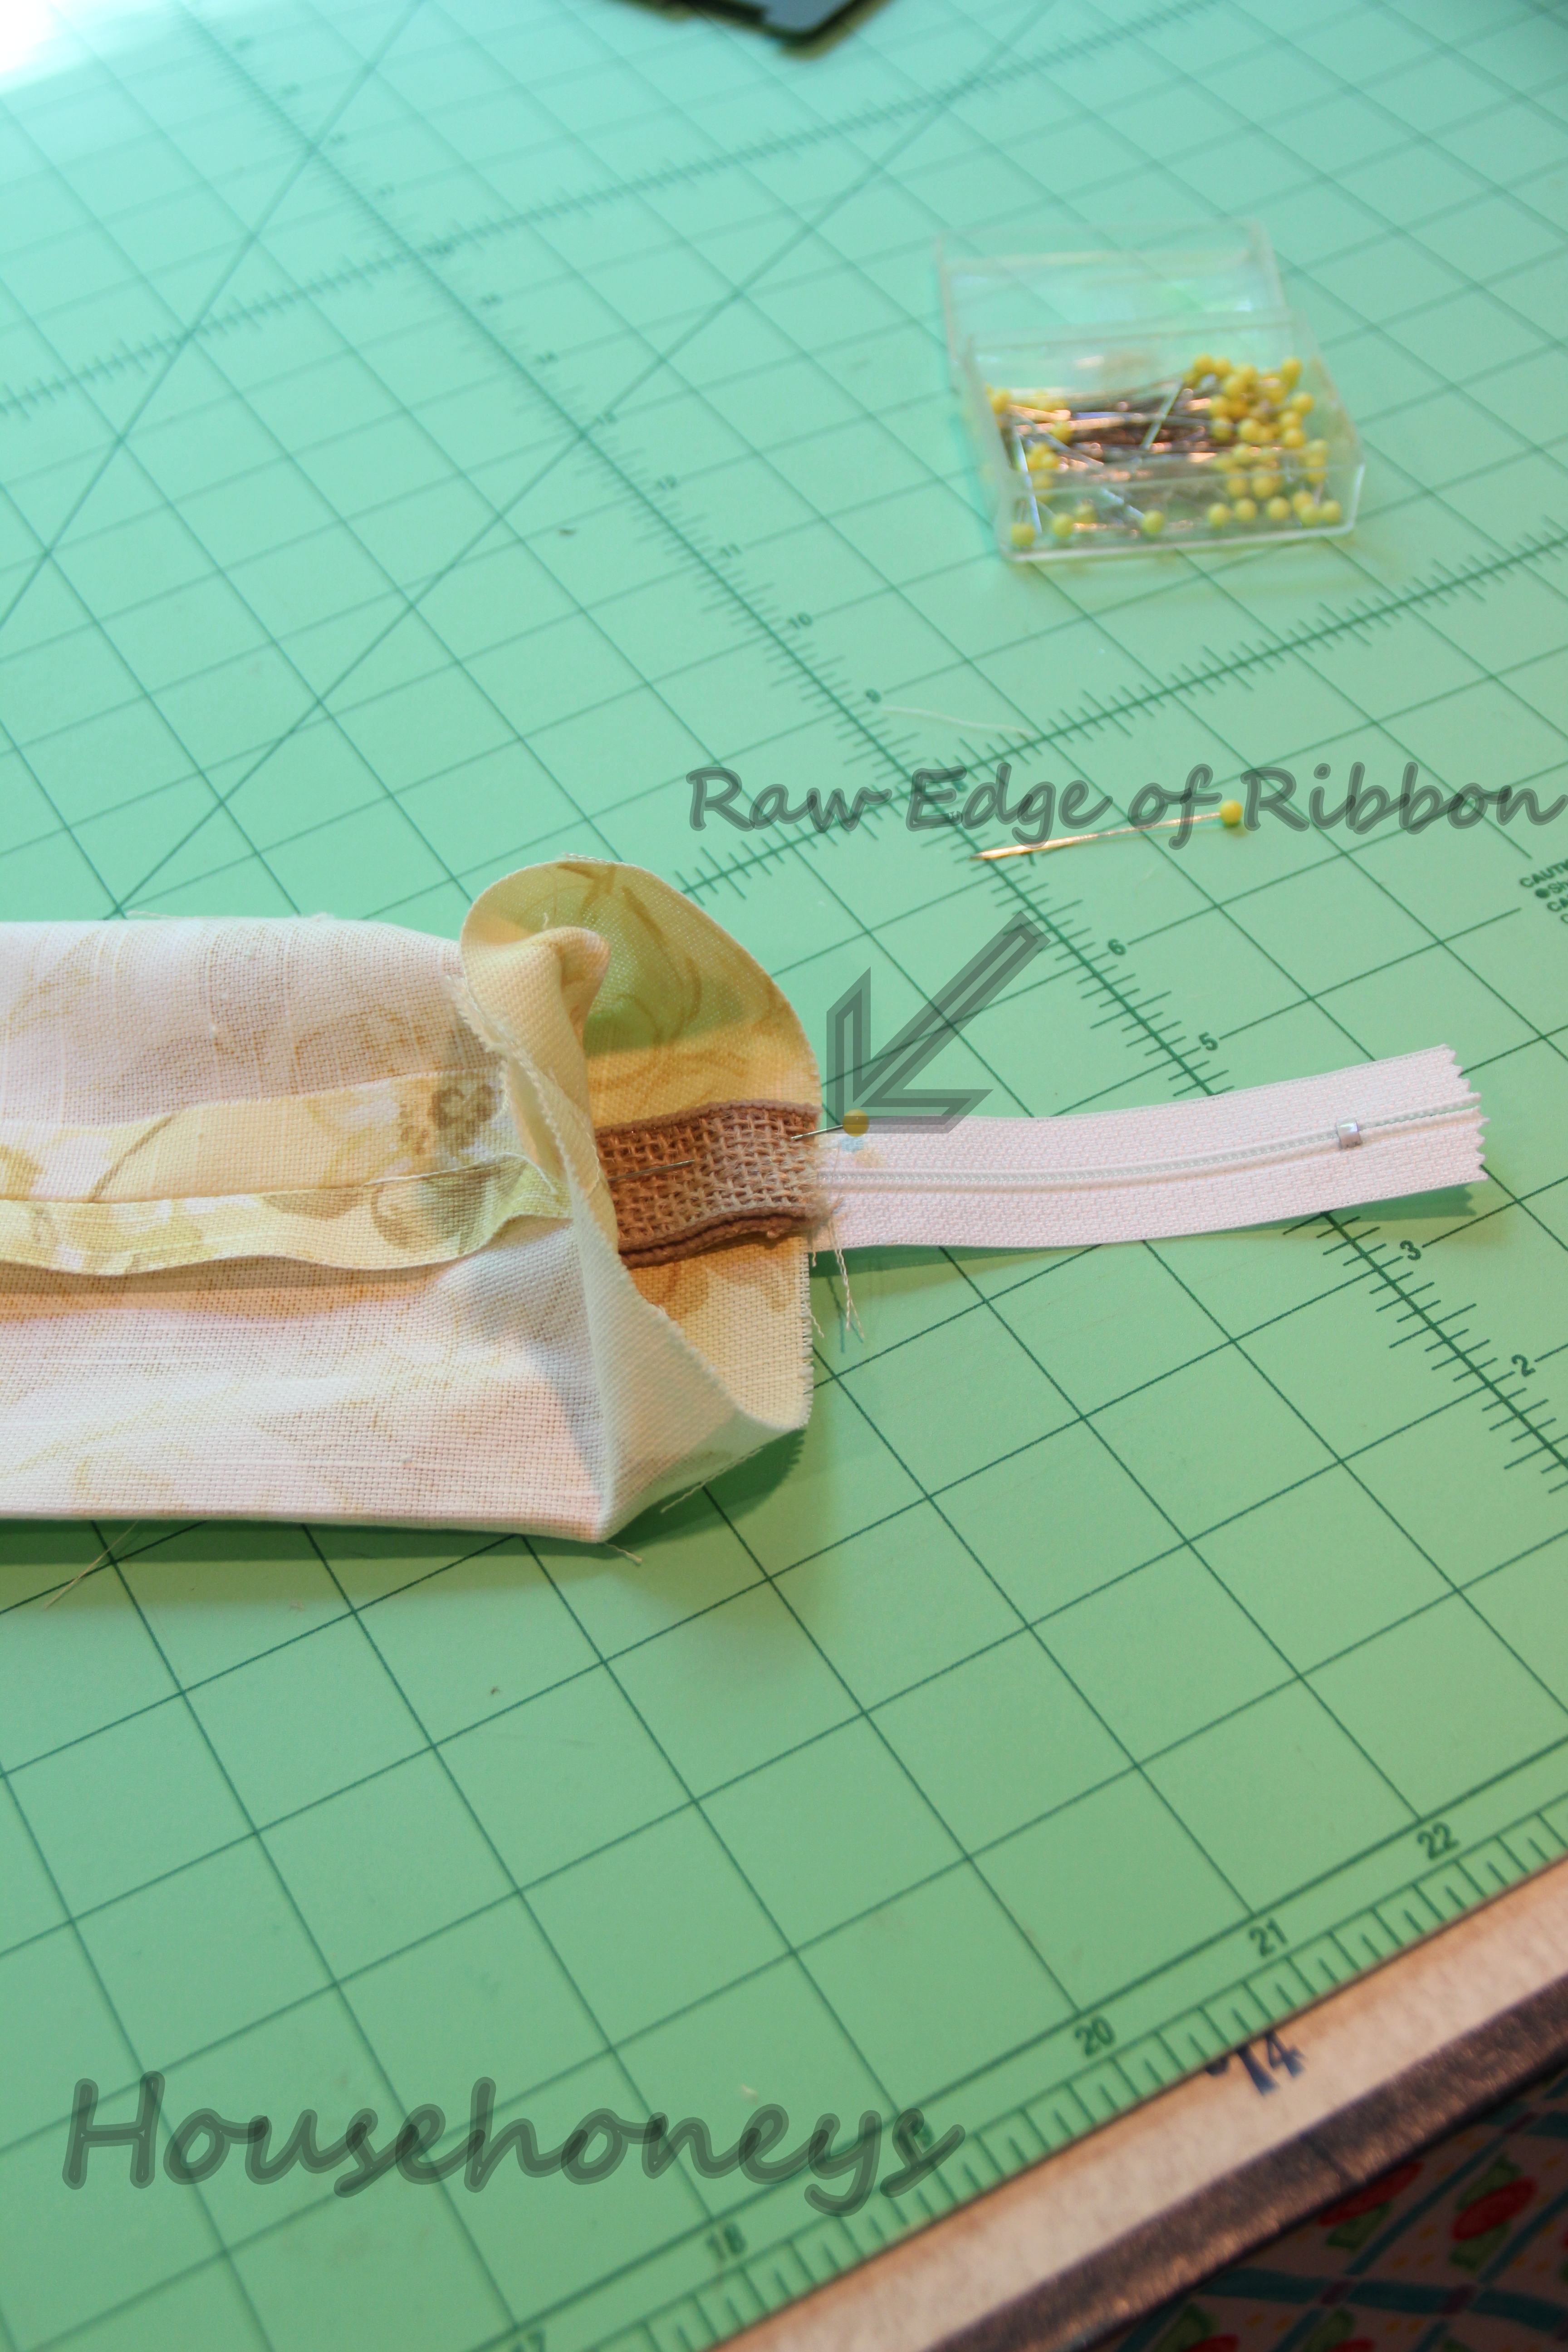
8. To make the tabs, cut two pieces of ribbon 3″ in length, fold each in half and pin to short ends of pouch as indicated. VERY IMPORTANT! At this point, make sure your zipper pull is opened about half way or you won’t be able to open/close the zipper. Make sure the bottom seam and center of zipper are lined up on both sides before sewing. This will give you a nice finished look on the sides. Sew the sides without the zipper pull first as shown. When you sew the other tab in, make sure the zipper coils are practically overlapping just slightly to avoid an unsightly opening in your zipper. After sewing, cut off excess zipper ends.
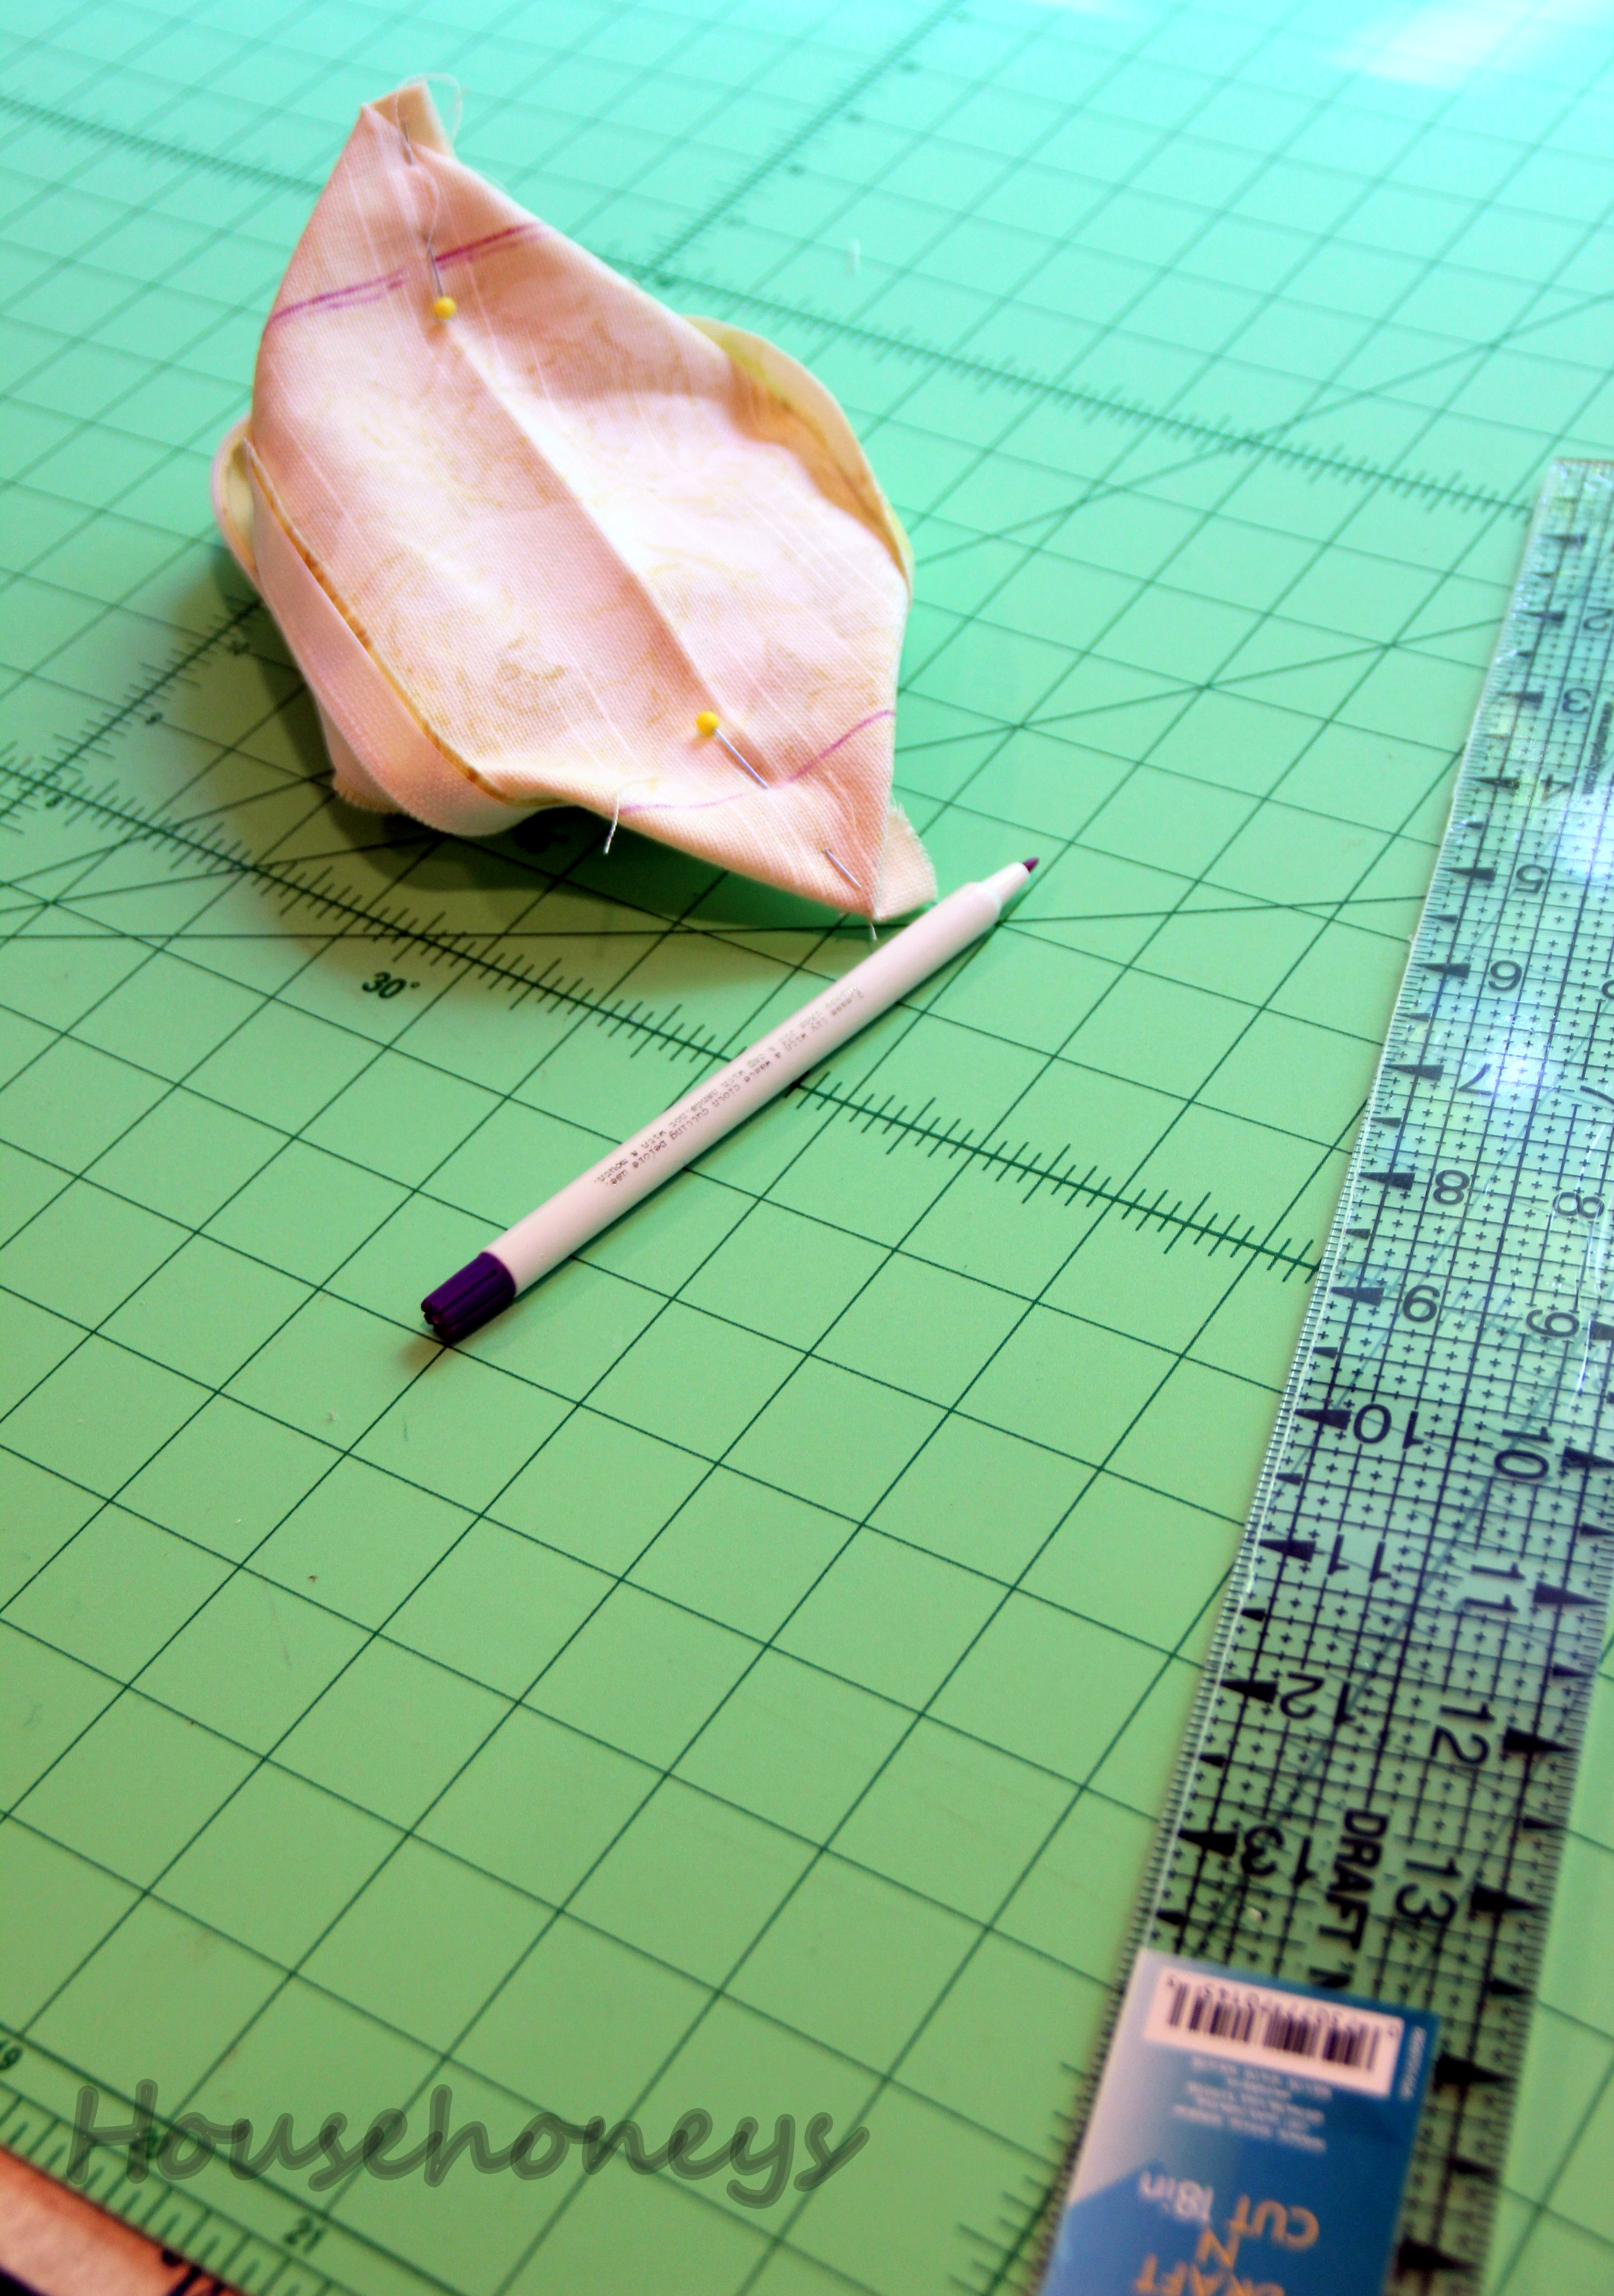
9. Pinch the four corners together and pin.
10. Using a quilter’s ruler, mark lines on each corner 2.5″ long. Try to be as accurate as possible. Sew along these lines, trim seams and turn right side out.
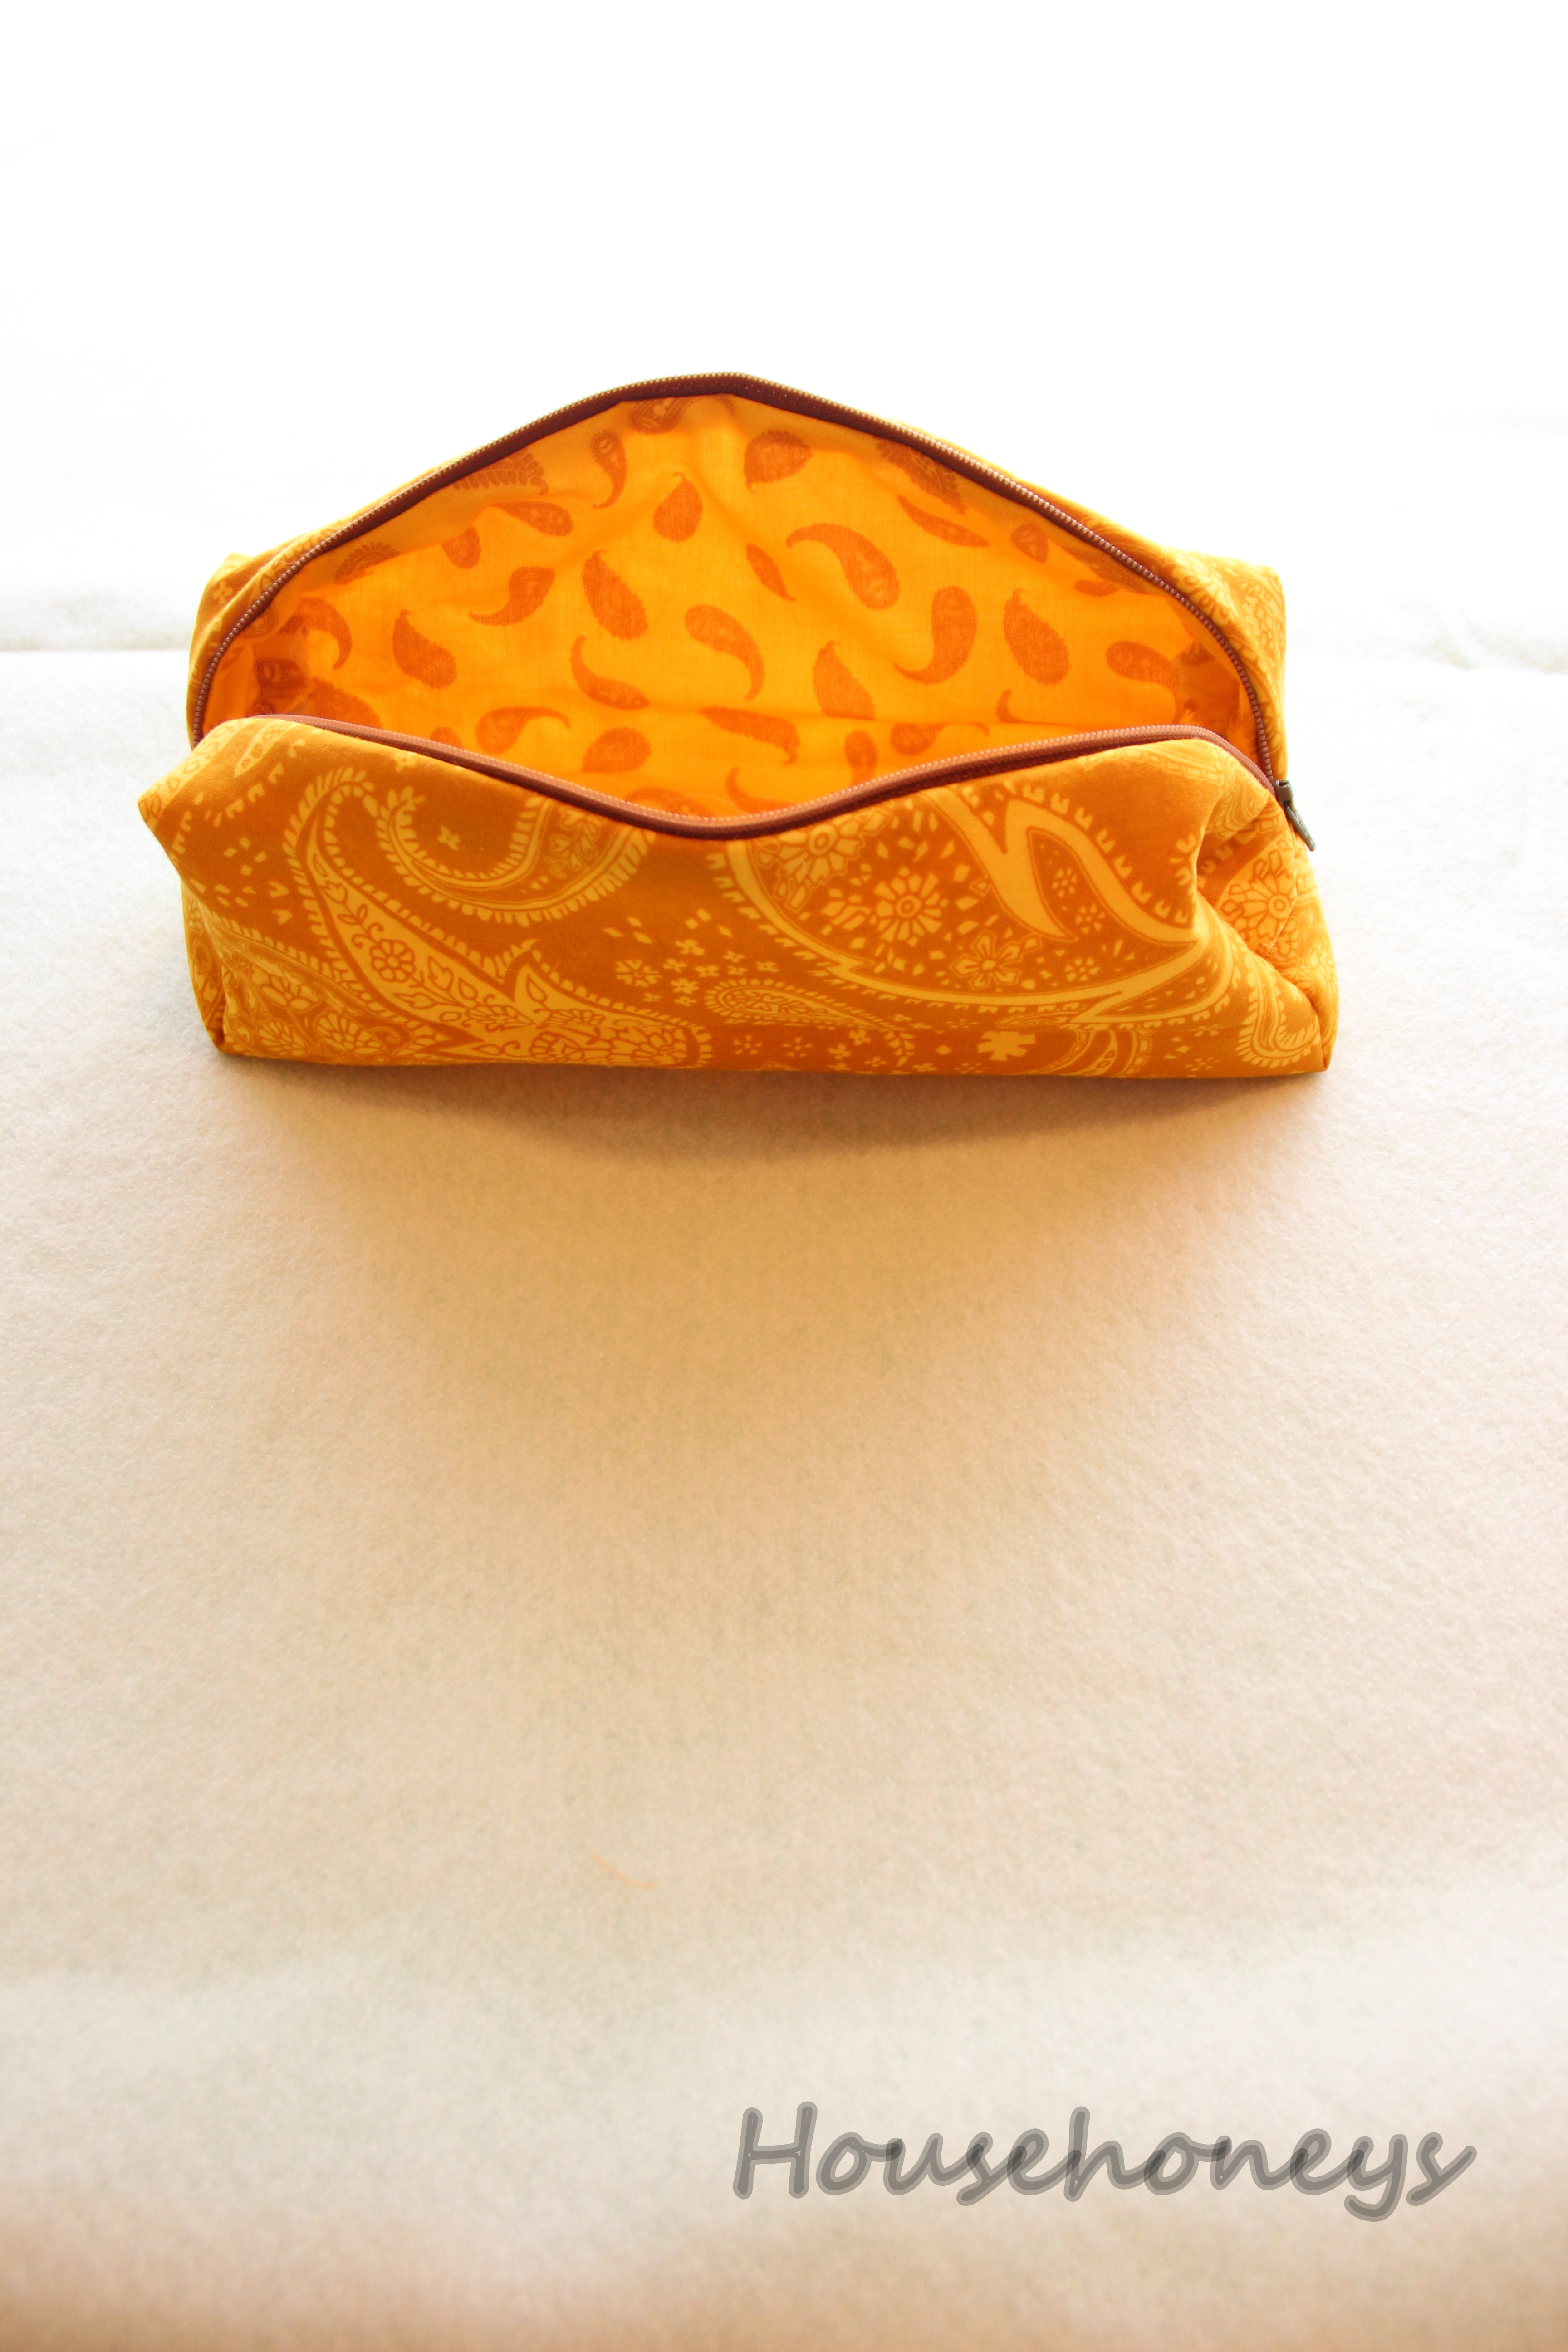
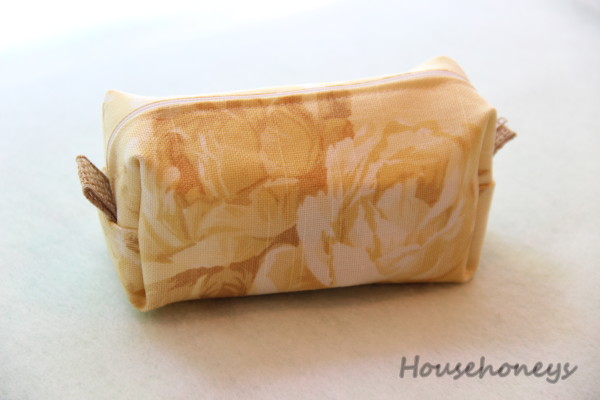
The zebra bag was made the same way as the small yellow one, but the paisley is lined and I used fusible fleece to give it a little body. That sewing method was different and far more involved and time consuming.
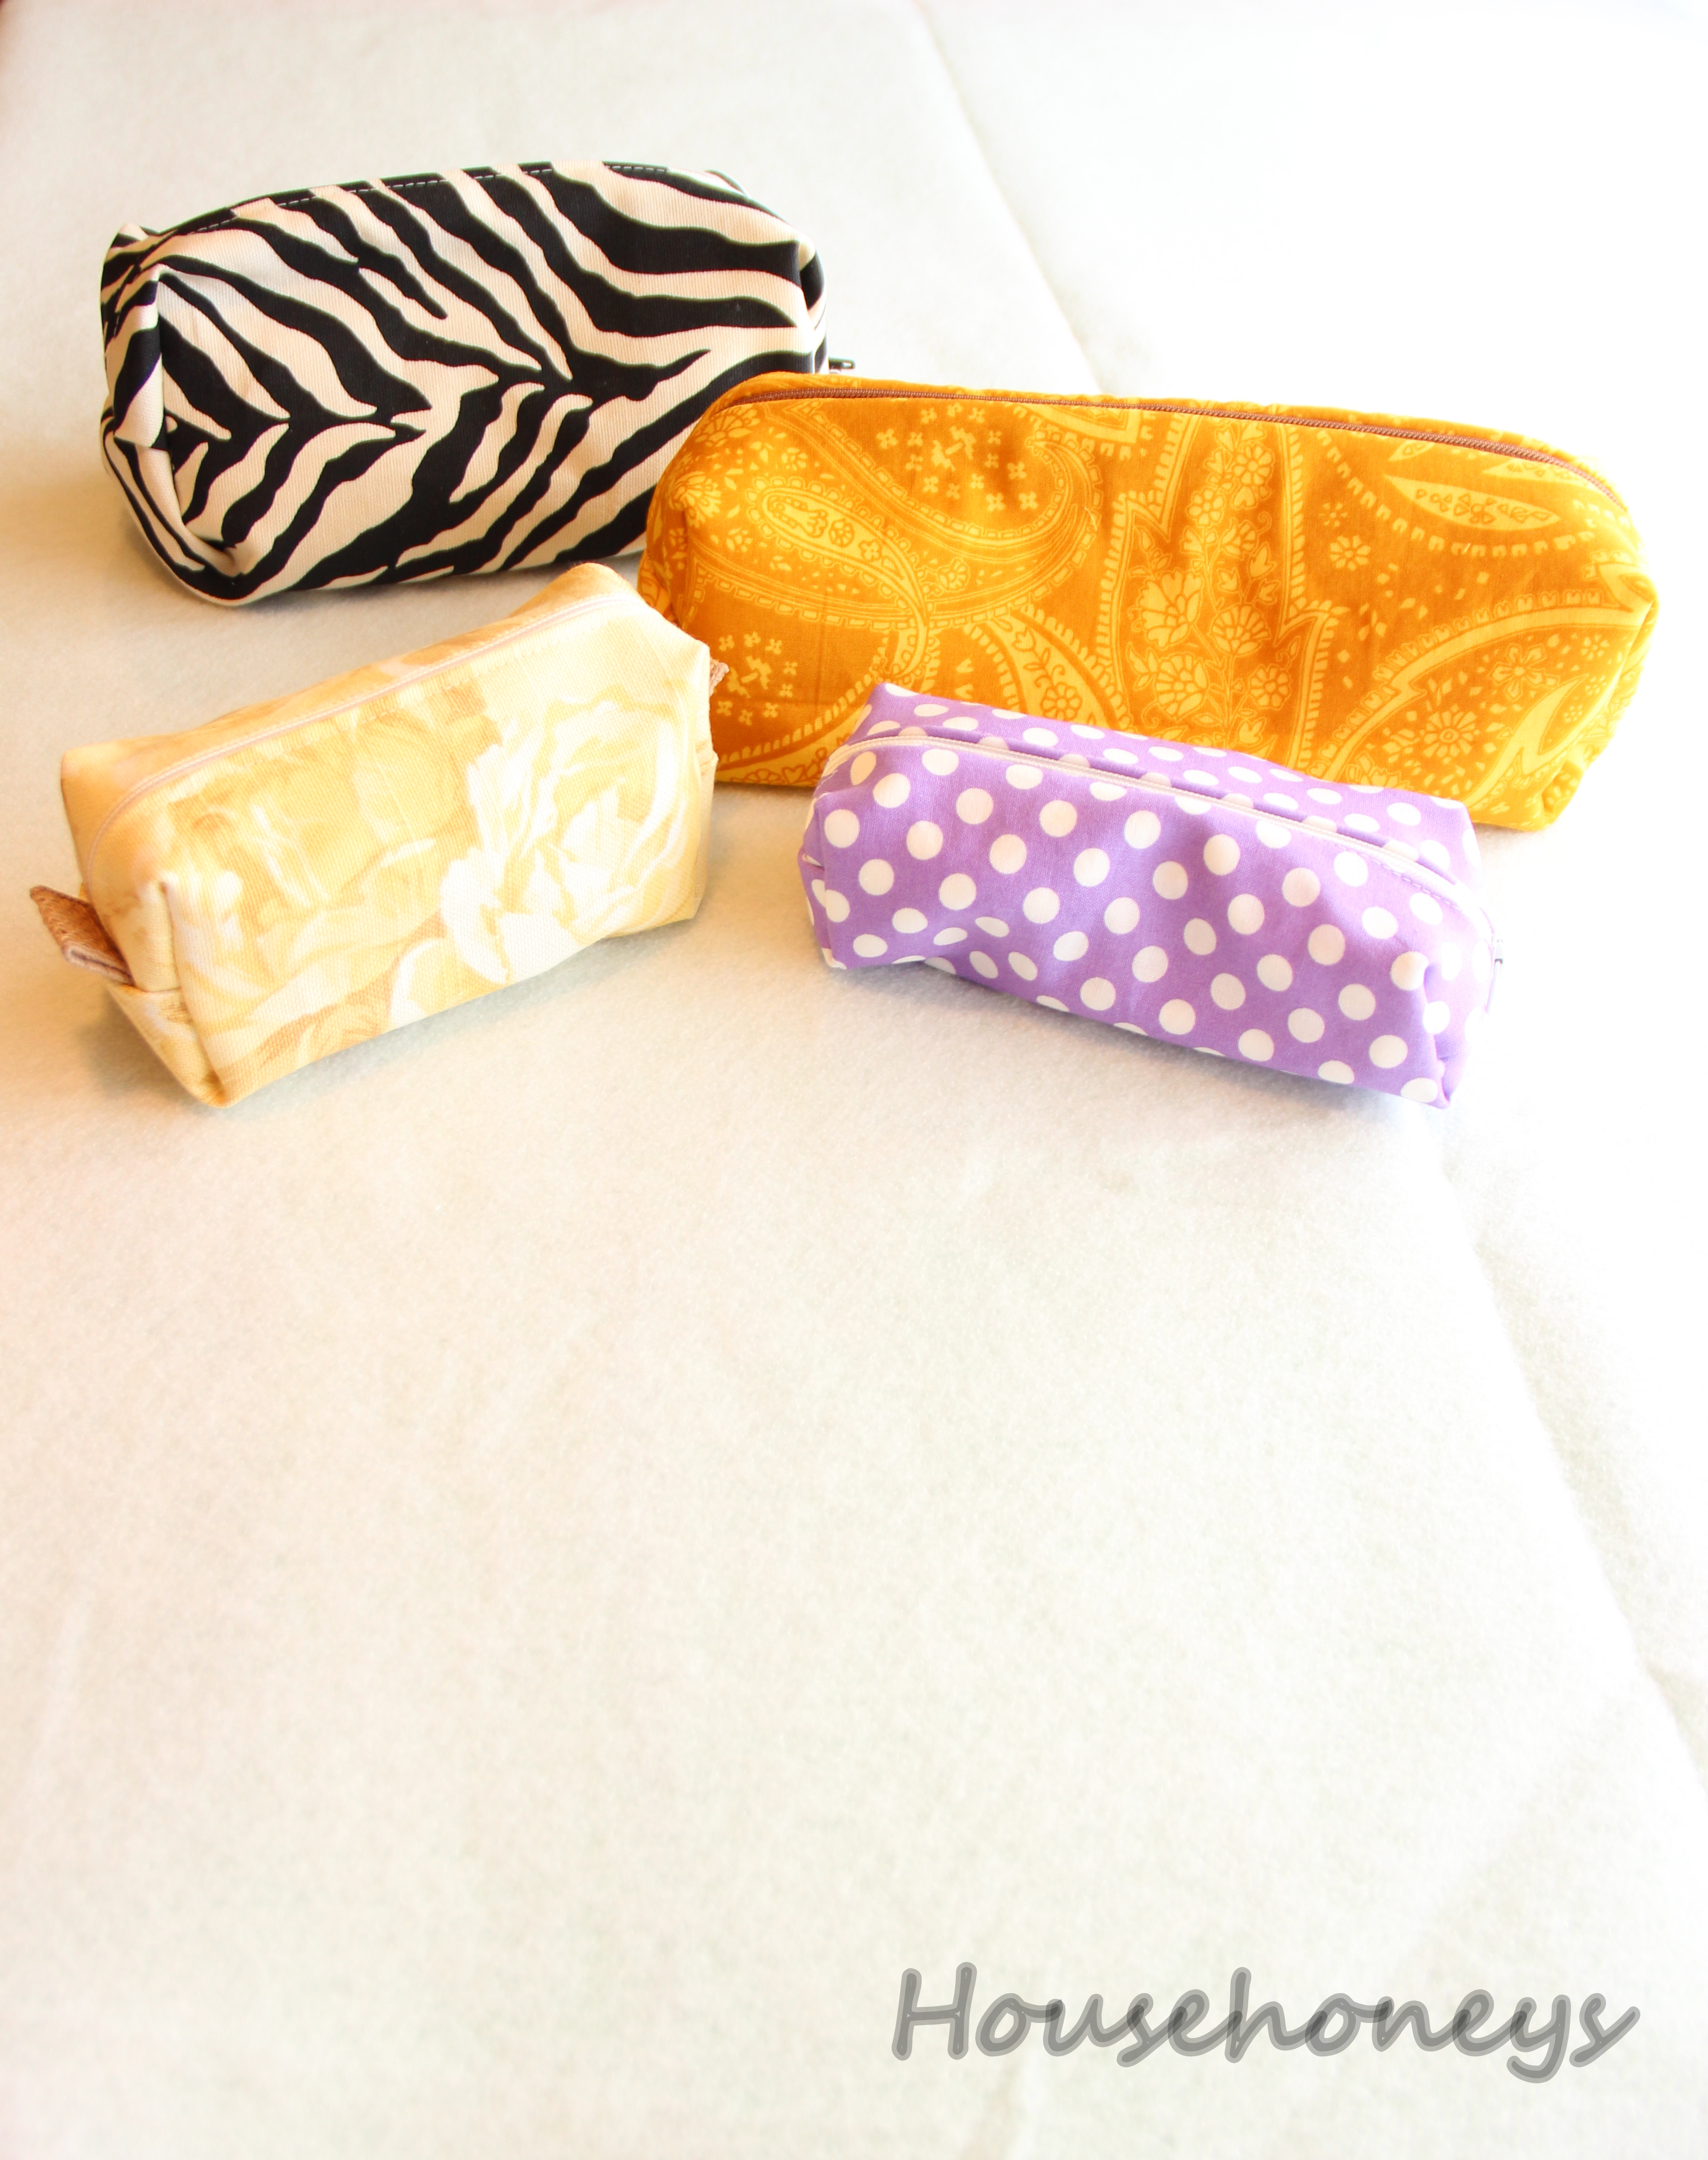
This unlined bag took me 30 minutes and because it’s so small, I can probably get three bags from one fat quarter. Not bad. Not bad at all.
Have I convinced you to give zippers a try?


Doreen these are great! Nice job.
Nice! I’ve always sewn zippers like that but never used a long one so it wasn’t as easy. Thanks for the tutorial ! Love your little bags. I need to make some!
:0)
Thanks Cecilia! I can’t believe you’ve sewn zippers like that and you didn’t tell me!! Lol.
Lol, shame on me! I think either my mom taught me that method or I saw it inside a zipper package many years ago.
Have a great week, Doreen!
I wish I knew how to sew!!! But, alas, I can only do hems!! LOL! Love your pouches!~~Angela
Doreen. I am almost ready to face the zipper bear, thanks for the visuals. eamylove.blogspot.com is a zipper genius, I think she has a tutorial. but I am not ready to do it. But I have some squares to make into that boxy bag you made, almost ready!!!
Thank you so much for this wonderful tutorial! I’ve been looking for this exact pouch to make for my husband with some waterproof ripstop nylon that I bought just for this purpose. I’ve seen the tutorials for the lined pouches, and while I really like them (love your yellow paisley pouch, both inside and out), I wanted something very lightweight and uncomplicated. Perfection! I think I’ll try it first in a laminate that I have on hand. It just might be an extra Christmas gift for someone. Thanks also for the zipper instructions. I’m getting better at zippers, but they still intimidate me.
I’m so glad you enjoyed the instructions Barbara! Zippers are definitely intimidating. There’s so much that can go wrong it seems. Having an unlined pouch makes things very easy, although if you’re working with vinyl the thickness can make it more difficult. Kudos to you for giving it a try. I would love to see it when you’re finished!
Thanks so much for stopping by!
Well, I finished my first little pouch, but I’m not sure how to post the photo. It came together easily. I read through the instructions and then made it without referring back to the tutorial since my machine is upstairs, my computer is downstairs, and I was feeling lazy and confident. I forgot to add the ribbon pulls until after my seams were sewn, but that was the only “unsewing” I had to do. Love the look and ease of using coordinating ribbon! I scaled down the dimensions of the pouch so that I could use up the scrap of lovely Michael Miller laminate that I had on hand. The fabric was actually very easy to work with, especially with my wonderful Janome 6600P with the Accu-Feed walking foot. The laminate is light and pliable, and the unfinished edges don’t fray. My zipper came out perfect! Thanks for your help and encouragement. I’m looking forward to making a larger one for my husband.
How lucky are you to have such a fabulous sewing machine! I’m so glad you got through it ‘almost’ unscathed’. Now that you made that small mistake, you won’t make it again. And yes, using ribbon is so much easier than making pulls, plus I think it looks nicer.
Thanks for the update Barbara and I hope you visit again!